

A stuck or broken shower faucet handle can turn a simple repair into a frustrating weekend project. Whether you’re dealing with a dripping faucet, temperature control issues, or just want to upgrade your bathroom’s look, knowing how to remove a shower faucet handle is the essential first step. Most modern shower valves from Moen, Delta, and Kohler use hidden set screws beneath decorative caps, but mineral buildup, corrosion, or stripped hardware can make removal challenging. This guide walks you through every technique: identifying your handle type, accessing hidden fasteners, removing stuck components safely, and avoiding costly mistakes that could damage your plumbing.
Identify Your Shower Faucet Handle Type
Before grabbing any tools, you need to understand how your specific handle is secured. Using the wrong removal method can scratch finishes or break internal components, turning a simple job into an expensive repair.
Check for Hidden Set Screws
Most modern single-handle shower valves use a concealed hex screw located beneath a removable decorative cap. Look for these telltale signs:
A colored button (red for hot, blue for cold) or letter marking (“H” or “C”) on the front of the handle indicates a hidden fastener design. A small seam around the cap edge suggests it can be pried off. The manufacturer’s logo embossed on the cap surface (especially “Moen”) confirms a concealed set screw arrangement common in Moen Posi-Temp and many Delta models.
Look for Exposed or Threaded Designs
Some faucets don’t follow the hidden-screw pattern. Exposed screw designs feature a visible Allen key or Phillips screw on the side or underside of the handle. Threaded handles unscrew directly from the valve stem without any separate fastener, common in older fixtures and budget-friendly options. Snap-on or push-fit handles use internal clips or friction alone to stay in place, requiring no tools when not corroded.
Pro Tip: Rotate the handle slowly. If it stops at a fixed position, that’s typically a temperature safety stop limiting hot water, not a locking mechanism. Don’t confuse it with a fastener.
Remove the Decorative Cap to Access the Fastener
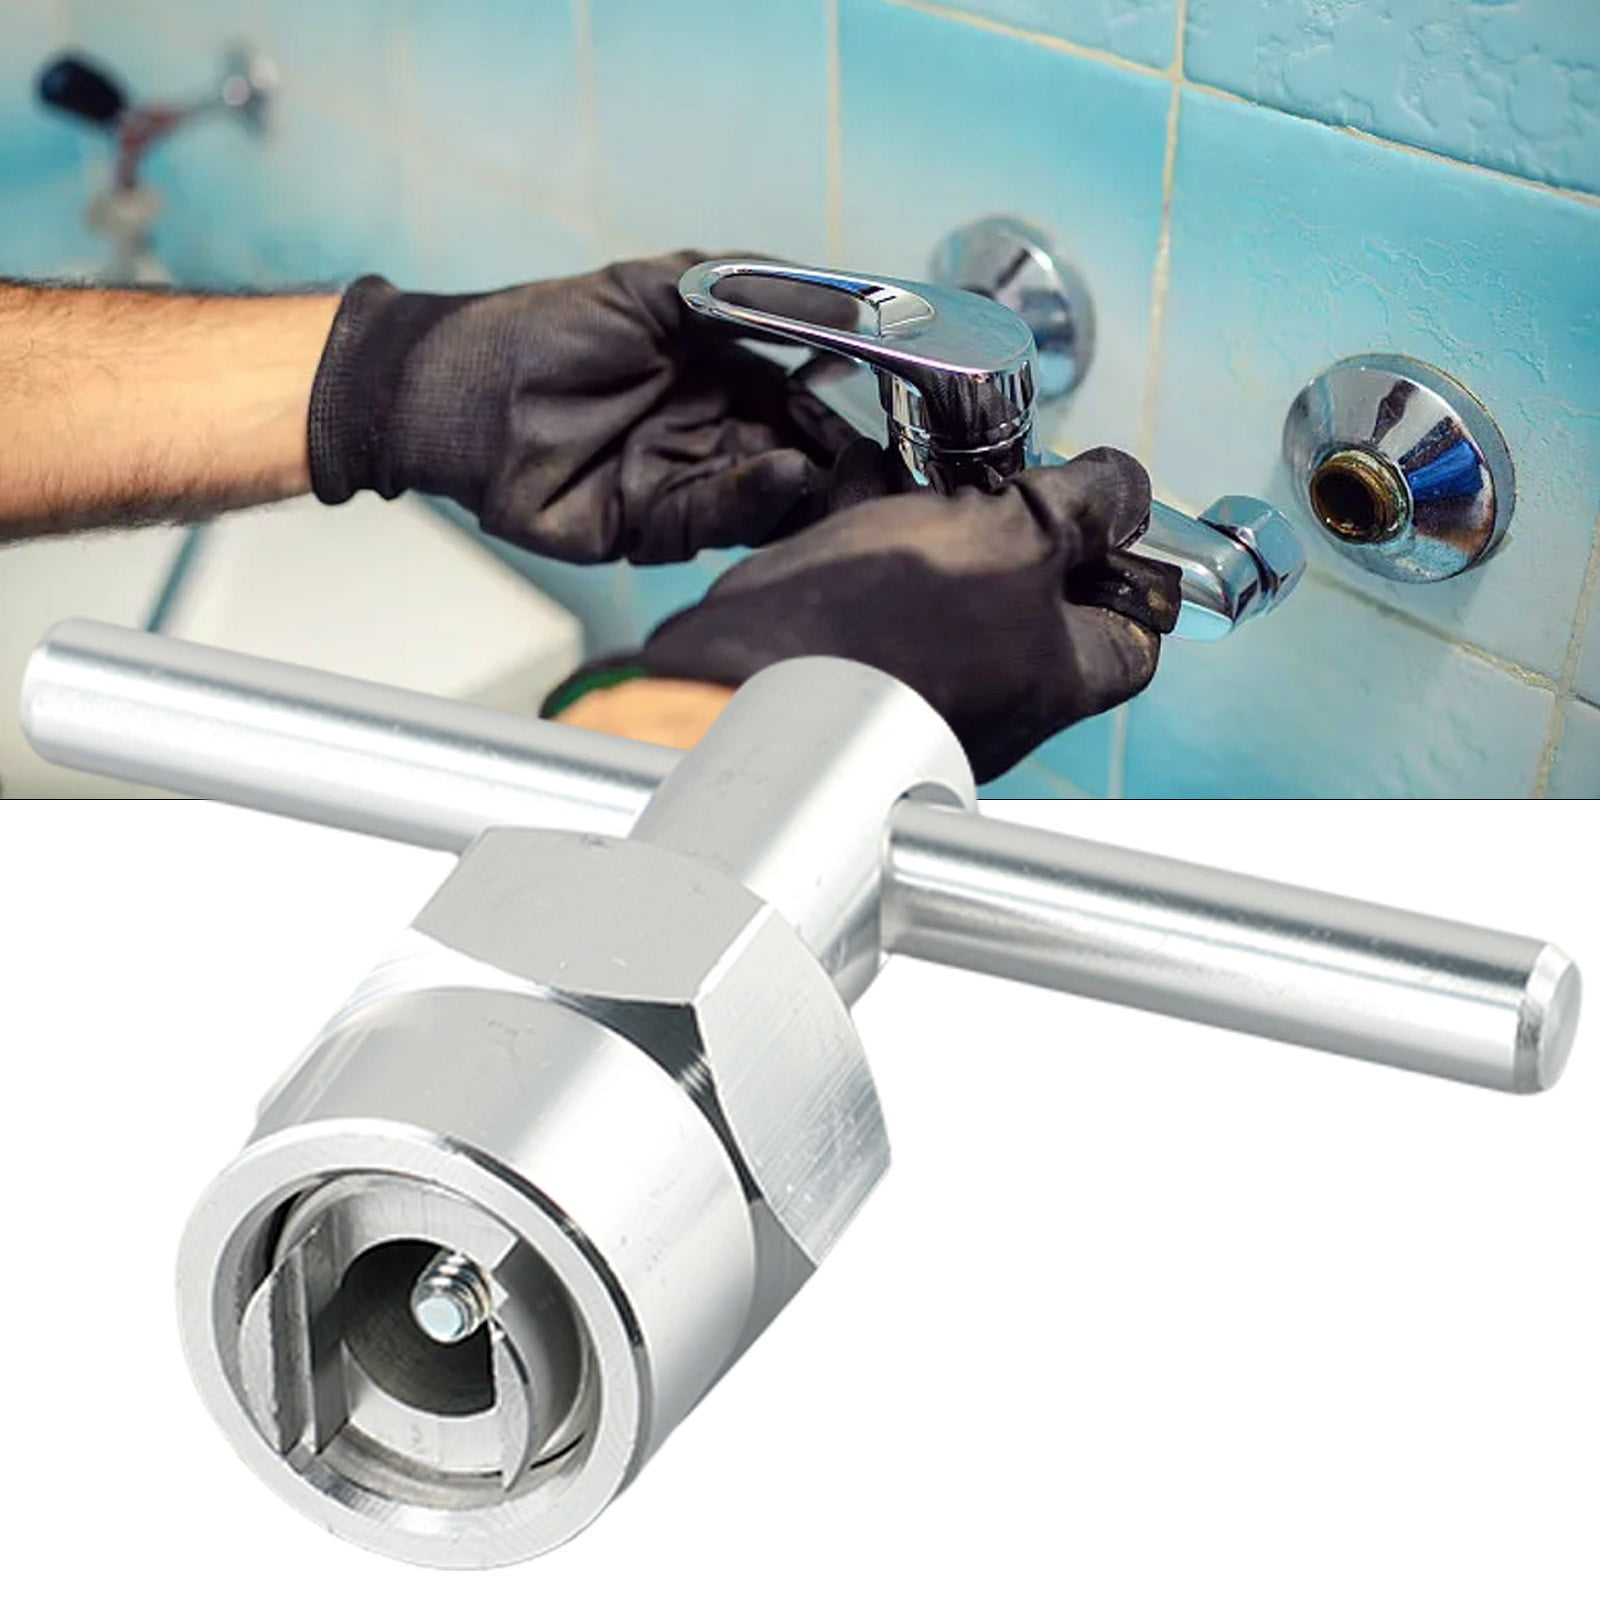
With your handle type identified, the next step is removing the cover cap that hides the set screw. Taking your time here prevents scratches and cracks.
Use Gentle Prying Tools
A small flathead screwdriver works well for most caps. Slide the tip gently under the cap edge and pry upward with controlled pressure. For loose-fitting caps, a fingernail or utility knife often suffices. If the cap is recessed, needle-nose pliers can grip and pull it straight out. Always wrap pliers in a soft cloth to protect chrome, brushed nickel, or matte black finishes.
Treat Stubborn or Corroded Caps
Mineral deposits from hard water can weld caps in place. When gentle methods fail, try these solutions before forcing anything.
Soak With Vinegar Solution
Mix equal parts white vinegar and water. Apply the solution around the cap base using a cloth or dropper. Let it sit for 15 to 30 minutes, then attempt removal again. The mild acid dissolves calcium and lime buildup that holds the cap in place.
Apply Penetrating Oil for Metal Adhesion
For rust or metal-to-metal bonding, use WD-40 or PB Blaster. Spray lightly around the cap base and wait 10 to 15 minutes. The lubricant breaks down corrosion so you can gently twist or pull the cap free.
Warning: Never hammer a cap off. If it’s cracked or the screw is stripped, use channel locks to grip the cap externally, but hold the internal stem by hand to prevent valve damage.
Remove the Set Screw Properly

With the cap off, you’ll see a hex socket holding the handle in place. This screw must be fully removed before the handle will come off.
Use the Correct Allen Wrench Size
Using the wrong size strips the screw head, creating a much bigger problem. Common sizes include 3/32-inch (2.4 mm) for most Moen models, 1/8-inch (3.2 mm) for many Delta and Kohler units, and 2 mm or 2.5 mm metric for international or older fixtures. Test fit the wrench before applying pressure. If it wobbles, it’s too big and will damage the hex socket.
Unscrew Completely
Insert the Allen key and turn counter-clockwise. Remove the screw entirely, not just loosened. Even slight contact between the screw and handle prevents removal and can cause binding or shearing when force is applied.
Critical Mistake Alert: Forcing the handle while the screw is partially engaged commonly shears the cartridge stem, requiring full valve replacement at $100 or more.
Fix a Stripped Set Screw
If the screw head is damaged, apply penetrating oil and wait 10 minutes. Use a screw extractor kit with a left-hand drill bit. Drill slowly into the screw, then reverse direction to extract it. If extraction fails, consider replacing the entire handle. Most are inexpensive and widely available at hardware stores.
Pull Off the Shower Faucet Handle
With the set screw removed, the handle should slide off the valve stem. Let’s cover normal removal and stuck handle solutions.
Normal Removal Technique
Grasp the handle firmly and pull straight back. Use a gentle rocking motion if you feel slight resistance. Avoid twisting or yanking sideways, as this damages the internal spline or stem.
Free a Stuck Handle
When corrosion or limescale holds the handle in place, chemical and mechanical methods help.
Soak With Descaling Agents
Different buildup types require different treatments. White vinegar works well for mild calcium and lime deposits. Soak a rag, wrap it around the handle base, and wait 2 or more hours. CLR or Lime-A-Way tackles heavy mineral deposits more aggressively. Spray into the gap and let dwell for 2 to 3 hours. WD-40 works for rust or metal adhesion but won’t dissolve limescale. Use acid-based cleaners (vinegar, CLR) for mineral buildup, not penetrating oils.
Use a Handle Puller Tool
A handle puller applies even pressure without damaging finishes. Thread the puller into the set screw hole, then turn the center bolt to lift the handle straight off. This $15 to $25 tool prevents wall or tile damage and is the preferred method for stuck handles.
Pry With Protection
If no puller is available, protect your walls with these steps. Place a 2×4 board across the trim ring to spread force and protect tile. Use a wonder bar (pry bar) against the wood. Gently lift from multiple points around the handle. For balance, use two pry bars on opposite sides with a helper holding the trim steady.
Real User Success: One DIYer freed a stuck Moen handle after days of failed soaking attempts by using a 2×4 and wonder bar with no damage to stem or wall.
Cut the Handle as Last Resort
Only attempt this if you have a replacement handle ready. Use a Dremel with a cutting wheel. Make a longitudinal slit down one side of the handle. Use pliers to peel open the split section and remove. Wear safety goggles and cover surrounding tile to protect surfaces.
Never hammer a screwdriver into the top of the handle—this commonly shears the cartridge stem, leading to costly repairs.
Handle Alternative Designs

Not all faucets follow the hidden-screw model. Know these variations for different situations.
Unscrew Threaded Handles
Older and budget fixtures often have handles that thread directly onto the stem with no set screw. Turn counter-clockwise by hand to unscrew. If stuck, use an adjustable wrench wrapped in cloth to protect the finish. Avoid twisting the valve body itself.
Release Snap-On Handles
Some modern fixtures use internal springs or clips instead of screws. Use a plastic pry tool or flathead wrapped in tape. Apply even pressure at 3, 6, 9, and 12 o’clock positions around the handle. Pop it off straight without using metal tools that scratch finishes.
Access Internal Components
After handle removal, you may need to go further for repairs like cartridge replacement.
Remove the Trim Plate
For Moen Posi-Temp and similar designs, locate two Phillips-head screws on the escutcheon (trim plate). Unscrew and remove the trim ring to expose the cartridge and its retaining clip.
Extract the Cartridge
Use needle-nose pliers to compress and remove the C-clip holding the cartridge. Pull the cartridge straight out. If stuck, use a cartridge puller tool rather than yanking, which can break the valve body.
Replacement Tip: Match the cartridge model exactly (Moen 1225, 1200, or 1255) for proper fit and function.
Required Tools and Supplies
Having the right tools makes this job much easier and prevents damage.
Basic Toolkit
Small flathead screwdriver removes decorative caps without chipping. Allen wrench set (3/32″, 1/8″, 2 mm, 2.5 mm) covers most set screw sizes. Needle-nose pliers handle clips and small parts. Adjustable wrench works on threaded components. Flashlight illuminates dark spaces behind the handle.
Specialty Tools for Tough Jobs
Handle puller tools apply even pressure without damage. Screw extractor kits remove stripped set screws. Dremel with cutting wheel handles last-resort handle removal. Cartridge puller tools extract stuck internal valves.
Chemicals and Cleaners
White vinegar provides natural descaling for mild buildup. CLR or Lime-A-Way tackles heavy limescale. WD-40 or PB Blaster work on rust and metal adhesion. Teflon tape is for threaded pipe joints, not handle stems.
Note: Never use Teflon tape on handle stems. It’s only for threaded pipe connections like tub spouts or shower arms.
Prevent Damage and Ensure Safety
Following safety rules protects your plumbing and your body.
Critical Safety Rules
Turn off the water supply before removing cartridges or valves. Never force pipes inside the wall, as this risks leaks or joint failure. Wear safety glasses when cutting or prying. Protect tile and trim with wood blocks during any prying operations.
Avoid Common Mistakes
Do not twist or yank sideways, which shears the stem. Avoid hammering on the handle or stem entirely. Don’t reuse stripped screws or cracked handles. Never use kitchen tools or automotive pullers that lack precision for plumbing work.
Professional Advice: If the handle won’t budge after trying all methods, or if you feel movement in the wall, call a licensed plumber immediately.
Upgrade and Replace Smartly
When your handle is removed, you might want an upgrade. Here’s how to choose wisely.
Match Finish and Style
Modern finishes include matte black, brushed nickel, oil-rubbed bronze, and antique brass. Ensure your new handle matches the existing trim for a cohesive look.
Confirm Compatibility
Before buying, check the cartridge type (Moen 1225 versus 1200). Verify trim plate screw alignment matches your valve. Measure handle clearance to ensure it won’t bind against the wall.
Expert Tip: Always slide the new handle onto the stem before installing the trim plate to test fit and prevent binding issues.
Maintain Long-Term Performance
Prevent future sticking with regular care.
Prevent Future Sticking
Clean around the handle base monthly to stop mineral buildup. Re-tighten the set screw gently every 1 to 2 years. Avoid abrasive cleaners that wear protective coatings.
Use Warranty and Support
Moen offers a lifetime limited warranty on most parts. Register online for faster service and free repair guides. Manufacturer websites provide exploded diagrams, videos, and model-specific help.
Frequently Asked Questions About Removing Shower Faucet Handles
What if I can’t find the set screw on my shower handle?
Most modern shower handles have a decorative cap covering the set screw. Look for a colored button (red/blue), a letter marking (“H”/”C”), or a small seam around the cap edge. Use a flathead screwdriver or fingernail to pry off the cap gently.
Why won’t my shower handle pull off after removing the screw?
The handle is likely stuck due to mineral buildup (calcium, lime), corrosion, or old adhesive. Soak the base with vinegar or CLR for 2 to 3 hours, then try pulling with a handle puller tool or gentle prying with protected surfaces.
Can I use WD-40 to remove a stuck shower handle?
WD-40 works for rust and metal-to-metal adhesion, but it won’t dissolve limescale or mineral deposits. Use acid-based cleaners like white vinegar or CLR for mineral buildup, then WD-40 if rust is the issue.
What size Allen wrench removes most shower faucet set screws?
The most common sizes are 3/32-inch (2.4 mm) for Moen models and 1/8-inch (3.2 mm) for Delta and Kohler. Keep metric sizes (2 mm, 2.5 mm) on hand for international or older fixtures.
Should I call a professional if my handle won’t come off?
Yes, if the handle remains stuck after chemical treatments, handle puller attempts, and protected prying, stop and call a licensed plumber. Forcing it can shear the cartridge stem or damage pipes inside the wall.
Key Takeaways for Removing Your Shower Faucet Handle
Removing a shower faucet handle requires identifying the fastener type first. Most modern handles use hidden set screws beneath decorative caps, which must be removed before the screw itself. Always use the correct Allen wrench size to avoid stripping the hex socket, and remove the screw completely before attempting to pull the handle. For stuck handles, use vinegar or CLR for mineral deposits, not penetrating oil alone. A handle puller tool applies even pressure without damage. If all else fails, cutting the handle with a Dremel is acceptable as a last resort when you have a replacement ready. Never hammer or twist aggressively, as this commonly shears internal components. Test-fit new handles before final installation to ensure smooth operation and compatibility with your specific valve model.







