
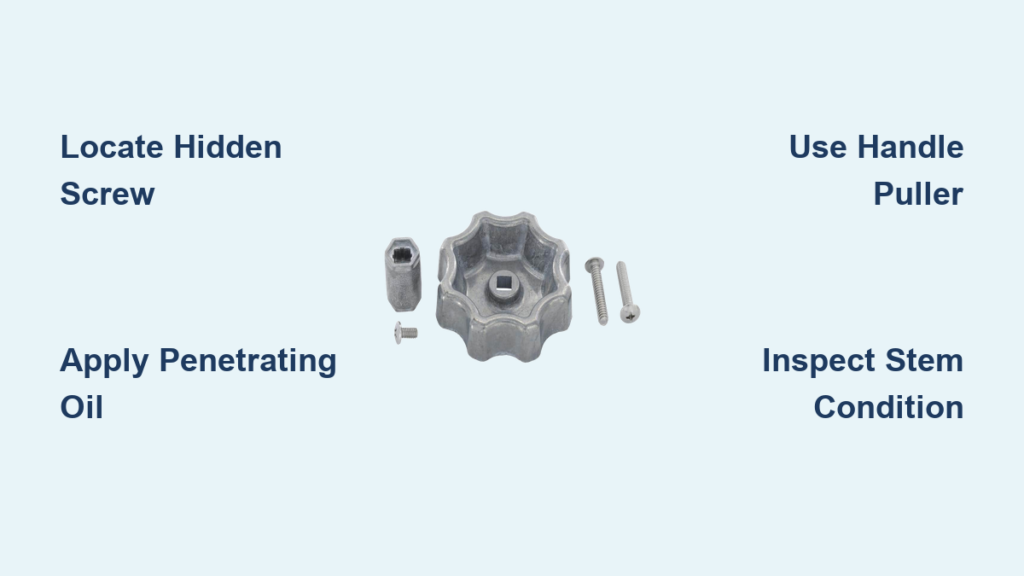
Nothing’s more frustrating than a stuck outdoor faucet handle when you’re trying to water the garden or wash the car, especially when it won’t budge no matter how hard you twist. Whether it’s frozen from rust, cracked from winter, or stripped from overuse, removing the handle is usually the first step to fixing or replacing your hose bib. The good news? Most outdoor faucet handles can be removed in minutes with the right tools and technique, no need to shut off the main water supply if the valve is closed. This guide walks you through every step, from locating hidden screws to freeing fused plastic remnants, and helps you decide whether to repair the stem or replace the entire faucet.
Locate and Remove the Handle Screw
Find the Hidden Retaining Screw
Most outdoor faucet handles are secured by a single screw, but it’s often hidden under a decorative cap on top or near the base. Use a flathead screwdriver to gently pry off the cap. Many are made of plastic and can crack if forced. On older models, the screw may sit on the side or underside of the handle, exposed to weather and prone to corrosion.
Modern faucets typically use Torx star-head screws because they resist stripping better than Phillips or flathead types. Check your toolkit for a T10 or T15 Torx bit before applying force with the wrong driver.
Loosen a Stuck or Stripped Screw
If the screw won’t turn, spray penetrating oil like WD-40 or PB Blaster onto the screw head. Wait 10 to 15 minutes to let it seep into corroded threads. Try again with firm, steady pressure. Don’t twist aggressively, or you’ll damage the screw head.
If the screw is already stripped, use needle-nose pliers to grip the edges. Or apply a screw extractor bit for damaged heads. As a last resort, drill out the screw carefully while avoiding damage to the valve stem beneath.
Pro Tip: Save the original screw. It helps match replacement hardware and ensures compatibility with new handles.
Pull the Handle Off the Stem

Remove the Handle Safely
Once the screw is out, pull the handle straight off the square or D-shaped stem. Don’t twist or rock it sideways. This can crack plastic parts or damage the internal packing nut.
If the handle resists, apply penetrating oil around the base where it meets the faucet body. Let it sit for 10 to 15 minutes. Gently wiggle while pulling outward.
For stubborn handles, use a faucet handle puller. This is a two-pronged tool that grips evenly and applies controlled force without marring surfaces.
User Hack: One homeowner freed a fused plastic handle using the claw of a hammer on one side and a pry bar on the other, carefully prying from opposite sides to avoid cracking the faucet body.
Remove a Broken Handle Remnant
Cut and Pry a Stuck Handle Piece
Sometimes the handle breaks, leaving a plastic or soft-metal sleeve fused to the stem. If pulling and oil don’t work, use this plumber-approved method.
Make a longitudinal cut along the length of the remnant using a hacksaw, rotary tool like a Dremel, or a hacksaw blade for tight spaces. Never cut across the handle. This won’t help release it.
Once split, use pliers or a flathead screwdriver to gently pry open the cut edges. The remnant will expand and slide off the square stem.
Why It Works: Plastic and pot metal expand when heated or stressed. A lengthwise cut relieves internal tension, allowing the piece to release.
Warning: Avoid gouging the stem. Even minor nicks can prevent new handles from seating properly.
Inspect the Valve Stem Condition

Check for Wear and Damage
A new handle won’t fix a damaged stem. Before installing anything, inspect the exposed stem.
| Stem Condition | Can You Use a New Handle? |
|---|---|
| Sharp square edges, clean surface | Yes, ideal for grip |
| Light rust or discoloration | Yes, clean with steel wool and proceed |
| Rounded corners or worn splines | No, handle will spin uselessly |
| Heavy pitting, corrosion, or wobble | No, stem or faucet needs replacement |
| Smooth or mushroomed end | No, stripped, won’t engage any handle |
Test Stem Functionality
Use pliers or an adjustable wrench to turn the stem. It should rotate smoothly with moderate resistance. If it sticks, grinds, or feels loose, internal wear is likely.
Key Fact: The handle is just a lever. It cannot fix a frozen valve or worn washer.
Fix a Stripped Stem with a Stem Key

Install a Four-Way Stem Key
If the stem is square but the top is stripped, avoid replacing the whole faucet. Instead, use a four-way stem key, a small brass tool that fits over square stems.
Test each key size and choose the one that fits snugly with zero play. Slide it onto the stem. Thread paracord through the hole and tie a knot. Burn the ends with a lighter to prevent fraying.
Benefits:
– Costs $5 to $10
– Restores full function
– Acts as a theft deterrent
– Works with discontinued models like old Nibco frost-free faucets
Note: Only effective if the stem is uniform and square, not mushroomed or severely corroded.
Replace the Handle or Entire Faucet
Choose the Right Replacement Handle
If the stem is in good shape, you can replace just the handle. But not all handles fit all stems.
Match these specifications:
– Stem shape: Square, splined, broached, or D-shaped
– Stem size: Measure width with calipers, common sizes are 1/4 inch or 5/16 inch
– Screw type: Slotted, Phillips, or Torx, bring the old screw to the store
– Insert material: Brass inserts last longer than plastic
Use a universal handle kit if your faucet is old or generic. These include multiple adapters for different stem types.
Red Flag: If the handle only fits when tightened by the screw, the fit is wrong. It’ll strip quickly.
When Full Replacement Is Required
Replace the entire hose bib if the stem is worn beyond repair, the faucet drips from the spout indicating internal washer or seat failure, it’s soldered to copper pipe, or parts are discontinued common with older frost-free models.
Install an Anti-Siphon Vacuum Breaker
Prevent Backflow Contamination
Even with a new faucet, install an anti-siphon vacuum breaker on the outlet. It stops contaminated water like from fertilizers or hoses in buckets from siphoning back into your home’s supply.
Wrap threads with plumber’s tape. Hand-tighten first, then give a gentle turn with a wrench. Stop at resistance. Over-tightening cracks plastic.
Code Requirement: Many areas require vacuum breakers by law. Check local plumbing codes.
Test the Repair or Replacement
Final Checks Before Use
After reassembly, slowly restore water supply to avoid pressure surges. Open and close the faucet 3 to 5 times under flow. Check for smooth operation, full shutoff with no drip, no handle slippage, and consistent resistance.
Flush the system for 30 seconds to clear debris. Inspect the packing nut area. If it leaks, tighten slightly or replace the washer.
Success Story: One user confirmed no leaks after flushing, reassembly, and testing. Job complete.
Know When to Call a Pro
Signs You Need a Plumber
Stop and call a professional if the screw is seized and you risk damaging the stem, the stem is corroded or wobbly and handle replacement won’t help, the faucet body is loose at the wall which could indicate structural damage, the unit is soldered and you lack plumbing tools, or your home has copper piping from before the 1990s with high chance of non-threaded installation.
Expert Advice: If the stem is damaged or the faucet won’t seal, it’s time for a licensed plumber.
Avoid Common Mistakes
Key Errors to Prevent
Using both plumber’s tape and pipe dope can overfill threads and crack fittings. Over-tightening the faucet leads to leaks or broken connections. Ignoring stem condition dooms new handles to immediate failure. Skipping the vacuum breaker risks health hazards from backflow. Assuming all handles are universal leads to many failures due to mismatched stem shapes.
Pro Insight: Take a photo of the stem and screw before disassembly. It speeds up part matching at the hardware store.
Frequently Asked Questions About Removing Outdoor Faucet Handles
What tools do I need to remove an outdoor faucet handle?
You’ll need a screwdriver matching the screw type, penetrating oil like WD-40, needle-nose pliers, and possibly a faucet handle puller for stuck handles. A Torx bit is commonly needed for modern faucets.
Do I need to turn off the water to remove the handle?
No, for simple handle replacement the main water supply typically does not need to be shut off. Just make sure the faucet is in the fully closed position before starting.
Why won’t my outdoor faucet handle pull off?
The handle may be fused to the stem from corrosion or mineral buildup. Apply penetrating oil around the base, wait 15 minutes, and try pulling straight off. Use a handle puller for stubborn cases.
Can I replace just the handle, or do I need a whole new faucet?
You can replace just the handle if the stem is in good condition with sharp square edges. If the stem is rounded, corroded, or wobbles, you’ll need a stem key repair or full faucet replacement.
How do I remove a broken handle remnant stuck on the stem?
Make a lengthwise cut along the remnant with a hacksaw or rotary tool. Then pry the cut edges open gently. The piece will expand and slide off the square stem.
Key Takeaways for Removing Your Outdoor Faucet Handle
Removing an outdoor faucet handle is a straightforward DIY task when you have the right tools and approach. Start by locating the retaining screw, often hidden under a decorative cap, and use the correct driver type to avoid stripping it. Apply penetrating oil if the screw is corroded and wait before attempting to remove it.
Always inspect the stem condition before buying a replacement handle. A new handle cannot fix a damaged stem, so test functionality with pliers first. For stripped but square stems, a four-way stem key offers an affordable repair option. If the stem is severely worn or the faucet leaks from the spout, consider full replacement instead.
Remember to install a vacuum breaker for safety and code compliance, and test the repair under flow before considering the job complete. With careful attention to stem condition and proper sealant application, your outdoor faucet will work reliably for years to come.







