
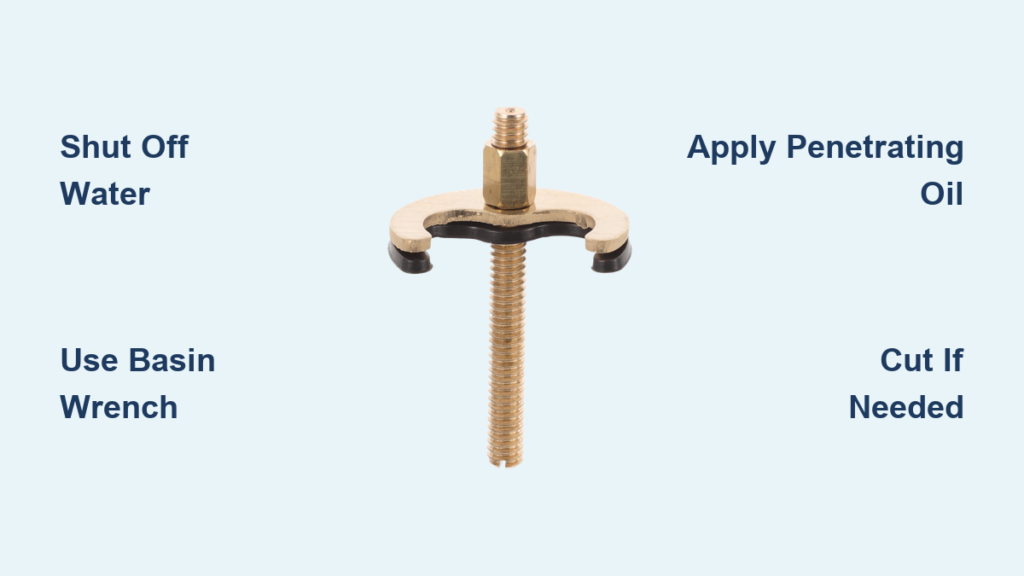
Trying to remove a kitchen faucet nut but stuck with a seized, corroded, or inaccessible fastener? You are not alone. Countless homeowners face this frustrating challenge when replacing an old faucet or fixing a leak. The mounting nut hidden beneath the sink is often locked in place by years of mineral buildup, galvanic corrosion, or improper installation. Without the right tools and technique, you risk damaging the sink, shank, or plumbing lines. But with a clear plan, even the most stubborn nut can be removed safely.
This guide walks you through every step. You will learn how to shut off water properly, identify your nut type, choose the correct tool, break free rusted hardware, and handle plastic or aluminum nuts. Whether you are dealing with a standard single-handle model or a pull-down sprayer with tight clearance, you will finish this article with the knowledge to remove the faucet nut efficiently.
Shut Off Water and Prepare Your Workspace
Before touching any tools, stop water flow and create a safe, clear workspace under the sink. Rushing this step leads to water damage, slips, or injuries.
Turn Off Water Supply
Locate the hot and cold shutoff valves under the sink. Turn both clockwise until fully closed. If no local valves exist, shut off the main water supply to the house. Then open the faucet at the spout to drain remaining water and relieve pressure in the lines.
Drain and Protect the Area
Place a towel or small bucket under the supply lines to catch drips. Residual water will leak out once lines are disconnected. Wipe the area dry to improve grip and visibility during work.
Clear Under-Sink Obstructions
Remove storage items, filters, or garbage disposal switches blocking access. Use a flashlight or headlamp to illuminate the underside of the sink. This helps spot the mounting nut and identify nearby hoses or wires that may interfere.
Identify Your Mounting Nut Type
Knowing what kind of fastener secures your faucet prevents wasted effort and tool misuse. Different nut types require different approaches.
Standard Hex Nut vs. Mounting Screws
Most faucets use a large hex-shaped mounting nut beneath the base. It threads onto the faucet shank and holds the unit tight to the sink deck. However, modern models especially high-end or brand-specific designs may use two or more mounting screws instead. These attach through a bracket and do not require full disassembly for service.
Material Differences Matter
Mounting nuts come in brass, steel, aluminum, or plastic. Brass and steel resist corrosion but can fuse over time due to mineral buildup. Aluminum is lightweight but prone to galvanic corrosion when touching brass shanks. Plastic nuts common in budget brands like Vapsint do not rust but become brittle and may crack during removal.
Multi-Hole and Escutcheon Plate Setups
In two-, three-, or four-hole installations, a deck plate or escutcheon may cover unused holes and hide the mounting hardware. Remove the plate first using a screwdriver. For two-handle faucets, each valve body usually has its own smaller mounting nut.
Choose the Right Removal Tool

Using the correct tool saves time, prevents slippage, and avoids damage to surrounding components. The confined space under a sink limits your options.
Basin Wrench for Tight Spaces
The basin wrench is the go-to tool for most removals. Its long handle and pivoting jaw fit into cramped areas under sinks. The jaw self-tightens as you turn, gripping the nut securely. Position it around the nut, align the handle vertically, and turn counterclockwise to loosen. For extra leverage, slip a metal pipe over the handle.
Socket Wrench with Deep Socket
If vertical clearance allows, a socket wrench with a deep one-and-one-eighth-inch or one-and-one-quarter-inch socket offers better torque control than a standard wrench. Attach an extension bar and ratchet for hard-to-reach nuts. Specialized faucet socket sets match specific brand configurations and reduce slippage risk.
Crowfoot Wrench for Low Clearance
When a basin wrench will not fit, try a crowfoot wrench connected to a ratchet. It lies flat against the mounting surface and provides horizontal access. This tool is ideal for recessed installations where height is limited.
Adjustable Wrench and Pliers
An adjustable or Crescent wrench works if space permits full jaw engagement. Pair it with tongue-and-groove pliers also called Channellocks for aluminum or stripped nuts. Use locking pliers or Vise-Grips on rounded edges, but clamp gently to avoid crushing soft materials.
Nut Splitter for Seized Hardware
For a rusted or fused nut, a nut splitter applies focused pressure with a hardened blade until the nut cracks open. This tool is effective on steel and brass, and it avoids damage to the faucet shank. Tighten slowly and evenly. Sudden force can harm nearby plumbing.
Cutting Tools as Last Resort
When removal seems impossible, cutting the nut is acceptable if you plan to replace the faucet. Use a hacksaw for a clean vertical slit, a reciprocating saw for speed, or a Dremel with a cutting wheel for precision. You can also cut the shank just above the nut to free the faucet body.
Loosen a Stubborn or Corroded Nut
Many nuts refuse to budge due to years of mineral deposits or metal fusion. Follow these steps to break them loose without damaging your plumbing.
Apply Penetrating Oil
Spray PB Blaster, WD-40, or Kroil liberally onto the nut and thread junction. Let it soak for fifteen to thirty minutes. Overnight soaking works best for severe cases. Reapply if the area dries. Tap around the nut lightly with a hammer to help the oil vibrate into crevices.
Use Heat to Break Corrosion
Apply a heat gun never an open flame to expand the metal and break the bond between nut and shank. Heat for thirty to sixty seconds, then attempt loosening with a wrench. Repeat if needed. Avoid overheating nearby plastic or rubber components.
Prevent Faucet Rotation
As you turn the nut, the entire faucet may spin, stressing supply lines. Have a helper hold the faucet base from above with a cloth-covered hand. Alternatively, wedge a wood block or rubber pad between the spout and sink rim to lock it in place.
Remove Plastic or Aluminum Nuts Safely

Soft materials require gentler techniques to avoid cracking or stripping. Forcing the wrong tool damages the nut and possibly the faucet shank.
Remove Plastic Mounting Nuts
Common in budget models like Vapsint, these nuts often loosen over time. If stuck, use soft-jaw pliers or wrap metal tools in tape to prevent damage. If already loose, insert a large flathead screwdriver between the nut and tailpiece. Gently pry outward while rotating to break tension and lift it off.
Handle Fused Aluminum Nuts
Aluminum nuts frequently fuse to brass shanks due to galvanic corrosion. Avoid aggressive wrenching. They strip easily. Soak with PB Blaster, then try a locking plier with steady pressure. If no movement occurs, consider cutting the nut or removing the faucet for bench work.
Alternative Access When Tools Do Not Fit
Sometimes the real challenge is not the nut but reaching it. Limited clearance under sinks frustrates even experienced DIYers.
Disconnect Supply Lines at Valves
If lines are too short, disconnect them at the shutoff valves to gain slack. This allows you to move the faucet or reposition components for better wrench access.
Remove Drain Assembly Temporarily
A P-trap or pop-up stopper can block your angle. Loosen slip nuts and remove the drain section. Set it aside on a towel. Reinstall after faucet removal.
Remove Sink as Last Resort
In extreme cases especially with drop-in sinks and heavy corrosion, removing the entire sink may be necessary. Unscrew clips from below and disconnect all plumbing. Work on a bench for full access.
Fix Common Removal Problems
Even with preparation, issues arise. Here is how to solve them fast.
Nut Will Not Budge After Oil and Heat
If the nut remains frozen, switch to mechanical force. Use a nut splitter or make a cut with a Dremel. Once split, pry open with a screwdriver. For plastic nuts, a single crack often allows collapse and removal.
Wrench Slips and Strips the Nut
This happens with soft aluminum or worn hex edges. Switch to Vise-Grips or create new grip points using a Dremel to notch the nut. Wrap jaws in electrical tape for extra traction.
Confusing Mounting Screws with Full Removal
Many modern faucets use retained mounting screws. They stay in during servicing. Do not fully remove them unless replacing the faucet. To release the unit, loosen screws by hand, then lift the faucet out. These screws are designed to stay in place and are tightened during service.
Inspect and Prepare for New Faucet
After nut removal, clean and check components before installing a new faucet. This step prevents future leaks and installation headaches.
Clean Sink Deck Thoroughly
Scrape off old putty, silicone, or gasket material from the mounting surface. Wipe with isopropyl alcohol or vinegar to remove residue and sanitize. Inspect the hole for cracks or corrosion. Repair if needed.
Check Supply Lines and Valves
Examine flexible supply lines for kinks, bulges, or leaks. Replace with braided stainless steel lines for durability and easier future maintenance. Test shutoff valves. Upgrade to quarter-turn ball valves if stiff or leaking.
Confirm New Faucet Compatibility
Match hole count and center-to-center spacing. Ensure the new model includes mounting hardware and rubber gaskets. Consult manufacturer guides for installation videos and fitment details.
When to Call a Professional Plumber
Some jobs exceed DIY safety or capability. Knowing when to stop prevents costly mistakes.
Signs You Need Expert Help
Call a professional if the nut is completely immovable after multiple methods. Stop if risk of damaging granite, quartz, or porcelain is high. Call a pro if plumbing includes galvanized pipes, lead solder, or outdated materials. Stop if you are working in a rental property where liability matters. Call a pro if you lack tools or experience in confined-space repairs.
A licensed plumber brings industrial tools, heat torches, and years of experience. This saves time and prevents costly mistakes.
Frequently Asked Questions About Removing Kitchen Faucet Nuts
What tool is best for removing a kitchen faucet nut?
The basin wrench is the best tool for most situations. It is designed specifically for tight spaces under sinks. Its self-tightening jaw grips the nut securely while providing leverage through its long handle.
How do I remove a rusted faucet nut?
Apply penetrating oil like PB Blaster to the nut and let it soak for fifteen to thirty minutes. Tap lightly with a hammer to help the oil penetrate. Use a basin wrench or nut splitter to break the nut free. Heat from a heat gun can also help expand the metal and break corrosion bonds.
Can I cut the faucet nut if it will not come off?
Yes, cutting is acceptable when you plan to replace the faucet. Use a hacksaw for a clean cut, a reciprocating saw for speed, or a Dremel with a cutting wheel for precision. Cut carefully to avoid damaging the faucet shank or sink.
Why does my faucet spin when I try to loosen the nut?
The faucet spins because nothing holds it in place from above. Have a helper hold the faucet base with a cloth-covered hand. Alternatively, wedge a wood block or rubber pad between the spout and sink rim to prevent rotation.
How do I remove a plastic mounting nut?
Plastic nuts common in budget faucets often loosen over time. If stuck, use soft-jaw pliers or wrap metal tools in tape. If already loose, insert a large flathead screwdriver between the nut and tailpiece and gently pry outward while rotating.
Key Takeaways for Removing Kitchen Faucet Nuts
Removing a kitchen faucet nut does not have to be a nightmare. With the right preparation, tools, and techniques, even the most corroded fastener can be defeated. Always shut off water first, identify your nut type, and choose the correct tool. Use a basin wrench for standard jobs, penetrating oil for rust, and cutting tools only when replacement is planned.
Remember that many faucet repairs do not require full removal. Mounting screws in modern faucets are meant to stay in place during servicing. Only fully remove the nut when replacing the entire faucet. If you get stuck, remove the unit to a workbench or call a professional.
Protect your eyes and hands with safety glasses and gloves during prying or cutting work. Take your time. Rushing leads to damaged plumbing and costly repairs. Stay safe and tackle the job with confidence.







