
Nothing ruins a kitchen task faster than a clogged or malfunctioning faucet spray head. Whether you’re dealing with weak water pressure, an uneven spray pattern, or just overdue maintenance, removing the spray head is often the first step to restoring full function. The good news? Most faucet spray heads can be removed in minutes, but the method depends on your model. While some twist off easily, others hide internal screws or require special tools. This guide walks you through every variation: standard removal, advanced disassembly, brand-specific quirks, and how to avoid common mistakes like hose retraction or stripped threads.
Standard Spray Head Removal Method
For most kitchen faucets, the spray head unscrews directly from the end of the hose. But do not turn it counter-clockwise as you might expect—many models use a reverse thread.
Pull Down and Secure the Hose
Fully extend the spray head by pulling it down into the sink. Grip the hose firmly near the connector with one hand. This prevents the hose from snapping back into the faucet body, which is a common issue that can delay your repair by requiring cabinet access to retrieve it.
Unscrew the Spray Head Clockwise
Hold the spray head in your other hand and rotate it clockwise to loosen. Yes, clockwise. Many manufacturers use reverse threading to prevent the spray head from loosening during daily use. Keep turning until it detaches completely.
Pro tip: If it is stuck, wrap the spray head in a rubber glove or microfiber cloth for better grip. Avoid pliers because they can scratch chrome or crack plastic.
Prevent Hose Retraction
If you need to set the spray head aside, clip a chip clip or wrap a rubber band around the hose and rest it on the sink edge. This simple trick stops the hose from retracting into the faucet neck.
Advanced Disassembly for Non-Standard Spray Heads

Not all spray heads unscrew from the hose. Some, especially on higher-end or older models, require internal disassembly to clean or replace components.
Check for a Spray Selector Button
If the base has a button to switch between stream and spray modes, it likely does not unscrew. Instead, the button hides a set screw. Use a 90-degree pick or dental tool to gently pry it off. Set it aside with any washers or spacers underneath.
Remove the Internal Set Screw
Under the button, look for a small Torx screw. T6 or T8 bits are common. Use the correct bit to remove it. This screw holds the internal core in place. Once removed, the plastic nozzle assembly should pull out or unscrew easily.
Separate the Plastic Core from Outer Shell
On models like older Kohler or Moen faucets, the gray plastic core containing the aerator twists out of the metal housing. Rotate it counter-clockwise to remove. This core holds the flow regulator and spray mechanism.
Visual cue: If the core looks discolored or mineral-coated, soaking is essential before reuse.
Cleaning and Inspecting Your Spray Head Components
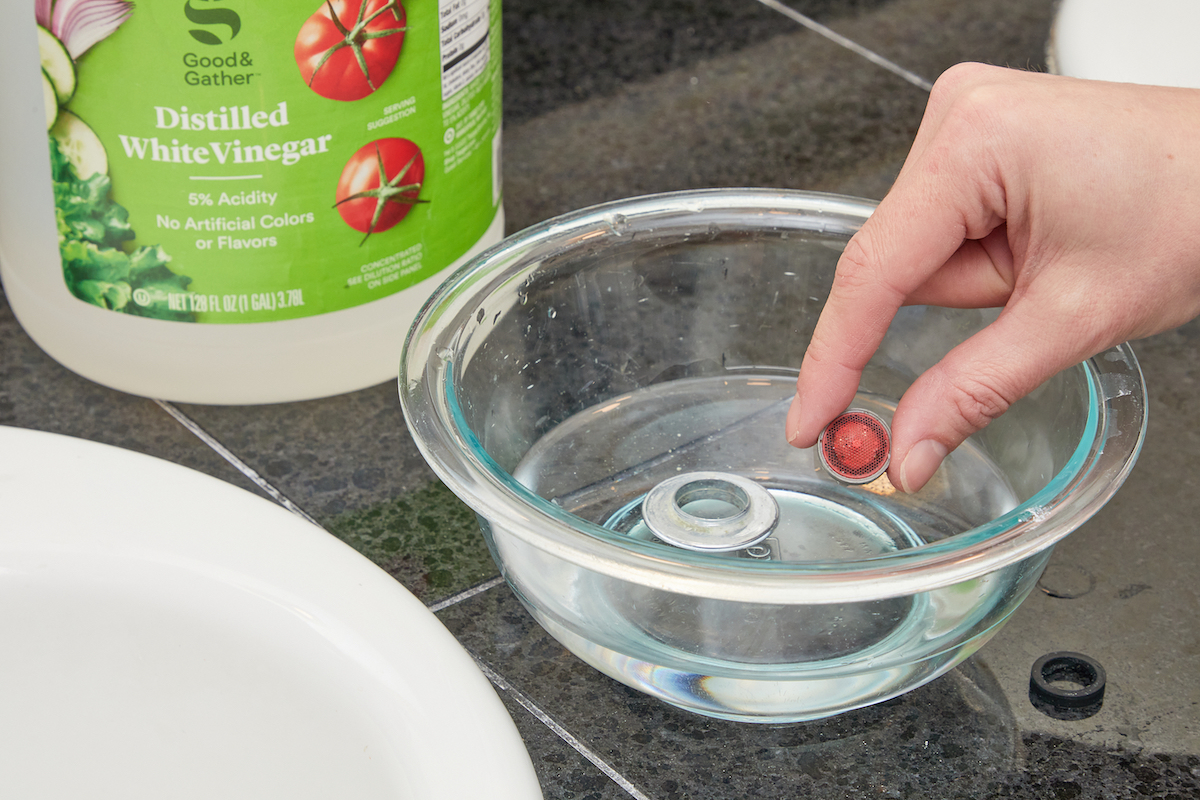
Once disassembled, cleaning is simple but critical for restoring performance.
Soak in White Vinegar
Place all removable parts, including the spray head, core, and aerator, in a bowl of white vinegar for at least 30 minutes. This dissolves calcium, lime, and mineral buildup that restricts flow. In high-mineral areas, extend soak time to 60 minutes or use a vinegar-soaked rag wrapped around the part.
Clear Clogged Nozzles with a Toothpick
After soaking, use a soft brush or toothpick to gently unclog individual spray holes. Never use a pin or metal object because it can scratch plastic and worsen flow issues.
Inspect O-Rings and Washers
Check rubber seals for cracks, brittleness, or flattening. Replace if damaged. Keep spacers and washers in order because they must go back the same way during reassembly.
Reinstalling or Replacing the Spray Head
Reassembly is the reverse of removal, but timing matters for a proper fit.
Reattach Using Counter-Clockwise Twist
For standard models, screw the spray head back on by turning it counter-clockwise. It will tighten as you go. Stop when it is snug because over-tightening can damage threads. For disassembled models, reinsert the plastic core, replace the set screw, and snap the selector button back on.
Test for Leaks and Proper Spray
Turn the water supply back on. Pull down the spray head and trigger it. Watch for leaks at the connection, an even spray pattern, and full water pressure. If flow is still weak, the issue may be deeper, like a clogged hose or faulty valve.
Essential Tools for Spray Head Removal
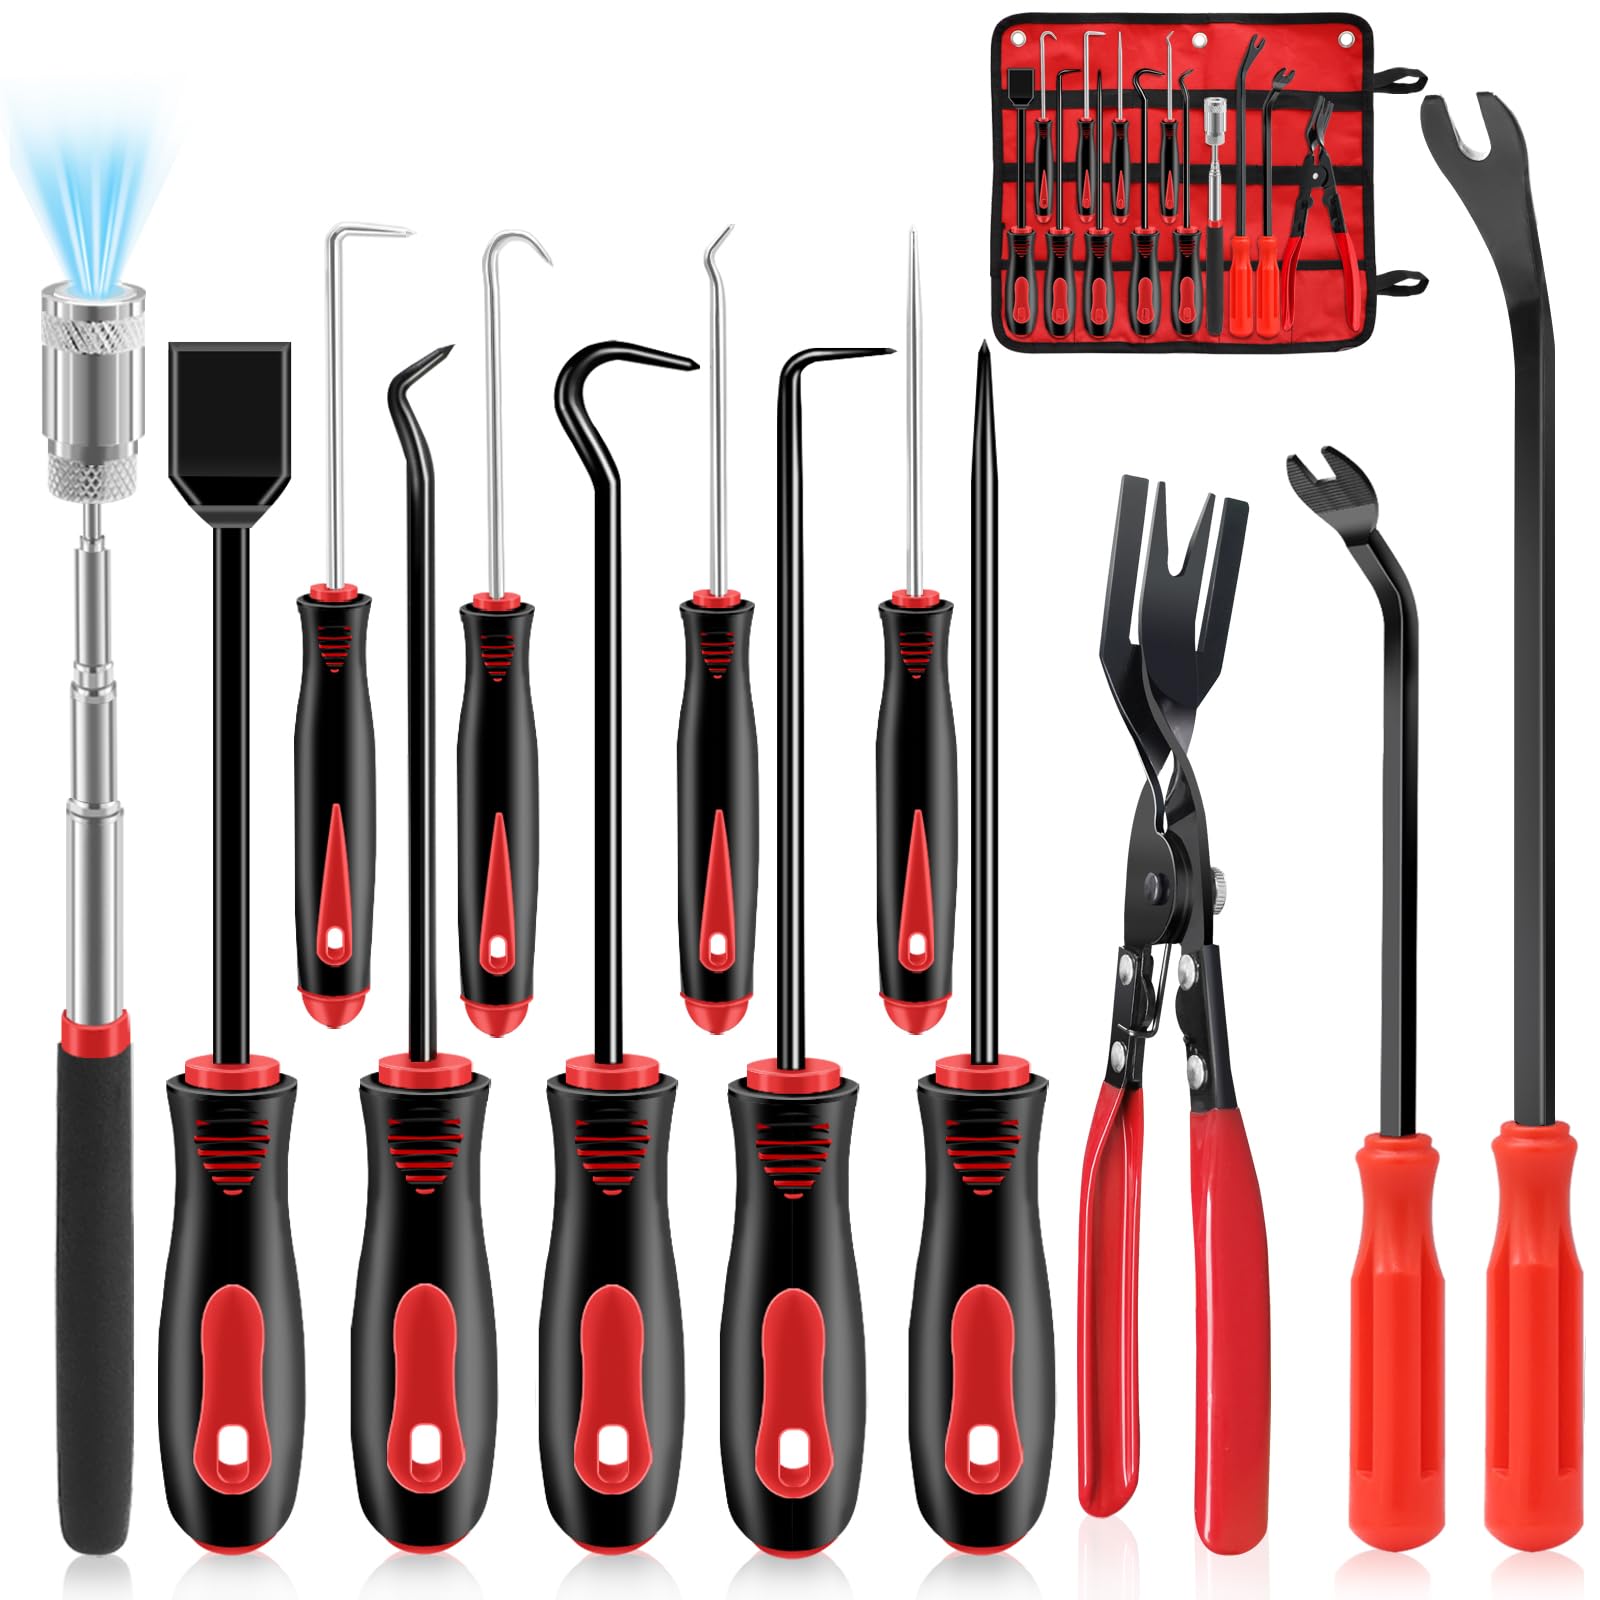
Not all jobs require the same tools. Be ready for variations across different faucet models.
Basic Hand Tools
Small Torx bits ranging from T6 to T10 are essential for set screws under spray buttons. A 90-degree pick tool removes selector buttons without scratching. A chip clip or rubber band prevents hose retraction. A microfiber cloth provides grip and scratch protection.
Specialty Tools for Stubborn Models
A universal spray head removal tool fits inside to extract internal cartridges. Snap ring pliers work on models with internal retaining rings. A cloth-wrapped adjustable wrench helps only if hand-tightening fails, and it must be used carefully.
Warning: Pliers directly on chrome can cause permanent damage. Always wrap with cloth before using any wrench.
Brand-Specific Removal Differences
Designs vary significantly by brand, especially for models like Kohler’s tricky Sous Pro.
Kohler Faucets
Kohler models, including the Sous Pro, do not unscrew using standard methods. They require removal of the spray button and a T8 Torx screw. The internal plastic core must be extracted for cleaning. Universal kits often will not fit, so use OEM parts for the best results.
Moen and Delta Faucets
Most Moen and Delta models use standard reverse-thread removal. Some newer models have internal aerators accessed via set screw. Universal replacement kits typically work well for these brands.
User insight: One Kohler owner reported YouTube tutorials failed completely, and only the manufacturer manual helped them succeed.
Troubleshooting Common Spray Head Problems
Even with the right steps, problems can arise during removal or after reassembly.
Spray Head Will Not Budge
The cause may be that it is not reverse-threaded, or a set screw is present. Check for a hidden screw under the spray button before forcing it.
Hose Retracts Into Faucet
The cause is releasing the grip during removal. Use a coat hanger or bent wire to hook and pull it back out from under the sink.
Low Pressure After Reassembly
The aerator may be installed backward, or debris is still in the hose. Disassemble again and verify aerator orientation, then clean the hose end.
Leaks at Connection
A damaged O-ring or incomplete threading causes leaks. Replace the O-ring, available in universal kits, and reattach securely.
When to Clean vs Replace Your Spray Head
Sometimes cleaning is not enough, and replacement becomes necessary.
Clean If
Minor clogging or flow reduction exists with no cracks or leaks. The internal aerator is accessible and cleanable.
Replace If
The housing is cracked or leaking. The spray button mechanism is broken. No compatible parts are available, which is common with older models. Cleaning does not restore pressure.
Real-world outcome: One user cleaned their aerator thoroughly but saw no improvement, later replacing the entire faucet due to internal valve issues.
Preventing Future Spray Head Issues
Keep your spray head working smoothly with simple maintenance habits.
Clean Every 3-6 Months
Set a reminder. In hard water areas, clean every 2-3 months. Regular vinegar soaks prevent heavy buildup.
Use a Water Softener if Needed
If mineral deposits return quickly, consider a whole-house or under-sink softener.
Label Parts During Disassembly
Take a photo before removing washers or spacers. A 30-second snapshot saves reassembly confusion and prevents mistakes.
Key Takeaways for Removing Faucet Spray Heads
Most spray heads unscrew clockwise because reverse threading is common. Some require disassembly, so check for a spray button and set screw before forcing removal. Kohler models often do not follow standard rules, so use OEM guidance. Always secure the hose to avoid retraction into the faucet body. Vinegar soaking restores flow in most clogged units. Universal kits help but are not universal across all brands. If cleaning fails, the faucet itself may need replacing. With the right approach, removing a faucet spray head is a quick, satisfying fix.
Frequently Asked Questions About Removing Faucet Spray Heads
Why does my spray head not unscrew?
Your spray head may not unscrew because it uses a reverse thread, meaning you must turn it clockwise to loosen. Alternatively, it may have a hidden set screw under a spray selector button that must be removed first.
Do all faucet spray heads use reverse threads?
Most standard spray heads use reverse threads, but not all. Higher-end models like Kohler often use internal screws and locking mechanisms instead of threaded connections.
Can I use pliers to remove a stuck spray head?
Avoid using pliers directly on chrome or plastic spray heads because they can scratch or crack the finish. Wrap the spray head in a rubber glove or microfiber cloth for grip, or use a cloth-wrapped wrench instead.
How do I know if my spray head needs replacing instead of cleaning?
Replace the spray head if the housing is cracked or leaking, the spray button mechanism is broken, or cleaning does not restore proper water pressure. Persistent low flow after thorough cleaning may indicate a deeper issue with the faucet valve.
What is the easiest way to prevent the hose from retracting into the faucet?
Use a chip clip, rubber band, or clothespin to secure the hose to the sink edge before removing the spray head. This prevents the hose from slipping into the faucet neck, which would require cabinet access to retrieve.







