
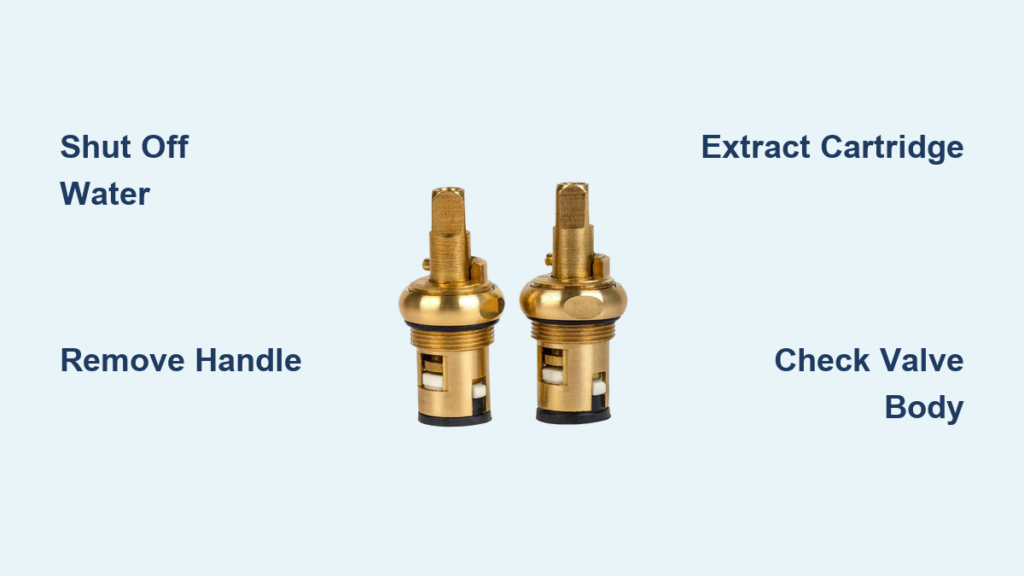
A dripping faucet wastes water and drives up your utility bills. In single-handle faucets, a worn faucet cartridge causes 70–80% of leaks, making cartridge replacement the most effective fix. This guide shows you how to remove a faucet cartridge safely, whether you have a Moen, Delta, Kohler, or generic faucet. You’ll learn to identify the cartridge type, free stuck parts, avoid costly mistakes, and complete the repair in under an hour with basic tools.
Shut Off Water Supply First
Before touching any plumbing components, you must stop the water flow to prevent flooding your kitchen or bathroom.
Locate the hot and cold shutoff valves under the sink. Turn both valves clockwise until they are fully closed. If the valves are stiff, corroded, or leaking, shut off the main water supply to your entire house instead. Once the water is off, open the faucet handle to release any remaining pressure and drain leftover water from the lines.
Gather these supplies before starting:
• Flathead screwdriver
• Allen wrench set (1/8″ and 5/64″)
• Adjustable wrench or basin wrench
• Needle-nose pliers
• Penetrating oil (WD-40)
• White vinegar
• Plumber’s grease (silicone-based)
• Clean towels and a rag
Pro Tip: Take photos of the plumbing setup with your phone before disassembly. These reference shots make reassembly much easier.
Plug the sink drain with a rag to prevent small screws or clips from falling through. Lay towels in the basin to protect the finish and catch any dropped parts. This preparation prevents costly mishaps and keeps your work organized.
Remove the Faucet Handle
The handle assembly hides the cartridge underneath. You need to expose the fastener that holds the handle in place.
Pry Off the Decorative Cap
Look for a small cap on top of the handle. It may be labeled “H/C,” colored red and blue, or bear a brand logo. Gently insert a flathead screwdriver or utility knife under the cap edge and pry it loose. Set the cap aside carefully, as plastic caps can crack if forced.
Unscrew the Set Screw
Underneath the decorative cap, you will find a set screw. This is usually an Allen-type (hex) screw, though some models use a Phillips-head screw. Use a 5/64″ or 1/8″ Allen wrench to turn the screw counter-clockwise until you can remove it. On Moen faucets, the set screw is often located on the side or base of the lever instead of the top.
Pull Off the Handle
Lift the handle straight up and off the stem. If the handle resists due to mineral buildup from hard water, spray penetrating oil around the base and wait 5–10 minutes. Gently wiggle while pulling upward to free it. Avoid excessive force, which can break the handle.
Watch for extras: Some faucets have a cam, collar, or retaining ring beneath the handle. Remove and label each part so you can reinstall them correctly.
Expose the Cartridge
With the handle removed, you can now access the retaining mechanism that holds the cartridge in place.
Remove the Retaining Clip or Bonnet Nut
Faucets use one of two types of retainers. Identifying yours determines the next step.
Retaining Clip (Common in Moen and Price Pfister):
A small C-shaped metal or plastic clip sits at the base of the cartridge. Use needle-nose pliers to grip and lift the clip straight out. Place it in a labeled container immediately, as these are easy to lose.
Bonnet Nut (Found in Delta, Kohler, and Peerless):
A hexagonal brass or chrome nut surrounds the cartridge stem. Use an adjustable wrench or basin wrench to turn it counter-clockwise until removed. Work carefully to avoid scratching the finish.
Warning: Do not overtighten this nut during reassembly. Overtightening can crack the valve body and cause leaks.
Special Case – Moen Locking Ring: Some Moen faucets use a locking ring instead of a clip. Rotate it slightly to disengage the internal tabs, then pull it off with pliers.
Extract the Old Cartridge

With the retaining mechanism removed, the cartridge is ready to come out.
Grasp the cartridge stem or body firmly and pull straight upward with steady, even pressure. Do not twist or rock the cartridge, as this can damage the valve seat and cause leaks.
If the cartridge is stuck:
• Soak the area with white vinegar or penetrating oil for 10–15 minutes
• Gently wiggle side-to-side while pulling
• Avoid using pliers on plastic cartridges, as they can crack
• Only use pliers on the base if absolutely necessary
Broken Cartridge? If the cartridge snaps during removal, use needle-nose pliers to extract any remaining pieces. Clean the valve body thoroughly before installing the new cartridge. A cartridge removal tool can help with stubborn remnants.
A typical cartridge measures 1.5″ to 3.5″ long and has slots, tabs, or splines. Note its orientation before removal so you can install the replacement correctly.
Inspect and Clean the Valve Body
With the cartridge out, examine the internal components for wear or damage.
Remove Rubber Rings and Springs
Check for a rubber or plastic ring and spring at the base of the valve body. Remove these with tweezers or a small screwdriver. Replace them if they appear cracked, swollen, or brittle, even if they look mostly intact.
Check Valve Seats
In older faucet models, valve seats sit inside the hot and cold water inlets. Use a seat wrench to remove them if present. Replace any valve seats that are pitted, corroded, or worn, as damaged seats cause leaks even with a new cartridge.
Disassemble Ball-Type Components
For ball-type faucets (common in models made before 1990):
• Remove the ball valve, cam, packing nut, and spring
• Lay parts out in order or take a photo for correct reassembly
• Clean each component thoroughly before putting them back
Pro Tip: Sketch the internal layout on paper or take photos. Misplacing even one small part causes handle problems later.
Identify the Correct Replacement Cartridge
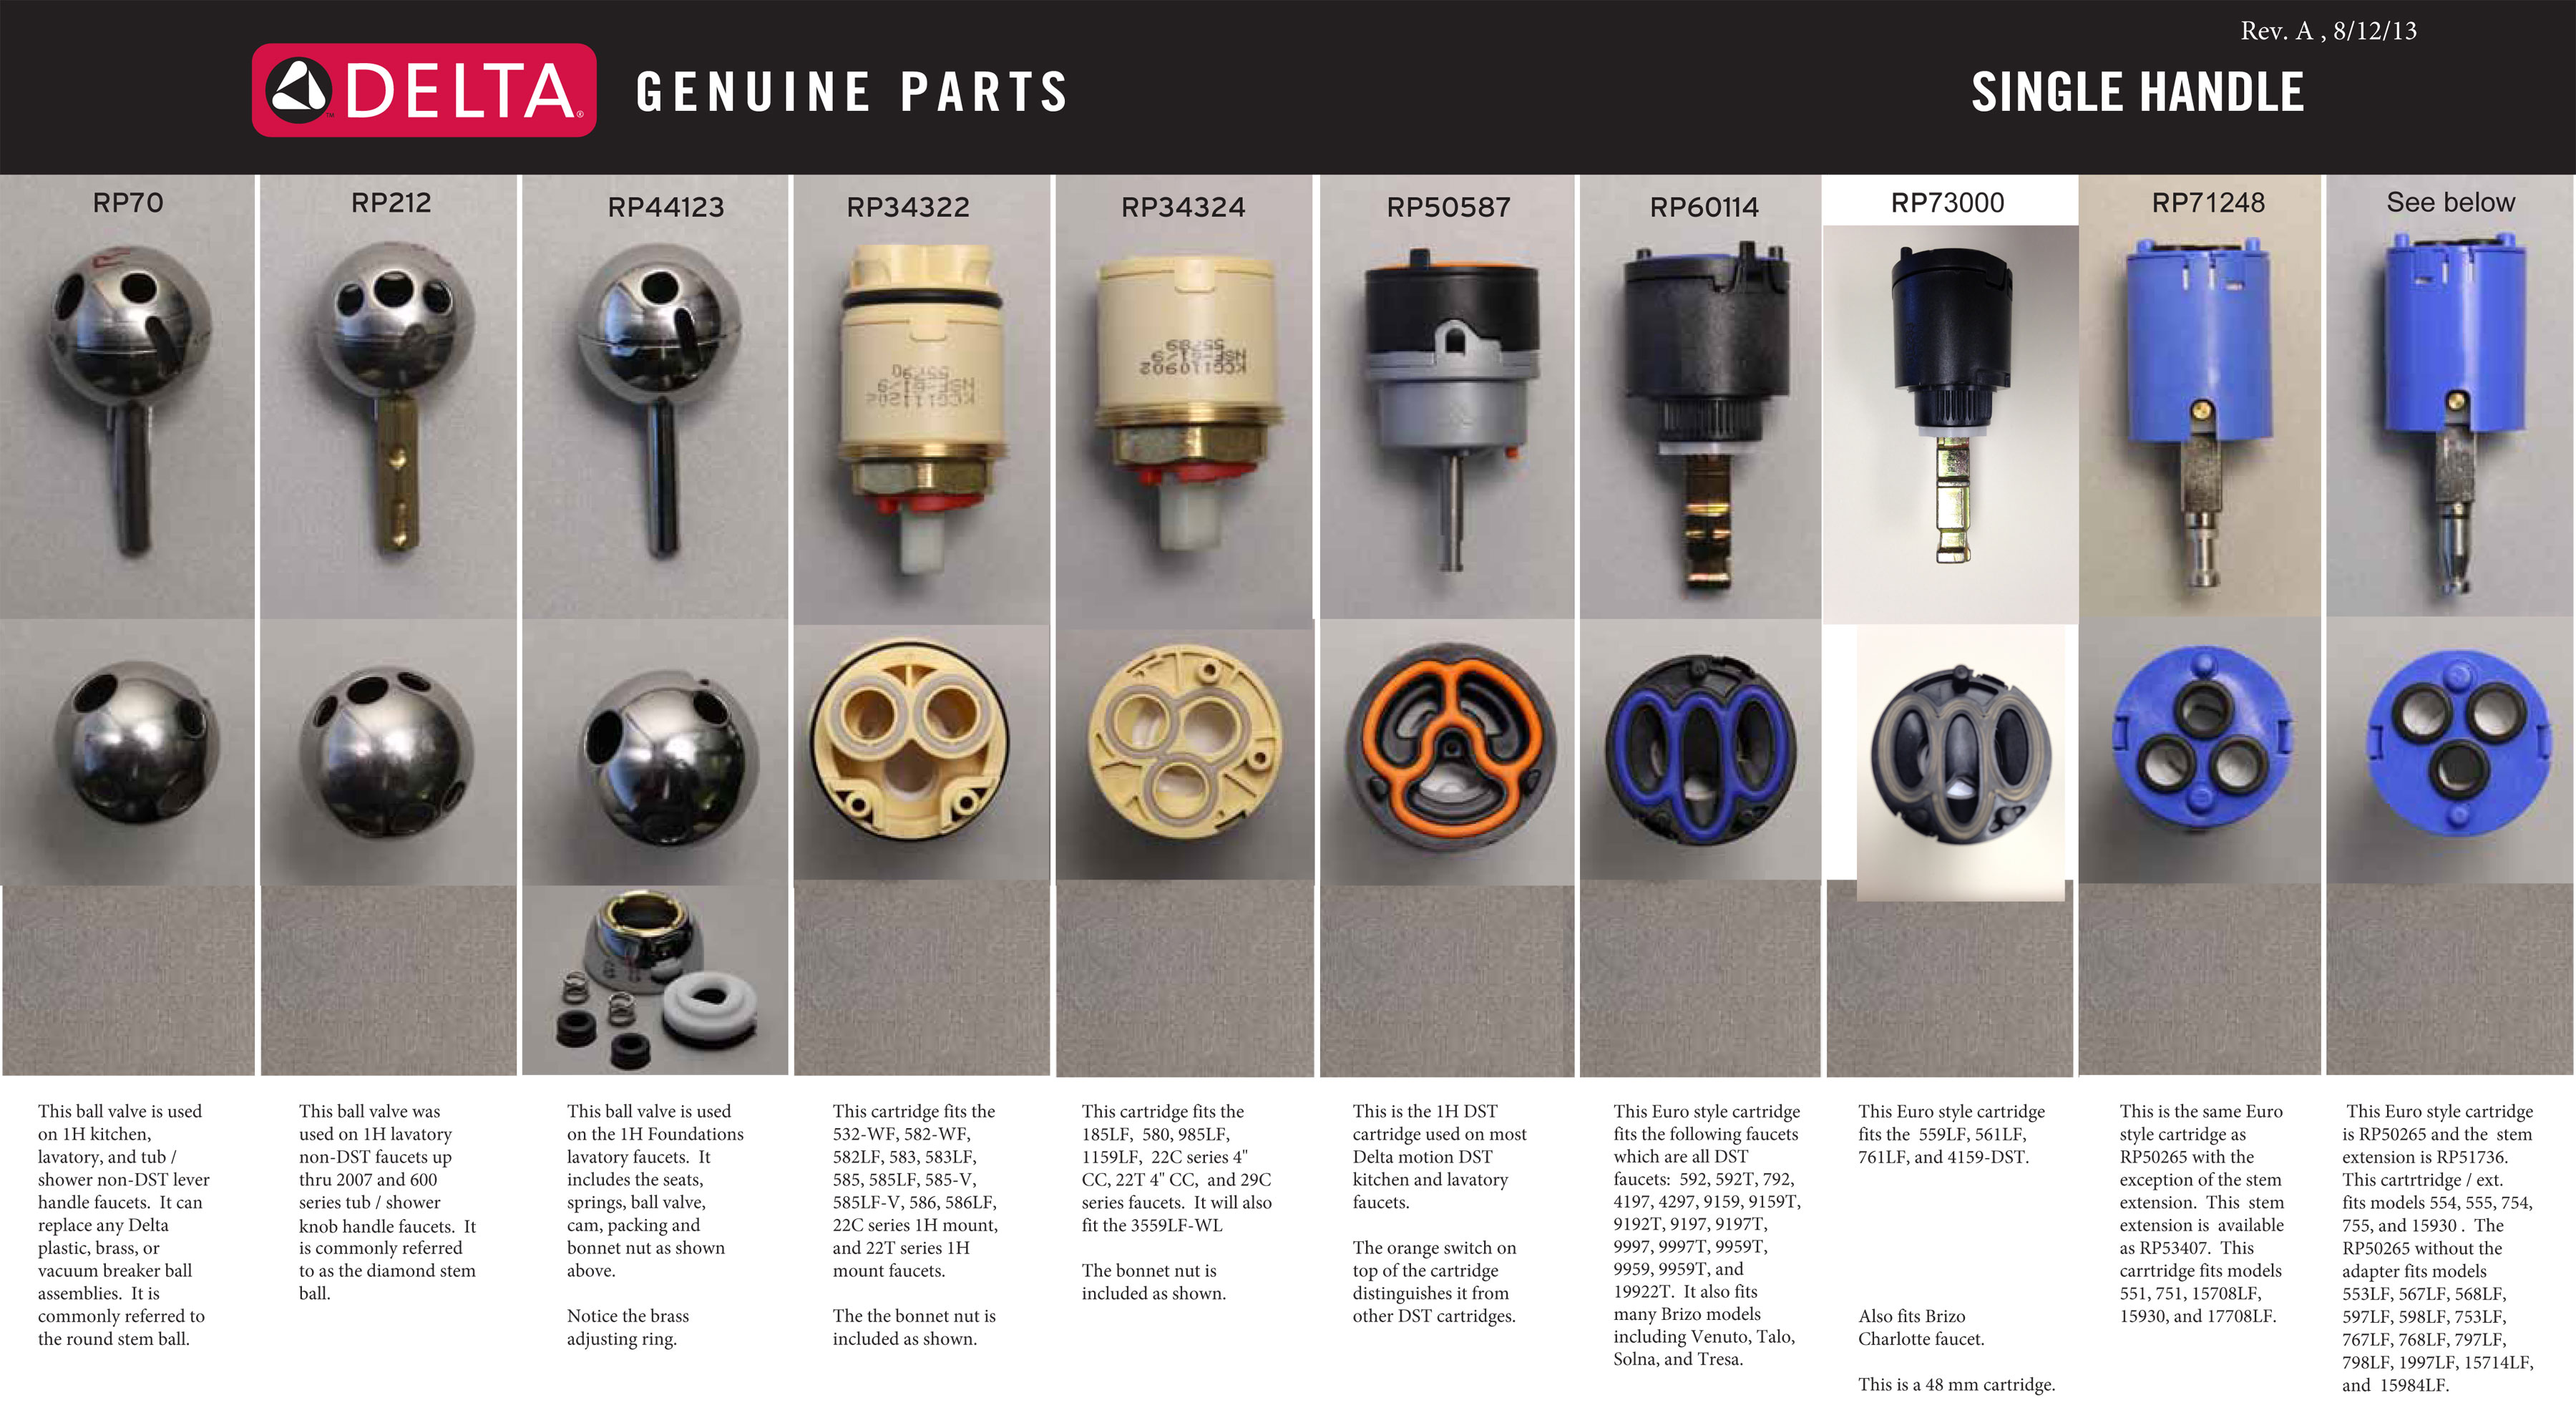
Installing the wrong cartridge leads to leaks, poor performance, and wasted time. Use these methods to find the exact match.
Match by Model Number
Look for engraved markings on the old cartridge. Common examples include:
• Moen: 1224B
• Delta: RP47204
• Kohler: K-11835-A
Measure Physical Dimensions
Use calipers or a ruler to record:
• Total length (within 1/8 inch)
• Stem diameter
• Slot depth and orientation
• Number and position of tabs
Use Manufacturer Lookup Tools
Most brands offer online tools to find the correct replacement:
• Moen Cartridge Finder
• Delta Parts Lookup
• Kohler Replacement Center
User Advice: Bring the old cartridge to the store. Photos do not show wear patterns or subtle fit issues that affect performance.
Install the New Cartridge
Choosing the right replacement is half the battle. Now install it correctly to ensure leak-free operation.
Lubricate Moving Parts
Apply a thin coat of plumber’s grease (silicone-based, non-petroleum) to the O-rings, stem, and sliding surfaces. This ensures smooth operation and prevents the rubber from drying out. Avoid petroleum-based lubricants, as they degrade rubber seals.
Align and Insert Properly
Match the tabs, slots, or ribs on the new cartridge with the corresponding grooves in the valve body. Insert the cartridge straight down without tilting or forcing it. Push until fully seated; it should sit flush or slightly recessed.
Critical Step: Misalignment causes handle binding, leaks, or incomplete shutoff. Take your time with this step.
Secure the Cartridge
Reinstall the retaining clip or bonnet nut:
• For clips: Snap into place evenly on both sides
• For nuts: Hand-tighten first, then give a quarter-turn with a wrench—do not overtighten
• For Moen locking rings: Rotate to engage tabs, then secure
Reassemble and Test the Faucet
Put everything back together and verify that the repair worked.
Reattach Handle and Cap
Slide the handle back onto the stem in the off (neutral) position. Tighten the set screw with an Allen wrench. Snap the decorative cap back into place.
Restore Water and Check for Leaks
Slowly open both hot and cold supply valves. Let water run for 30 seconds to flush any debris from the lines.
Test the faucet:
• Turn the handle from cold to hot—it should move smoothly
• Confirm full shutoff with no drips from the spout
• Check for leaks at the base, handle, and spout
Troubleshooting Tip: If the handle feels stiff or binds, remove it and realign the cartridge. Apply more plumber’s grease if needed.
Fix Common Post-Replacement Issues
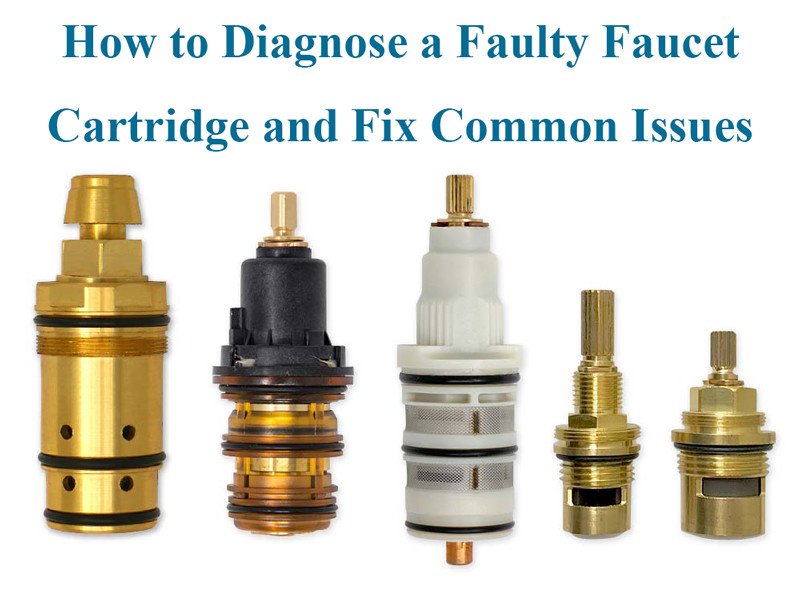
Even careful repairs can have problems. Here is how to fix them fast.
Leak Persists After Replacement
Cause: Wrong cartridge, misalignment, or damaged valve body.
Fix: Double-check the model number, reseat the cartridge, and inspect for cracks in the valve body.
Handle Feels Stiff or Binds
Cause: Misaligned stem or dry O-rings.
Fix: Remove the handle, realign the cartridge, and reapply plumber’s grease.
Hot and Cold Reversed
Cause: Cartridge installed upside down.
Fix: Pull the cartridge out and reinstall with the hot side toward the red indicator.
Low Water Pressure
Cause: Debris in the valve body or cartridge.
Fix: Shut off water, remove the cartridge, flush the inlets with vinegar, clean thoroughly, and reinstall.
Handle Won’t Stay in Position
Cause: Worn cam, loose set screw, or faulty cartridge.
Fix: Tighten the set screw, replace the cam, or swap the cartridge.
Expert Insight: Misalignment is the number one cause of post-installation issues. Taking time to get it right prevents callbacks.
Prevent Future Problems with Maintenance
Extend your faucet’s life with simple upkeep.
Replace Seals Every Time
Even if O-rings and springs look fine, replace them with every cartridge change. Old seals cause early leaks and wear out faster than you expect.
Clean Annually
In hard water areas:
• Remove the cartridge once a year
• Soak the valve body and parts in white vinegar for 15 minutes
• Scrub with a toothbrush to remove scale buildup
Apply Grease During Reassembly
Re-lubricate all moving parts every time you work on the faucet. This prevents sticking, reduces wear, and extends the cartridge lifespan.
Avoid Overtightening
Tighten nuts and screws just enough to secure them. Overtorquing cracks brass components and distorts plastic parts.
Warranty Tip: Moen offers a lifetime warranty on most cartridges. Delta and Kohler offer 10-year limited warranties. Keep your receipt and packaging for claims.
Know When to Call a Plumber
Most cartridge replacements are DIY-friendly, but call a professional if:
• The valve body is cracked or corroded
• The cartridge won’t budge after penetrating oil and soaking
• Shut-off valves don’t work and cannot be replaced
• Leaks continue despite correct installation
• The faucet is wall-mounted or has integrated supply lines
Cost Note: Professional repair averages $150–$300. DIY saves 70% or more in labor costs.
Final Checklist Before Turning Water On
Verify these points before restoring water supply:
• Water is turned off
• Handle and fasteners are removed
• Retaining clip or nut is out
• Old cartridge is fully extracted
• Valve body is clean and dry
• Internal seals and seats are inspected or replaced
• New cartridge matches exactly
• Plumber’s grease is applied
• Work area is organized
• Reference photos are taken
Pro Tips for Long-Term Success
• Keep the old cartridge in a labeled bag under the sink. It speeds up future repairs and helps identify the correct replacement.
• Use vinegar flushes every 6 months in hard water areas to reduce mineral buildup.
• Upgrade to ceramic disc cartridges (like Delta Diamond Seal) for 10–15 year lifespan.
• Avoid cheap aftermarket parts. Stick with Moen, Delta, or Fluidmaster for reliability.
• Document every step with phone photos. Future you will thank present you.
Final Insight: A proper cartridge replacement can extend your faucet’s life by a decade, stop water waste, and restore smooth operation. It is one of the most cost-effective DIY plumbing fixes you can make, saving hundreds compared to full faucet replacement or professional service.
Frequently Asked Questions About Removing Faucet Cartridges
How do I know if my faucet needs a cartridge replacement?
Signs include a dripping spout even when the faucet is fully closed, stiff or jerky handle movement, inconsistent water temperature, a loose or wobbly handle, and reduced water pressure. A continuously dripping faucet is most commonly caused by a worn cartridge in 70–80% of single-handle faucet repairs.
Can I remove a faucet cartridge without special tools?
Most cartridge removals require only basic tools: a flathead screwdriver, Allen wrench, adjustable wrench, and needle-nose pliers. These are common household tools. A basin wrench helps with hard-to-reach nuts, and a handle puller costs under $10 if needed.
How long does it take to replace a faucet cartridge?
For experienced DIYers, the repair takes 30–60 minutes. First-timers should budget 1–2 hours to allow for learning and troubleshooting. The process involves shutting off water, removing the handle, extracting the old cartridge, installing the new one, and testing for leaks.
What if the cartridge is stuck and won’t come out?
Apply penetrating oil (like WD-40) or white vinegar to the area and wait 10–15 minutes. Gently wiggle side-to-side while pulling. Avoid using pliers on plastic cartridges, as they can crack. If it still won’t budge, a cartridge removal tool can help, or it may be time to call a plumber.
Do I need to replace the O-rings and springs too?
Yes. Always replace the O-rings, seals, and springs even if they appear intact. Old rubber components cause early leaks and wear faster. Most replacement cartridges come with new O-rings included.
Are Moen, Delta, and Kohler cartridges interchangeable?
No. Each brand uses specific cartridge designs that are not interchangeable. Moen cartridges (like the 1224B) are cross-compatible within their product lines, but Delta and Kohler cartridges are more model-specific. Always match by exact model number or take the old cartridge to the store for comparison.







