
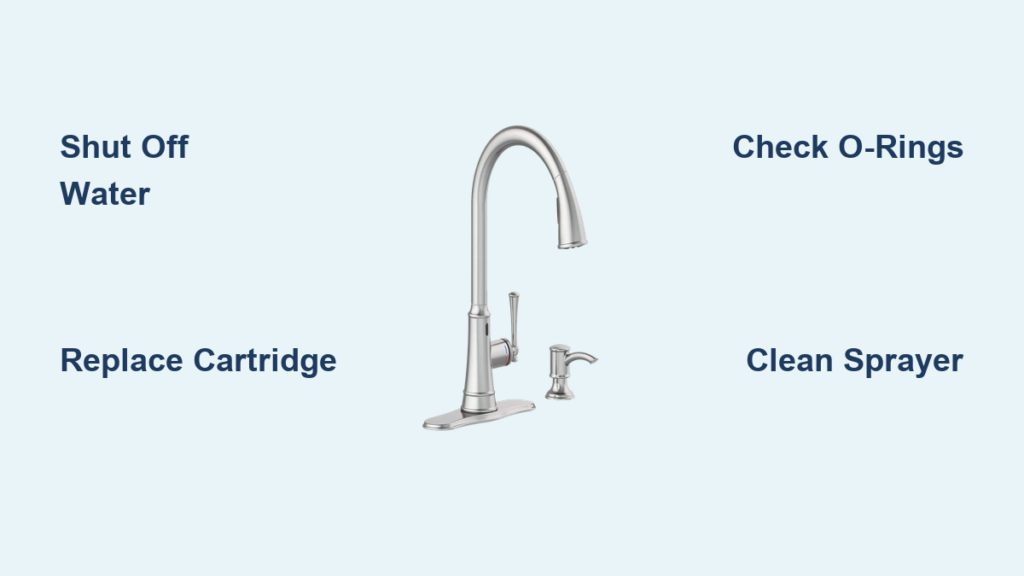
A dripping Glacier Bay faucet can waste water, spike utility bills, and disrupt your daily routine. Whether you’re dealing with a leaky spout, stiff handle, or a pull-down sprayer that will not retract, most issues stem from worn internal parts like cartridges, O-rings, and plastic washers. The good news? You do not need to replace the entire faucet. With basic tools and this comprehensive guide, you can fix your Glacier Bay faucet in under 45 minutes. You will learn how to diagnose the problem, replace faulty components, and prevent future leaks while saving hundreds compared to professional plumbing or full faucet replacement.
Shut Off Water Supply Before Repairs
Before any repair, you must cut off water to prevent flooding and ensure safe disassembly. This step takes less than two minutes but protects your entire kitchen from water damage.
Locate and Close Under-Sink Valves
Find the hot and cold shutoff valves beneath your sink. Turn both valves clockwise until they are fully closed. Open the faucet handles to drain residual water and relieve pressure in the lines. Plug the sink drain with a rag to avoid losing small screws or parts during the repair.
Pro Tip: If valves feel stiff or corroded, apply penetrating oil like PB Blaster and wait 5 to 10 minutes before turning.
Remove the Faucet Handle
Handle removal is your first step to accessing internal components. The method varies slightly by model, but the process remains straightforward for most Glacier Bay faucets.
Pry Off the Decorative Cap
Use a flat-head screwdriver to gently lift the cap on top of the handle. Red or blue caps indicate hot or cold sides, while logo caps hide the set screw beneath. Wrap your screwdriver tip in tape to avoid scratching the finish.
Unscrew the Set Screw
Most Glacier Bay models use a 1/8 inch or 5mm Allen wrench. Insert the wrench and turn counterclockwise to remove the screw. Some older models use a Phillips screw instead, so verify the screw type before forcing it.
Lift Off the Handle
Pull the handle straight up. If it sticks, spray penetrating oil around the base, wait 5 to 10 minutes, then tap the side gently with a soft mallet. Never pry upward forcefully, as this can crack the handle.
Access the Cartridge or Valve Assembly
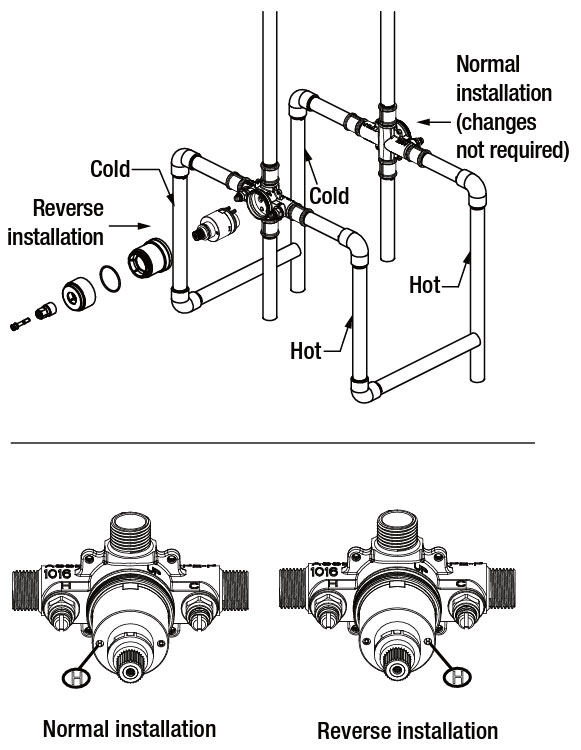
The cartridge controls water flow and temperature. When it fails, you will experience leaks, drips, and stiff handle operation. Accessing this component is essential for most repairs.
Unscrew the Retaining Nut
Use an adjustable wrench or basin wrench to remove the bonnet nut. Turn counterclockwise to loosen. If the nut will not budge, apply penetrating oil, wait 5 to 10 minutes, then apply steady even pressure. Do not strip the edges by forcing too hard.
Remove the Cartridge
Once the nut is off, lift off the cartridge cover. Use a flat-head screwdriver to gently pry the cartridge upward from the side. Twist slightly while pulling if it sticks. For ball-type models found in some dual-handle units, remove the retaining clip after the cap, then extract the ball assembly while noting keyway alignment.
Warning: Never force the cartridge. Forcing can damage the housing and lead to costly replacement.
Inspect and Replace Internal Components

Most Glacier Bay faucet problems trace back to a few key parts. Understanding what to look for helps you replace the right components the first time.
Replace Worn Cartridges
Remove both hot and cold cartridges, even if only one side leaks. Replacing both ensures balanced performance and prevents repeat repairs. Check for cracks, warped seals, and mineral buildup. Take the old cartridge to Home Depot or compare online using your model number found on the base or packaging. Apply silicone grease to O-rings, sliding surfaces, and sealing edges using a thin even layer. Over-greasing attracts debris and causes problems.
Pro Tip: Glacier Bay customer service often sends free replacement cartridges. Call with your model number to request parts.
Upgrade O-Rings and Washers
Inspect all O-rings on the cartridge stem, spout base, and sprayer hose. Replace any that are cracked, flattened, or brittle. Lubricate new O-rings with silicone grease before installation. Replace plastic washers with metal ones, as they last longer and resist compression better.
Service Ball Assembly
Older Glacier Bay models may have a ball assembly instead of a cartridge. Inspect the ball for pitting, check seals and seats for erosion, and examine springs for loss of tension. Clean all parts with vinegar, then relubricate with silicone grease. Never use petroleum-based grease, as it degrades rubber and causes leaks.
Reinstall Cartridge and Reassemble
Proper reassembly prevents leaks and ensures smooth operation. Take your time with this step to avoid problems down the line.
Insert New Cartridge
Align the tabs, notches, or flat sides with the valve body. Push down until fully seated with no gaps. Reinstall the retaining nut by hand-tightening first, then use a wrench for 1/4 to 1/2 additional turn. Do not overtighten, as this can crack the housing.
Reattach the Handle
Slide the handle back on, aligning the flat spot on the shaft with the set screw. Insert the screw and apply Loctite 242 to the threads to prevent loosening from daily use. Tighten until snug, not forced. Over-tightening strips plastic components.
Color Code Reminder: Red indicates hot and goes on the left. Blue indicates cold and goes on the right.
Restore Water and Test for Leaks
The final step involves turning water back on and verifying your fix works properly. Thorough testing prevents callbacks and ensures the repair is complete.
Open Shut-Off Valves Slowly
Turn both valves counterclockwise gradually. Opening slowly prevents water hammer, which are sudden pressure surges that can damage pipes. This gradual approach also helps you spot any leaks as pressure builds.
Check for Leaks
Inspect the base of the faucet, the handle, the retaining nut, and the spout connection. Run water for 30 to 60 seconds to flush any debris introduced during repair. Test hot and cold separately, then shut off completely. No dripping should occur.
If minor drip persists: Tighten the almond-colored compression nut with a 5-in-1 tool. Recheck cartridge alignment and O-ring lubrication.
Fix Pull-Down Sprayer Leaks
Sprayer issues are common in single-handle Glacier Bay models. Addressing these problems restores full functionality to your faucet.
Disconnect and Inspect the Hose
Unplug the sprayer hose from the faucet base. Check O-rings at both ends and replace if cracked or flattened. Look for kinks, punctures, or swelling in the hose itself. Replace the hose if compromised, available at Home Depot for $15 to $25.
Clear Nozzle Clogs
Soak the sprayer head in white vinegar for 30 minutes to dissolve mineral deposits. Use a toothpick or pin to unclog individual jets. Rinse thoroughly and reattach. Clean the aerator and sprayer every six months, especially in hard water areas.
Fix Retraction Issues
If the hose will not retract, clean the weight or recoil mechanism inside the sink. Ensure no obstructions exist in the hose path. Lubricate with silicone spray, never oil.
Prevent Future Problems with Maintenance
Extending your faucet life requires simple regular care. These maintenance tasks take minutes but save significant repair costs over time.
Clean Aerator Every Six Months
Unscrew the spout tip, which is the aerator. Soak in vinegar to dissolve mineral deposits. Use a brush to clean the mesh screen, then reinstall and hand-tighten.
Lubricate Components During Service
Apply silicone grease to the cartridge, O-rings, and ball assembly during any repair. This keeps operation smooth and seals intact. Use only silicone or plumber grease, never petroleum-based products.
Upgrade Plastic Washers to Metal
Plastic wears quickly. Metal washers last two to three times longer and are available in plumbing kits at any hardware store. This simple upgrade prevents repeat repairs.
Tighten Handle Annually
Check the set screw for looseness every year. Reapply Loctite if needed. This simple step prevents handle wobble and premature wear.
Know When to Repair vs. Replace
Understanding when to repair and when to replace saves money and frustration. Make the right decision based on your specific situation.
Repair If
You should repair if you have access to replacement parts, the housing is not cracked, you are comfortable with DIY plumbing, and the cost of parts is under $30. DIY repair costs $10 to $25 and takes 20 to 45 minutes with a high success rate.
Replace If
Replace the entire faucet if the cartridge is fused to the housing and will not budge, if the base or spout has visible cracks, if you have repaired it multiple times in two years, or if you want upgraded features like touchless operation or higher flow rates. Full replacement costs $80 to $200 or more and requires one to two hours of labor.
Use Warranty and Free Support
Glacier Bay offers strong post-purchase support that many owners do not realize exists. Take advantage of these resources before purchasing parts.
Limited Lifetime Warranty
The warranty covers material defects, finish issues, and mechanical failures. Exclusions include hard water damage, improper installation, and use of abrasive cleaners. Check the official Glacier Bay website for current terms.
Get Free Replacement Parts
Contact Glacier Bay customer service through the Home Depot website or official support portal. Provide your model number, a photo of the issue, and proof of purchase if available. Many users report receiving free cartridges within five to seven days. Even out-of-warranty models may qualify for low-cost or free parts.
Frequently Asked Questions About Glacier Bay Faucet Repair
How do I identify my Glacier Bay faucet model number?
The model number is usually located on the base of the faucet beneath the sink, on the original packaging, or on the product receipt. You can also search using photos of your faucet at Home Depot or on the Glacier Bay website.
Why does my Glacier Bay faucet drip even after replacing the cartridge?
A persistent drip often means the O-rings are worn, the cartridge is not properly seated, or the retaining nut needs tightening. Recheck all connections, apply fresh silicone grease to O-rings, and ensure the cartridge is fully inserted.
Can I use any brand cartridge to replace my Glacier Bay cartridge?
No. Glacier Bay cartridges are specific to each model. While some builder-grade faucets share compatible parts, you must verify the exact match. Bring your old cartridge to the hardware store or order by exact model number.
How often should I replace the aerator on my Glacier Bay faucet?
Clean the aerator every six months in hard water areas or annually in areas with soft water. Regular cleaning prevents low water pressure and sputtering flow while extending the life of your faucet.
What should I do if the handle screw is stripped?
If the screw is stripped, apply penetrating oil and try a larger Allen wrench or a screw extractor. If these methods fail, you may need a replacement handle or screw. Contact Glacier Bay for replacement parts.
Is professional repair worth it for a Glacier Bay faucet?
For most issues, DIY repair is strongly recommended. Professional plumbers charge $150 to $300, while DIY costs $10 to $25 in parts. Unless the faucet housing is cracked or you lack basic tools, the DIY approach saves significant money.
Key Takeaways for Fixing Your Glacier Bay Faucet
Fixing a Glacier Bay faucet is one of the most cost-effective DIY plumbing tasks available. With basic tools and this guide, you can resolve leaks, restore performance, and avoid unnecessary replacement. The most common issues stem from worn cartridges, degraded O-rings, and compression from plastic washers. Always shut off water first, use penetrating oil on stuck parts, and apply silicone grease to all rubber components during reassembly. Replace both cartridges if one fails, upgrade plastic washers to metal, and apply Loctite to handle screws to prevent loosening. Regular maintenance including cleaning the aerator every six months and annual handle tightening ensures your faucet lasts 10 years or more, even in hard water environments. Do not let a drip defeat you. Repair it today and reclaim smooth, reliable water flow while saving hundreds in plumbing costs.







