
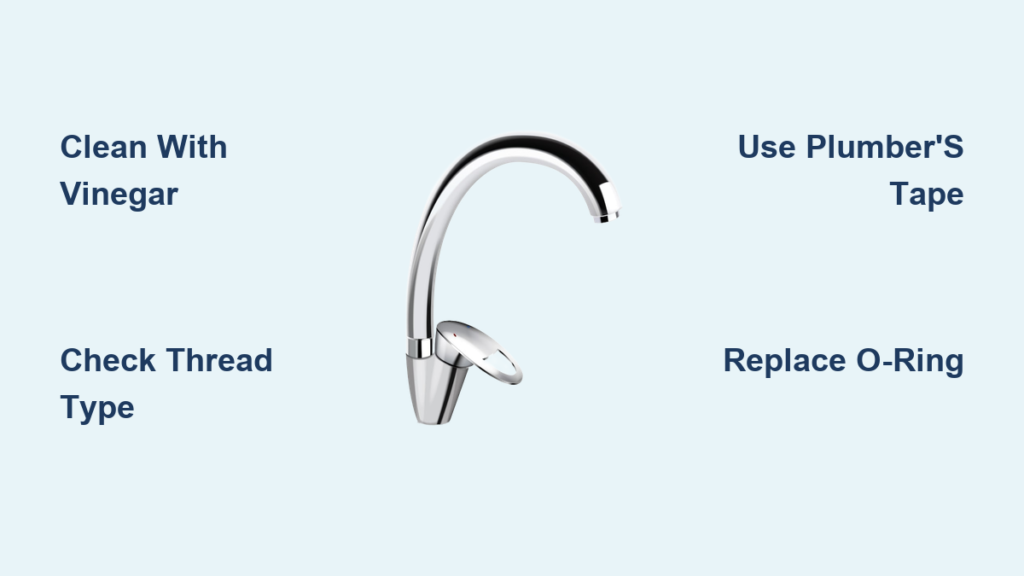
A dripping, clogged, or malfunctioning faucet head can disrupt your daily routine and waste water. Whether you’re dealing with low pressure, a stuck spray mode, or a leak at the connection point, fixing a faucet head is usually a quick DIY job that takes under 30 minutes. Most issues stem from mineral buildup, worn seals, or thread incompatibility, problems easily resolved with basic tools and the right replacement parts. This guide walks you through diagnosing the issue, removing the old head, selecting a compatible replacement, and installing it correctly to restore full function.
You’ll also learn how to clean clogged nozzles, prevent future issues, and avoid common mistakes like over-tightening or using mismatched adapters. By the end, you’ll have the knowledge to handle most faucet head problems confidently without calling a plumber.
Identify the Faucet Head Problem
Before replacing or repairing, pinpoint the exact issue. Most faucet head problems fall into one of several categories, and understanding what you’re dealing with saves time and money.
Leaking at the Connection Point
If water drips from where the spray head attaches to the hose or faucet body, the O-ring or internal seal may be worn. Threads could be damaged or lack proper sealing. Plumber’s tape may be missing on male threads.
Look for moisture or mineral stains around the joint. Even small seepage can lead to cabinet damage over time, so address it promptly.
Low Water Pressure or Uneven Spray
Weak flow or misdirected streams typically indicate mineral clogs in the nozzle holes, especially common in hard water areas. A blocked filter screen inside the head or partial hose kinking can also cause these issues.
Soak the head in vinegar first. This often restores flow without replacement and takes only a few hours.
Spray Mode Won’t Switch or Stick
If the spray doesn’t toggle between stream and spray, the spray button mechanism is jammed or worn. Debris may be trapped in the internal valve, or internal rubber seals are deteriorating.
Press the button repeatedly. If it feels stiff or doesn’t click, replacement is likely needed.
Remove the Old Faucet Head
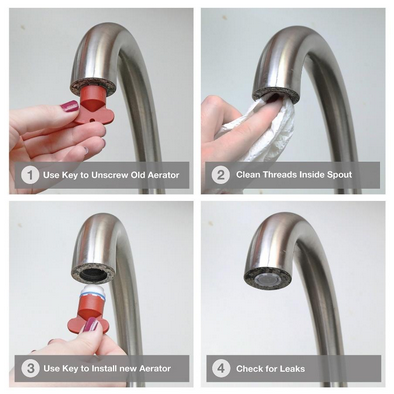
Unscrew the Spray Head
Most faucet heads twist off by hand. Follow these steps:
- Pull the spray head down to access the connection.
- Turn counterclockwise to unscrew.
- If stuck, wrap a cloth around the head and use pliers to avoid scratching the finish.
Never force it. If it won’t budge, soak the connection in vinegar for 10 to 15 minutes to dissolve mineral bonds.
Inspect the Threads and Hose
Once removed, check the exposed threads on the faucet body for corrosion or damage. Look for cracks or kinks in the pull-out hose. If the hose is leaking or stiff, consider replacing the entire hose assembly.
Only the spray head needs replacing in 80% of cases. The hose and handle usually remain functional.
Choose the Right Replacement Head
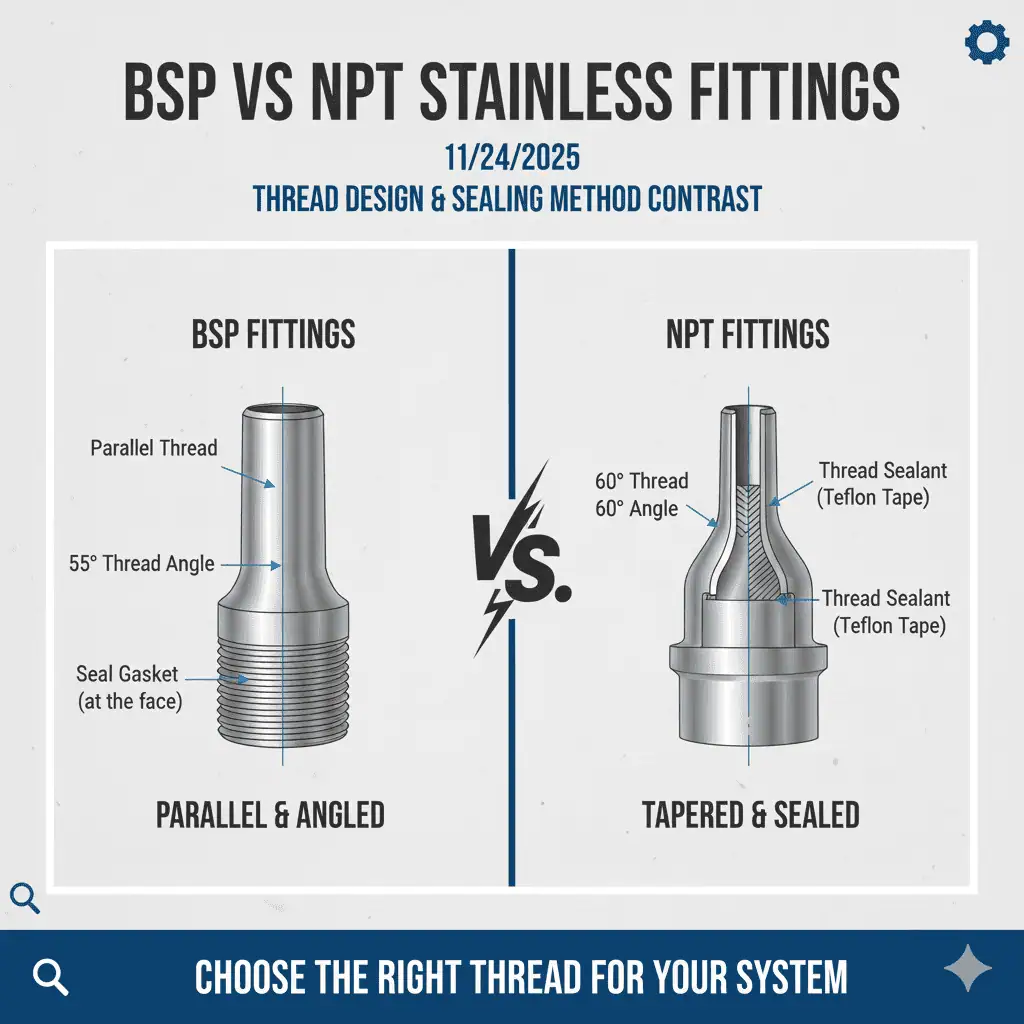
Match the Thread Type and Size
Using the wrong thread causes leaks or improper fit. Common types include:
| Thread Type | Diameter | Threads Per Inch | Region Common |
|---|---|---|---|
| 5/16-18 NPT | 5/16 inch | 18 | North America |
| G1/2 BSP | 1/2 inch | 14 | Europe, UK |
NPT and BSP are not interchangeable without an adapter. This is the most critical factor for a successful fix.
Use the Included Adapter Kit
Most replacement heads come with multiple adapters in plastic or metal, assorted washers, and plumber’s tape. Test-fit each adapter into the new head and onto the faucet body before installation.
If the adapter sticks out slightly after installation, don’t trim it. The gap is usually not visible from above and doesn’t affect performance.
Install the New Faucet Head
Attach the Adapter
- Insert the correct adapter into the new faucet head.
- Use pliers to press it fully into place. Ensure it’s snug.
- If the adapter has plastic threads, tighten gently to avoid stripping.
Over-tightening plastic components can crack them, leading to leaks.
Seal the Threads
Wrap plumber’s tape around the male threads. Apply 2 to 3 wraps clockwise, the direction it will screw on. This creates a watertight seal and prevents future leaks.
Never skip this step. It’s the number one reason for post-installation drips.
Screw On the New Head
- Hand-tighten the new head onto the faucet body clockwise.
- Once snug, use a crescent wrench for a quarter-turn more.
- Do not over-tighten. This can damage threads and make future removal difficult.
The head should sit flush and feel secure without wobbling.
Test for Leaks and Function
Turn Water Back On
- Slowly open the shutoff valves under the sink.
- Turn on the faucet and let water run for 30 seconds to clear air.
Check for Issues
Inspect for leaks at the connection, smooth switching between spray modes, full water pressure in both stream and spray, and automatic return to stream mode after releasing the spray button.
Run the faucet for 1 minute, then check underneath with a flashlight. Even a slow drip needs attention.
Clean a Clogged Faucet Head (Alternative Fix)
If pressure is low but the head is otherwise functional, cleaning may resolve the issue without replacement.
Soak in Vinegar
- Unscrew the head.
- Submerge the nozzle in white vinegar for 4 to 12 hours.
- Use a toothpick or soft brush to clear individual holes.
- Rinse thoroughly and reinstall.
This method works best in hard water areas where calcium and lime buildup are common.
Replace Internal Filter Screen
Some heads have a small mesh screen inside. Remove it with tweezers or pliers. Clean or replace if clogged, then reassemble carefully.
Do this every 1 to 3 months to maintain peak performance.
Fix Common Installation Mistakes
Leaking After Installation
Common causes include missing plumber’s tape, mismatched thread adapter, or over-tightened connection. To fix this, disassemble and reapply Teflon tape. Try a different adapter from the kit. Retighten gently, snug not forced.
Wrap tape on both the adapter and faucet body if leaks persist.
Spray Mode Not Working
If the new head doesn’t switch modes, the button may be defective. Contact the manufacturer. Debris may be trapped, so disassemble and clean. The internal spring or seal could be misaligned.
Try the head before final tightening. If it doesn’t work off the faucet, it won’t work on it.
Prevent Future Faucet Head Issues
Regular Maintenance Schedule
Perform these tasks to keep your faucet head in top condition:
• Clean nozzle with vinegar every 1 to 3 months.
• Inspect O-rings and seals every 6 months.
• Check hose for kinks annually.
• Replace worn washers as needed.
Keep spare adapters, washers, and plumber’s tape in your toolkit for quick repairs.
Use Non-Abrasive Cleaners
Avoid harsh chemicals or steel wool. They scratch finishes and degrade rubber seals. Use mild dish soap and a soft cloth instead.
Vinegar is safe for descaling but rinse thoroughly after use.
Upgrade for Better Performance
Choose a Durable Finish
Opt for stainless steel, brushed nickel, or metal-coated plastic. Avoid all-plastic heads. They wear faster and feel cheap.
Metal-finish heads last 2 to 3 times longer and improve kitchen aesthetics.
Pick Multi-Function Spray Modes
Look for these beneficial features:
• Stream, spray, and pause functions.
• Ergonomic grip for comfortable use.
• High-velocity rinse for tough cleaning jobs.
• Automatic mode return after release.
Look for models with anti-drip valves to prevent post-use dripping.
Troubleshoot Persistent Problems
Faucet Still Leaks After Fix
If water seeps from the base, the hose or swivel connector may be damaged. The O-ring inside the handle could be worn. Consider replacing the entire pull-out assembly.
Call a plumber if the leak is under the sink or at the hose inlet. Professional help may be needed for complex issues.
No Water Flow After Installation
Check that water supply valves are fully open. Verify the aerator or filter isn’t blocked. Confirm the adapter is seated correctly and not obstructing flow.
Remove the head and turn on the faucet. If water flows, the issue is in the head or adapter.
Key Takeaways for Fixing Your Faucet Head
Most faucet head issues are simple to fix with the right tools and knowledge. Cleaning or replacing the head takes less than 30 minutes and restores full functionality. The most critical step is matching thread compatibility, whether using 5/16-18 NPT or G1/2 BSP. Always apply plumber’s tape to male threads and avoid over-tightening to prevent damage.
By choosing a compatible, high-quality replacement and sealing threads properly, you’ll enjoy strong water pressure, smooth spray switching, and a drip-free sink for years. Keep spare parts on hand and perform regular maintenance to extend the life of your faucet head.
Frequently Asked Questions About Fixing Faucet Heads
How do I know if my faucet head needs replacement or just cleaning?
If low water pressure stems from mineral buildup, cleaning with vinegar often fixes it. If the spray mode won’t switch, the head leaks at the connection, or cleaning doesn’t improve flow, replacement is needed.
Can I use any faucet head on my kitchen faucet?
No. Faucet heads have specific thread types, primarily 5/16-18 NPT in North America or G1/2 BSP in Europe. Using the wrong thread causes leaks or improper fit. Always use the included adapter kit to match your faucet.
Why does my faucet head still leak after I replaced it?
The most common reasons are missing plumber’s tape on the threads, using the wrong adapter, or over-tightening which damaged the threads. Disassemble, apply fresh Teflon tape, and tighten gently.
How often should I clean my faucet head?
Clean the nozzle every 1 to 3 months, especially in hard water areas. Regular cleaning prevents mineral buildup that causes low pressure and clogged spray holes.
What tools do I need to fix a faucet head?
You’ll need an adjustable wrench or crescent wrench, pliers, plumber’s tape, and the adapter kit that comes with replacement heads. Most repairs take under 30 minutes with these basic tools.







