
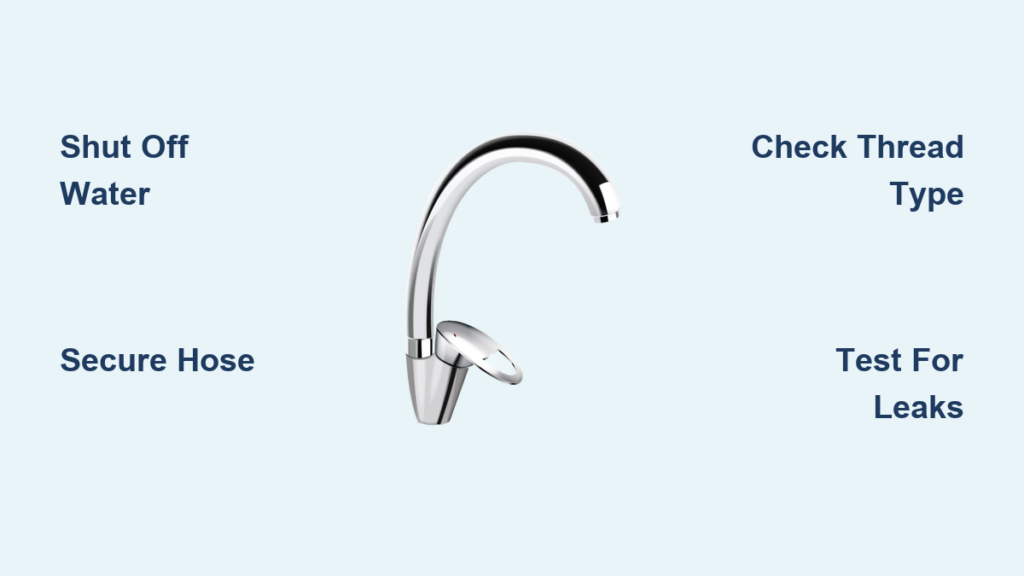
Is your kitchen spray head cracked, leaking, or stuck on stream mode? Replacing a faucet head, especially on a pull-down or pull-out model, can restore full functionality in under 10 minutes. This common repair requires minimal tools and often uses tool-free connections designed for easy swap-outs. Whether you’re upgrading to a better spray or fixing a drip, this step-by-step guide walks you through every detail.
You’ll learn how to choose the right replacement, avoid the number one mistake of letting the hose retract into the faucet, and ensure a perfect leak-free installation every time.
Shut Off Water Supply Before Replacement
Before touching any part of the faucet, stop water flow to prevent mess and damage. This simple step takes seconds but saves significant cleanup later.
Turn Off Under-Sink Valves
Locate the hot and cold shutoff valves under the sink. Turn both clockwise until tight. If valves are stiff or missing, shut off the main water supply instead.
Relieve Line Pressure
Open the faucet lever above to drain leftover water. Let it run until no more drips come out. This clears pressure and reduces spills during removal.
Confirm No Water Flow
Try turning the faucet on again. If water still comes out, double-check valve positions. Never proceed until flow stops completely.
Remove the Old Faucet Head Properly

Most spray heads unscrew by hand with no tools needed. Follow these steps to avoid damage to the threads or plastic components.
Unscrew by Hand
Hold the hose firmly with one hand to prevent twisting. With the other, grip the spray head and turn it counterclockwise. It should loosen like a lightbulb. Most connections release with simple hand pressure.
Use Cloth for Grip If Stuck
If the head resists, wrap it in a microfiber cloth and twist again. Avoid metal pliers because they can crack plastic threads and cause permanent damage.
Try Plastic-Jaw Pliers as Last Resort
For stubborn heads, use plastic-jaw or rubber-coated pliers. Clamp gently on the base of the head only, never crush the nozzle. Apply steady force without jerking.
Never Release the Hose Unsecured
Once detached, do not let go of the hose. If it slips back into the faucet neck, retrieval is difficult. Use a chip clip or rubber band to secure it to the sink edge immediately. This prevents the most common mistake in faucet head replacement.
Check Compatibility and Thread Type

Matching thread type ensures a watertight seal. Taking time to verify compatibility prevents leaks and frustration later.
Identify Thread Type
Look at the hose end. Male threads appear on the outside of the connector. Female threads are inside a sleeve. Your new spray head must match this configuration exactly.
Measure Thread Size
The most common size is 5/16 inch. Compare with the original or test-fit the new adapter. When in doubt, contact the manufacturer with your faucet model number for guaranteed compatibility.
Choose the Correct Connector
Replacement kits include multiple adapters. Pick the one that screws on smoothly, matches original depth, and has an O-ring or washer seated properly. Keep extras because different connectors help during future cleaning or upgrades.
Install Thread Adapter If Needed
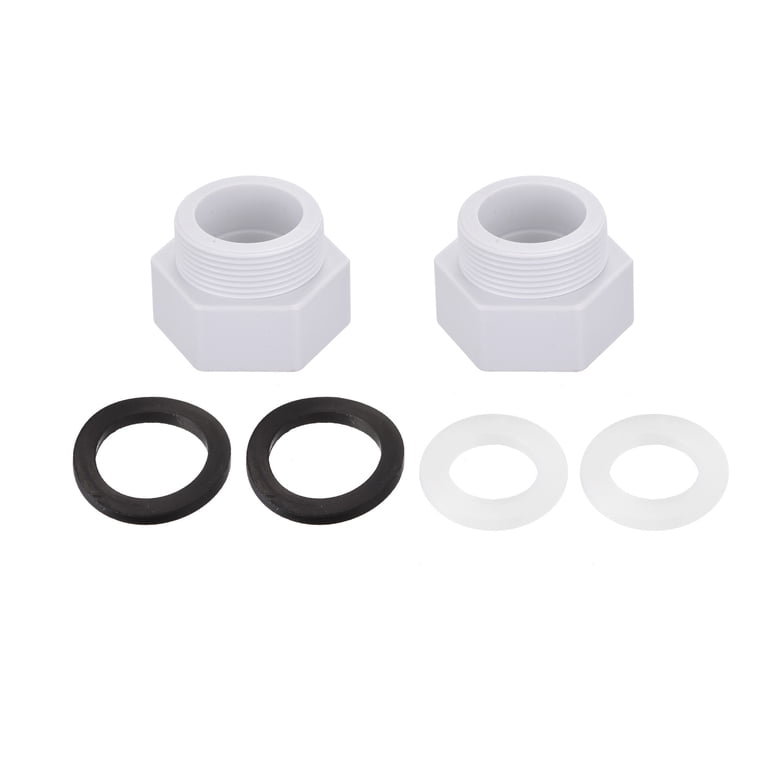
Some replacements require an adapter for proper fit. Handle plastic adapters gently to avoid stripping threads.
Attach Adapter to New Head
Screw the correct adapter onto the new spray head by hand. Ensure it is straight because angled installation causes leaks. Hand-tightening is sufficient for most plastic-threaded connections.
Avoid Over-Tightening
Hand-tighten only. If using a wrench later, stop at one-quarter turn past snug. Plastic threads strip easily and cannot be repaired once damaged.
Address Long Adapters
Some replacements come with longer adapters, leaving a visible gap. Two options exist. Accept small gaps if the head works and does not leak. Or request a factory-sized adapter from the manufacturer for a flush fit. Never trim plastic adapters because this risks misalignment and cracking.
Attach the New Faucet Head Securely
Secure the new head with care to prevent damage to plastic threads or the O-ring seal.
Align and Screw On
Slide the new head connector onto the hose end. Start threading clockwise slowly to avoid cross-threading. Go slow on the first few turns to ensure proper alignment.
Finger-Tighten First
Turn until snug, usually 1.5 to 2 full rotations. Stop if resistance increases suddenly. This indicates the threads are not aligning properly.
Final Tighten with Wrench
For a secure seal, use a crescent wrench on the metal base of the hose connector, not the spray head. Give one-quarter to one-half extra turn gently. Never clamp metal tools directly on plastic parts because this strips threads and voids warranties.
Test for Leaks and Full Function
Verify your work before calling it done. Thorough testing catches problems while they are easy to fix.
Restore Water Supply
Slowly turn on both under-sink valves. Open the faucet to allow air to escape. Expect sputtering for a few seconds as air clears from the lines.
Inspect Connection Point
Watch the hose-to-head joint closely while water runs in both modes. In stream mode, look for steady flow with no drips. In spray mode, check for high pressure with no seepage at the base. If leaking, tighten the connection by one-quarter turn maximum. Disassemble and check the O-ring if the leak persists.
Test Spray Mechanism
Pull the trigger several times. Transition between stream and spray should be instant and reliable. No hesitation or weak output indicates proper installation.
Check Hose Stability
Ensure the hose does not wobble or spin when pulling down. A stable connection means correct threading and alignment.
Prevent Hose Retraction During Work
A lost hose is the biggest headache in this job. Prevention takes seconds but saves hours of frustration.
Use Clip During Work
Always secure the hose with a chip clip or rubber band clipped to the sink rim when the head is off. This simple step prevents the hose from sliding back into the faucet body.
Retrieve Retracted Hose If Needed
If the hose pulls in, remove the faucet base cover if accessible. Use a bent wire hook to fish the hose end back up. Pull it out far enough to reattach the head. Apply light tension on the hose before detaching the head to prevent sudden retraction.
Clean and Maintain the New Head
Extend the life of your replacement with simple regular upkeep. Proper maintenance prevents mineral buildup and ensures consistent performance.
Descale Every Three to Six Months
Mineral buildup clogs spray holes and reduces water pressure. Remove the head and soak in white vinegar for 30 minutes. Rinse thoroughly before reattaching.
Clear Spray Holes
Use a soft brush or toothpick to remove residue. Never use metal pins because they damage nozzles permanently. Gentle cleaning preserves the spray pattern.
Reinstall Properly After Cleaning
Reattach the same way as initial installation. Hand-tighten first, then add slight tool assist if needed. Over-tightening after cleaning is a common cause of leaks.
Troubleshoot Common Installation Issues
Solve problems fast with these quick fixes. Most issues have simple solutions that do not require professional help.
No Spray Mode
Cause: clogged nozzles or broken trigger. Fix: soak in vinegar and flush with water. Replace the head if the mechanism fails.
Low Water Pressure
Cause: wrong adapter, mineral blockage, or kinked hose. Fix: verify adapter size, descale the head, and check the hose path for bends or kinks.
Wobbly or Loose Head
Cause: stripped threads or incorrect connector. Fix: replace with a properly sized part. Avoid using metal pliers on plastic components.
Gap Between Head and Hose
Cause: longer replacement adapter. Fix: accept the gap if the head works and does not leak. Or request the correct-length adapter from the manufacturer.
Leak After Installation
Cause: cross-threading, damaged O-ring, or over-tightening. Fix: disassemble, inspect the washer, realign the threads, and retighten gently.
Upgrade to Dual-Spray Models for Better Performance

New heads often outperform originals. Consider upgrading during replacement for improved functionality.
Choose Dual-Function Heads
Many replacements offer stream and spray modes, even if your old one had only one. Look for dual-spray or 2-function labels on the packaging.
Enjoy Better Flow
Modern heads deliver higher-pressure sprays and ergonomic designs that improve reach and comfort. The difference in cleaning power is noticeable.
Confirm Compatibility Before Buying
Even upgraded heads must match your hose thread. Always check packaging for model-specific fit information. Look for statements like fits Moen 1257 or compatible with Delta RP46892.
Store Spare Parts for Future Repairs
Keep extras for quick fixes down the road. Organized parts save time and money on future maintenance.
Save Old Components
Hold onto the original head and connectors. They are useful if the new one does not work or develops leaks. Old parts serve as backups.
Keep Kit Accessories
Store extra O-rings, washers, and adapters in a small labeled bag with household tools. These small parts prevent big problems during future repairs.
Retain Packaging and Model Info
Keep the box and part number for warranty claims or reorder needs. Product registration simplifies warranty service.
Key Takeaways for Successful Faucet Head Replacement
Replacing a faucet head is not just about fixing a leak. It is an easy upgrade that boosts performance and convenience. With the right replacement, careful threading, and a few basic tools, you will have a leak-free high-pressure spray working like new.
By securing the hose, matching threads, and testing thoroughly, you avoid costly mistakes and enjoy lasting results. Now that it is done, consider setting a reminder to clean the head every six months. This small habit keeps your faucet running strong for years.
Frequently Asked Questions About Replacing a Faucet Head
How long does it take to replace a faucet head?
Most replacements take 5 to 10 minutes. Simple hand-tool-only swaps are faster. Complex cases with stuck components may take 15 to 20 minutes.
Do I need special tools to replace a faucet head?
No. Most spray heads unscrew by hand. A crescent wrench helps with stubborn connections. Plastic-jaw pliers work if the head is stuck. Replacement kits include all necessary adapters and connectors.
What causes a faucet spray head to stop working?
Common causes include cracked housing, worn internal seals, mineral buildup clogging spray holes, and damaged O-rings. Age and frequent use typically cause these issues.
Can I replace just the spray head or do I need to replace the whole faucet?
Usually, you can replace just the spray head. The hose and faucet body remain. Only the removable nozzle at the end of the hose requires replacement.
How do I know if my replacement spray head is compatible?
Check the thread size, typically 5/16 inch. Verify the connection type matches your hose. Look for model-specific compatibility on packaging. Contact the manufacturer with your faucet model number if unsure.







