
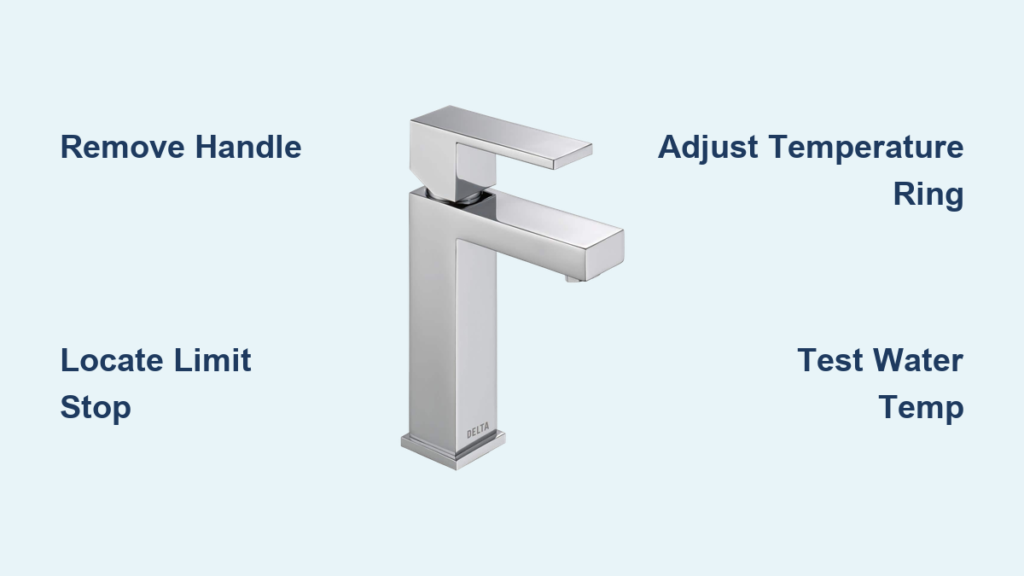
Is your Delta shower running too cold, even with the handle turned fully to hot? Many homeowners are surprised to find their Delta faucet limits hot water by design. This is thanks to a built-in rotational limit stop that caps maximum temperature at around 85 to 110 degrees Fahrenheit, well below the standard 120 degrees recommended for comfort. The good news is you do not need to call a plumber or raise your water heater temperature.
This guide walks you through every step to adjust your Delta faucet safely. You will learn how to remove the handle, locate the limit stop mechanism, make precise adjustments, test your results, and reassemble everything correctly. We will also cover model-specific tips, safety limits, and troubleshooting advice.
Remove the Faucet Handle
Before adjusting the temperature limiter, you must access the internal components by removing the handle. This process takes only a few minutes with the right tools.
Locate and Remove the Set Screw
You will find the set screw under the handle. The exact location depends on your handle style.
For lever handles, pop off the decorative cap with a flat-head screwdriver to reveal the Allen screw underneath. For knob-style handles, unscrew or pry off the front cover to access the screw.
Insert a 3/32-inch Allen wrench into the screw. Turn clockwise to loosen. Yes, this is reverse-threaded to prevent accidental loosening during regular use.
Gently pull the handle straight off once the screw is loose.
Place a towel over the drain before starting. The set screw and tiny internal parts can easily fall into the drain and cause major headaches.
Expose the Limit Stop Mechanism
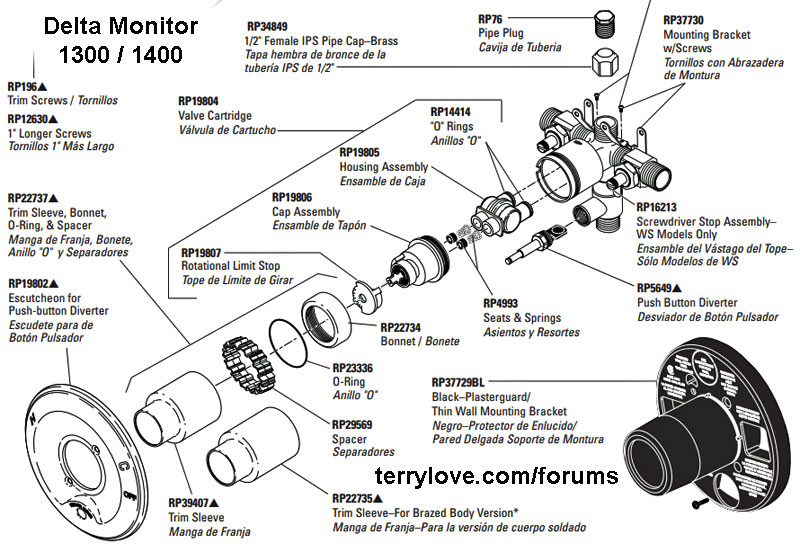
With the handle removed, you can now see the temperature-limiting component. The exact parts you find depend on whether you have an older Delta model or a newer 13-series valve.
Older Models: Pre-MultiChoice Valves
Slide off the trim sleeve and spacer. Remove the disc cover to expose the plastic limit ring.
This ring has H for hot and C for cold markings. These markings control how far the handle can rotate toward the hot side.
Look for arrows, notches, or laser-etched labels. These visual cues guide you in knowing which direction to turn for adjustment.
Newer Models: 13-Series and MultiChoice
After removing the handle, unscrew the Phillips head screw beneath the knob. Lift out the temperature knob to expose the adjusting ring.
This ring has splines and fine teeth for precise control. Each tooth adjusts temperature by approximately 4 to 6 degrees Fahrenheit.
Lever and Knob-Style Bathroom Faucets
After handle removal, locate the plastic limiting adapter secured by a small screw. Markings on the adapter show H and C positions.
This adapter restricts how much hot water can flow through the faucet. Rotating it clockwise allows more hot water.
Adjust the Rotational Limit Stop
Now that the limiter is exposed, you can increase or decrease the maximum water temperature. The exact method depends on your specific Delta model.
Older Delta Shower Valves
Rotate the Plastic Limit Ring
Pull the ring out gently. To increase hot water, rotate the ring counter-clockwise. To decrease hot water, rotate clockwise.
Each notch changes the temperature by 4 to 16 degrees Fahrenheit. Make one-notch adjustments and test before making more changes.
Reinsert the ring fully into the valve body. Ensure it is seated properly and aligned with the internal components.
Newer 13-Series Models
Modify the Adjusting Ring and Knob Position
Pull out the adjusting ring from the valve. Counter-clockwise rotation gives you more hot water. Clockwise rotation gives you less hot water.
Each tooth adjusts temperature by 4 to 6 degrees. The ring has mechanical stops, so do not force it beyond these limits.
Reinstall the knob on the splines. For more heat, align the knob clockwise on the spline. For less heat, position it counter-clockwise.
Tighten the Phillips screw just enough to stop wobble. Do not overtighten, as this can strip the threads.
Knob-Style Bathroom Faucets
Adjust the Limiting Adapter
Unscrew the small screw holding the plastic adapter. To allow more hot water, rotate the adapter clockwise.
Reinstall exactly as removed to maintain proper alignment. Leave the handle off during initial testing so you can verify the results.
After adjustment, water temperature should exceed 120 degrees Fahrenheit if your water heater is set correctly.
Test Water Temperature
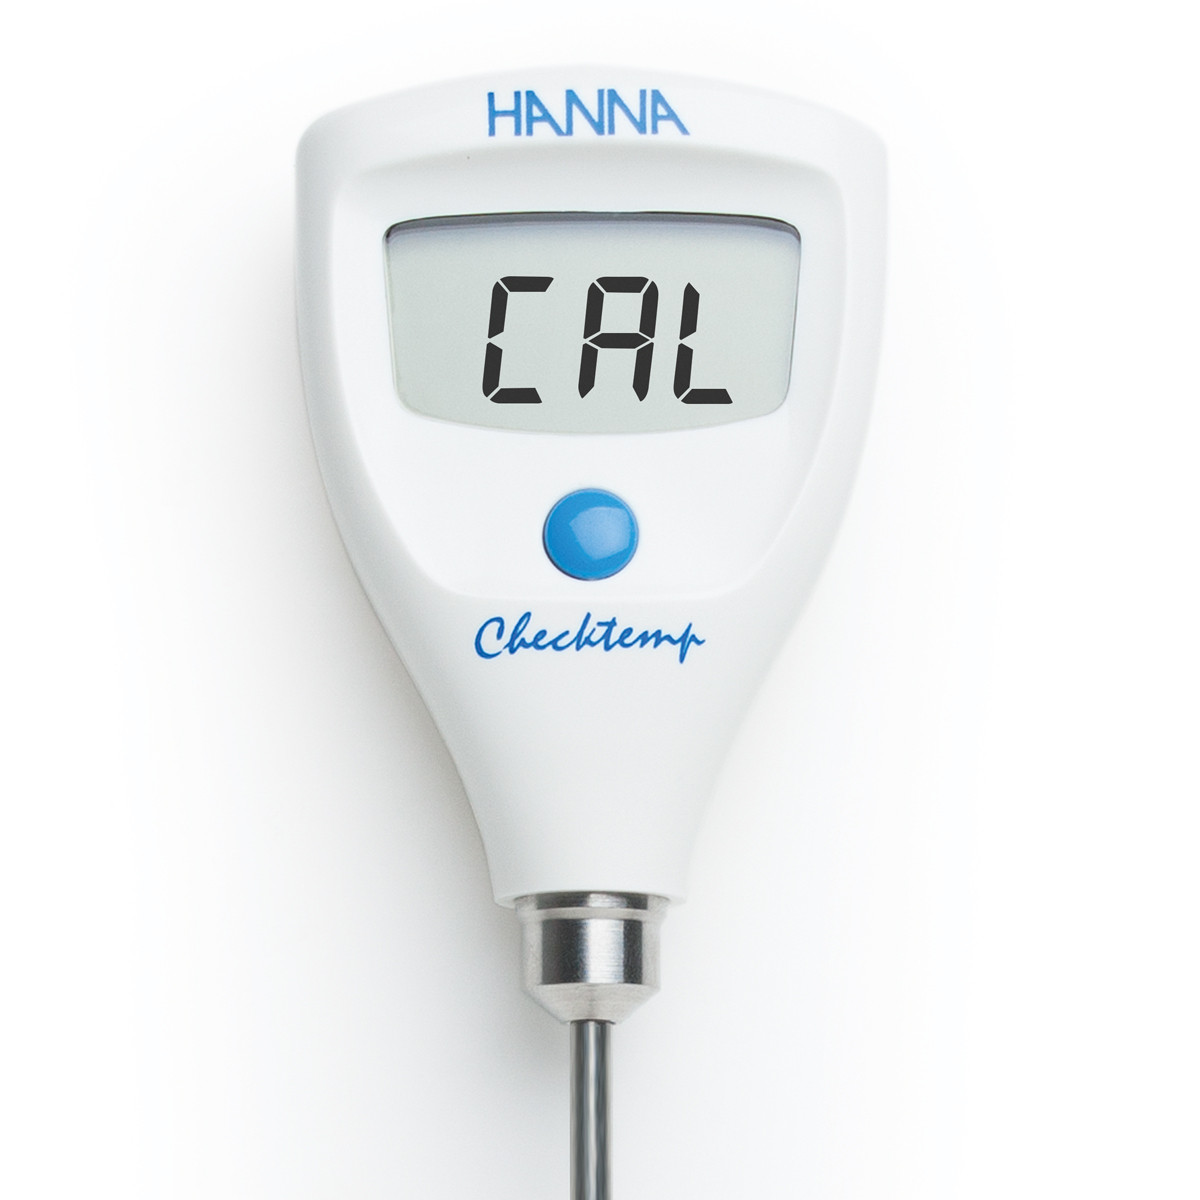
Never guess at the temperature. Always measure to ensure safety and comfort. Proper testing prevents scalding and confirms your adjustment worked.
Use a Thermometer for Accuracy
Run water for 30 to 60 seconds to stabilize the temperature. Collect water in a plastic or ceramic cup. Metal cups conduct heat and will skew your reading.
Insert a kitchen thermometer or digital gauge into the water. Record the temperature shown.
Interpret Your Results
Factory default settings typically produce 85 to 110 degrees Fahrenheit, which often feels lukewarm. After proper adjustment, you can achieve up to 120 to 130 degrees Fahrenheit if your water heater allows it.
The ideal range for safe, comfortable showers is 105 to 120 degrees Fahrenheit. Adjust in small increments and retest after each change.
Reassemble the Faucet
Once you achieve your desired temperature, rebuild the faucet carefully. Proper reassembly ensures smooth operation and prevents leaks.
Step-by-Step Reassembly Process
Reinstall all internal parts in reverse order. Slide the handle back onto the stem.
Insert the Allen wrench and tighten the set screw clockwise until snug. Do not overtighten, as this can strip the screw or crack the handle.
Replace decorative caps or covers. For knob models, snap the control cover back into place.
Turn the shower on and verify smooth handle operation and correct temperature range before finishing.
Avoid Scalding Risks
Adjusting the limiter increases your access to hot water. Use caution to protect yourself and your family from burns.
Know the Burn Threshold
Water at 120 degrees Fahrenheit can cause burns in 5 minutes. At 130 degrees Fahrenheit, burns occur in under 30 seconds. At 140 degrees Fahrenheit, third-degree burns happen in just 5 seconds.
Never exceed 120 degrees Fahrenheit in homes with children, elderly, or disabled users.
Follow Plumbing Code Standards
Most U.S. codes require shower outlets to be at or below 120 degrees Fahrenheit. Stay within the limiter is marked range. Do not remove or bypass mechanical stops.
Customize by bathroom for best results. Set the master bathroom to 115 to 120 degrees Fahrenheit for comfort. Keep guest or child-friendly baths at 105 to 110 degrees Fahrenheit.
Troubleshoot Common Problems
Even with careful work, issues can arise. Here is how to fix the most frequent problems.
Handle Will Not Turn to Hot
This happens when the limiter is set too restrictively. Rotate the limit stop ring counter-clockwise to increase the hot water range.
Water Still Lukewarm After Adjustment
Check your water heater thermostat. The faucet limiter only works if hot water is actually available. Set your water heater to 120 to 130 degrees Fahrenheit.
Wobbly Handle After Reassembly
The set screw is either loose or stripped. Retighten with the correct 3/32-inch Allen wrench. If the screw is stripped, replace it with a new one from Delta.
Leaking from Spout or Handle
The disc or limit ring is misaligned. Disassemble and ensure all parts are fully seated and flush against the valve body.
No Temperature Change After Adjustment
You rotated the limiter in the wrong direction. Older models increase heat by rotating counter-clockwise, but some adapters work clockwise. Reverse your adjustment and test again.
Maintain Your Delta Faucet
Delta is RLS system is built to last with no routine maintenance needed. Taking care of your faucet ensures years of reliable performance.
Durable Internal Components
The rotational limit stop is made of high-impact plastic and brass. These materials resist corrosion and wear. The system is designed for over 10 years of daily use.
Warranty and Replacement Parts
Delta offers limited lifetime warranties on most faucets. Adjusting the limiter does not void your warranty if you follow the procedures correctly.
Replacement parts including rings, screws, and adapters are available through Delta customer service at 1-800-345-3258 or at www.deltafaucet.com.
Save your model number or take a photo of the valve for future reference. This makes ordering parts much easier.
Model Compatibility and Upgrades

Delta design makes adjustments easy across different generations and styles. Understanding compatibility helps you make informed decisions.
Universal Trim System
Any Delta trim kit fits any Delta valve body. You can upgrade style or function without replacing the entire valve. This saves money and reduces installation time.
Interchangeable Mechanisms
The adjustment principles apply across Delta shower and tub faucets. Similar systems are used in other brands, though specific procedures may vary.
If you are renovating, keep your existing valve and swap only the trim for a fresh look.
When to Call a Professional
While most adjustments are DIY-friendly, some situations require expert help. Knowing when to stop prevents damage.
Seek professional help if the set screw is stripped or stuck, if the valve leaks after multiple reassembly attempts, if you cannot identify the model or locate the limiter, or if water pressure fluctuates or scalding persists despite your adjustments.
Use Delta is online model finder or live chat at www.deltafaucet.com for model-specific guides if you need additional help.
Final Thoughts on Adjusting Your Delta Faucet
Adjusting a Delta faucet is safe, reversible, and effective when done correctly. The rotational limit stop is your key to better temperature control without modifying your water heater.
Make incremental changes. Adjust one notch at a time and test before making more. Avoid aggressive rotation that could damage the teeth or splines.
Do not sacrifice safety for heat. Use the limiter as intended to customize, not eliminate, your protection against scalding.
Record your settings. Note how many notches or teeth you moved. This helps if you need to revert or adjust again later.
With the right tool and a few minutes, you can enjoy a hotter shower without risking burns. Follow this guide, prioritize safety, and enjoy a perfectly balanced shower every time.
Frequently Asked Questions About Adjusting Delta Faucets
Can I adjust my Delta faucet myself without a plumber?
Yes. Removing the handle, adjusting the limit stop, and reassembling the faucet are all straightforward DIY tasks. You only need a 3/32-inch Allen wrench, a screwdriver, and a thermometer for testing.
Why does my Delta shower feel cold even at full hot?
Delta faucets come with a rotational limit stop from the factory. This limits maximum temperature to 85 to 110 degrees Fahrenheit, which often feels lukewarm. Adjusting the limiter allows hotter water.
Does adjusting the limit stop void my Delta warranty?
No. Adjusting the rotational limit stop does not void your Delta warranty, as long as you follow the instructions and do not remove the mechanical stops entirely.
What direction do I turn the limit stop to make water hotter?
For most older Delta models, rotate the plastic ring counter-clockwise to increase hot water. For newer 13-series models, rotate the adjusting ring counter-clockwise. Always make small adjustments and test after each change.
How do I know if my Delta faucet has a temperature limiter?
Most Delta shower and tub faucets made in the last 20 years include this feature. You can confirm by removing the handle and looking for a plastic ring or adapter with H and C markings near the valve body.







