
Stainless steel sinks handle a lot in a busy kitchen, from heavy pots to dropped utensils. Over time, all that activity leaves its mark in the form of scratches. These blemishes don’t hurt functionality, but they can make even a quality sink look worn and dated. The good news is that most scratches can be minimized or removed entirely with basic tools you may already own.
Whether you’re dealing with faint scuffs or deeper grooves, the right technique makes all the difference. This guide covers how to remove scratches from stainless steel sinks using proven methods like Scotch-Brite pads, baking soda paste, metal polish, and commercial repair kits. You’ll learn how to match each method to your scratch type, avoid common pitfalls, and keep your sink looking fresh long after the repair.
Identify Your Scratch Type Before You Start
Not all scratches are the same. Choosing the wrong method wastes time and can make things worse. Take a minute to assess what you’re dealing with.
Light Surface Scratches
- Appear as faint, hairline marks on the surface
- Usually caused by silverware, soft sponges, or light contact
- Smooth to the touch and barely catch your fingernail
- Often disappear with gentle buffing
Deep Scratches
- Visible grooves you can feel clearly with your fingernail
- Typically come from heavy cookware, dropped knives, or abrasive tools
- Require more aggressive treatment
- May need multiple steps or a dedicated scratch removal kit
Pro Tip: Run your fingertip across the scratch. If your nail catches, it’s deep. If it feels smooth but looks visible, it’s surface-level and easier to fix.
Clean the Sink Before Any Repair
Jumping straight into scratch removal is tempting, but skipping the cleaning step leads to streaks, uneven results, and even new scratches.
Step-by-Step Cleaning Process
- Wash the entire sink with warm, soapy water and a soft sponge
- Scrub gently to remove grease, food residue, and mineral buildup
- Rinse thoroughly with clean water
- Dry completely with a microfiber cloth
Why this matters: Any leftover debris will get ground into the steel during polishing, potentially causing more damage. A clean, dry surface also helps you see scratches clearly so you can target them accurately.
Remove Light Scratches with a Scotch-Brite Pad
For minor scuffs and hairline marks, a simple Scotch-Brite pad often does the trick. This method is fast, affordable, and requires no special skills.
What You’ll Need
- A green or blue Scotch-Brite pad (non-scratch version)
- A microfiber cloth
- A completely dry sink
How to Do It
- Make sure the sink is fully dry
- Rub the scratched area using light, circular or back-and-forth motions
- Let the pad do the work—don’t press too hard
- Work in small sections and watch the scratch fade
- Wipe with a microfiber cloth to reveal the shine
The fine abrasive fibers gently polish the steel without cutting too deep, leveling minor imperfections and restoring a uniform finish. Many light scratches vanish within seconds.
⏱ Time: Under 5 minutes
✅ Best for: Minor, flat scratches
💡 Pro Tip: Always work dry. Water causes streaks and reduces visibility of your progress
Try Baking Soda Paste for Delicate Finishes
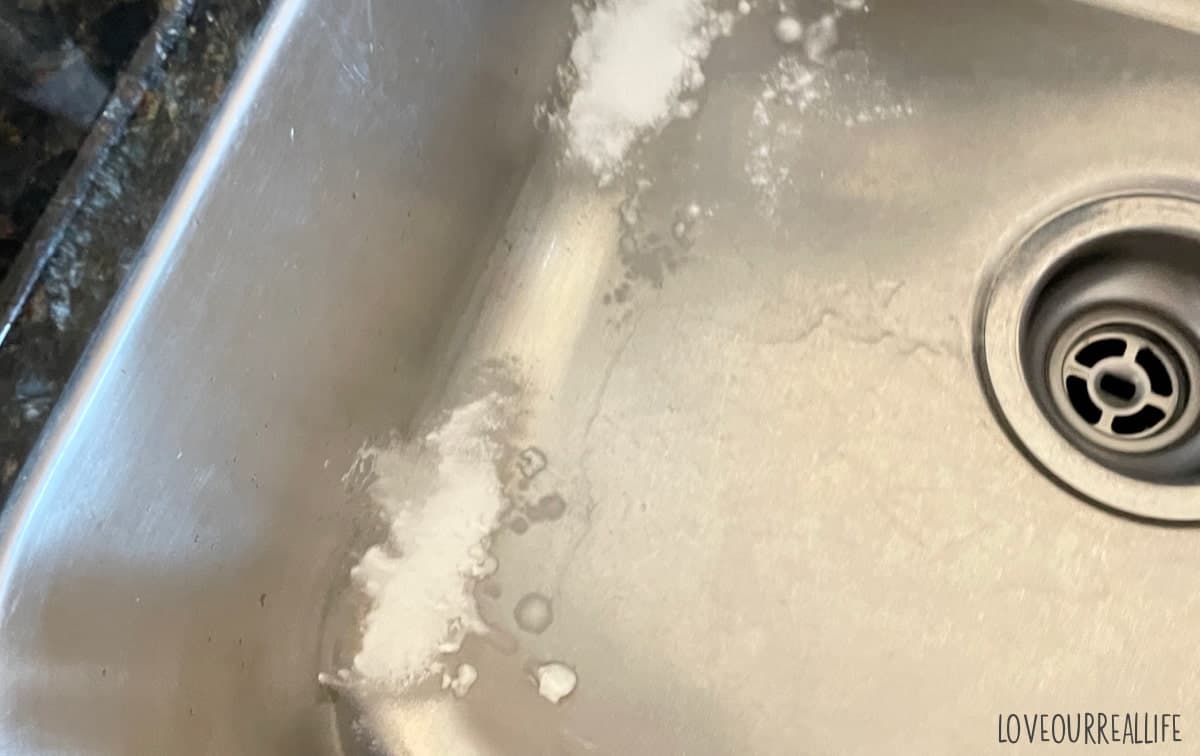
If your sink is relatively new or you only have very fine scuffs, baking soda offers a gentler alternative. It’s safe, chemical-free, and uses ingredients already in your pantry.
What You’ll Need
- Baking soda
- Water
- A soft cloth
How to Do It
- Mix two parts baking soda with one part water to form a thick paste
- Apply the paste to the scratch with a soft cloth
- Rub gently in the direction of the grain, using light pressure
- Rinse well and dry completely
Baking soda is mild enough for daily use and won’t damage most stainless steel finishes. It works best on brand-new sinks with light scuffs from initial use.
✅ Safe, cheap, and chemical-free
❌ Not effective on deep scratches
⚠ Always follow the grain to avoid cross-hatching
Boost Shine with Metal Polish
Metal polish doesn’t remove deep scratches, but it does enhance the overall luster and minimize the appearance of fine marks. It works well as a finishing touch after other methods.
Recommended Products
- Brasso
- Meguiar’s metal polish
How to Do It
- Apply a small amount of polish to a soft cloth
- Rub along the grain, never in circles
- Buff until the area shines
- Wipe off any residue with a clean, dry cloth
Use metal polish sparingly. Too much product leaves a film that’s hard to remove and can dull the finish over time.
✅ Great for final touch-ups
💡 Works especially well on brushed finishes
⚠ Avoid overuse
Repair Deep Scratches with a Scratch Removal Kit
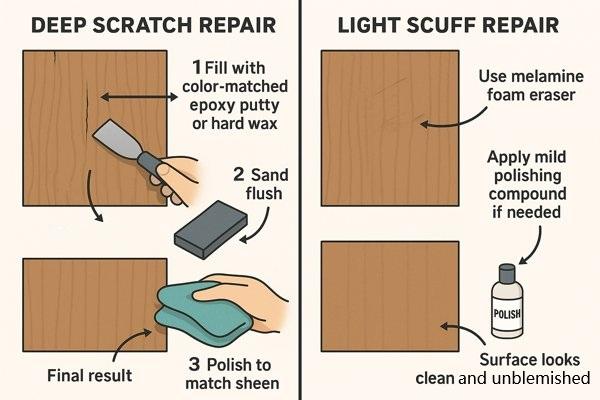
For noticeable grooves that catch your fingernail, a commercial scratch removal kit offers the best results. Kits like Scratch Pro include progressively finer pads and specialized compounds designed for stainless steel.
What Comes in the Kit
- Coarse sanding pad for initial leveling
- Medium-fine pad with diamond flakes for smoothing
- Black polishing pad with finishing solution for final shine
Step 1: Sand with the Grain
- Start with the coarsest pad
- Rub firmly in the direction of the grain
- Work in sections about 6×6 inches
- Rinse thoroughly after each section to remove residue
This step levels the metal surface and removes scratch depth. Never use circular motions here, as they create visible swirl marks.
Step 2: Polish with the Diamond Pad
- Switch to the medium-fine pad
- Continue moving with the grain
- Apply moderate pressure
- Rinse completely when done
This step smooths the sanded area and prepares it for buffing.
Step 3: Buff for a Mirror Finish
- Use the black polishing pad with the included finishing solution
- Apply firm, even pressure
- Move steadily with the grain
- Wipe clean when finished
The result is a seamless blend between the repaired area and the rest of the sink.
⏱ Total time: About 20 minutes
💪 Expect some hand fatigue—take breaks as needed
✅ Dramatic improvement with a near-new appearance
Always Follow the Grain

Stainless steel has a visible grain pattern made up of fine lines running across the surface. Working with this grain is the single most important technique for invisible repairs.
Why Direction Matters
- Circular motions create swirls that are harder to fix
- Cross-grain rubbing makes scratches more obvious
- Following the grain ensures repairs blend in seamlessly
How to Find the Grain
Look closely at the surface under good lighting. The lines reflect light differently depending on the angle. Rub a cloth back and forth and you’ll see where the finish blends smoothly. That direction is your grain.
🔍 Visual cue: If your repair looks “off,” check your motion direction first
Prevent Future Scratches
Even the best repair won’t last if new scratches keep appearing. A few simple habits go a long way toward protecting your sink.
Use Sink Mats or Trivets
- Place rubber or silicone mats in high-impact zones
- Use trivets for hot pans
- Avoid metal-bottomed mats that trap grit
Skip the Steel Wool
- Never use steel wool or green abrasive sponges
- Choose soft cloths or microfiber pads instead
- Stick with non-abrasive cleaners like dish soap or vinegar-based sprays
Handle Cookware Carefully
- Don’t slide pots across the sink
- Lower heavy items gently
- Always use a cutting board—never cut directly in the sink
Avoid Sink Grids When Possible
- Many manufacturers skip grids to reduce scratch risk
- If you use one, clean underneath regularly to remove trapped debris
💡 Pro Tip: Dry the sink after each use. Water spots and mineral buildup can etch the surface over time
Know When to Call a Professional
Some damage goes beyond what DIY methods can fix. If your sink shows any of these signs, professional help may be the best option.
Seek Expert Help If
- Scratches are deep, wide, and cover large areas
- The surface feels uneven or jagged
- Previous attempts made the damage worse
- The sink has structural issues beyond surface scratches
Professional Options
- Contact a metal refinisher who specializes in stainless steel
- Check with your sink manufacturer—some offer repair services
- Consider full refinishing or replacement for severely damaged units
💬 Note: Professional refinishing typically costs between $100 and $300 but can extend your sink’s life by years
Avoid These Common Mistakes
A few simple errors can turn a minor repair into a bigger problem. Keep these warnings in mind.
- Never use bleach or harsh chemicals: They corrode and discolor stainless steel
- Don’t mix cleaning products: Combining ammonia and bleach creates toxic fumes
- Don’t scrub too hard: Excessive pressure increases scratch risk
- Always test first: Try any product on a hidden spot like under the rim
- Keep the surface dry: Moisture causes streaking during polishing
✅ Rule of thumb: When in doubt, go gentler. You can always increase intensity, but you can’t undo damage
Tools and Supplies Checklist
| Method | Tools and Materials |
|---|---|
| Scotch-Brite | Green or blue pad, microfiber cloth, dry sink |
| Baking Soda | Baking soda, water, soft cloth |
| Metal Polish | Brasso or Meguiar’s, soft cloth |
| Scratch Kit | Coarse, medium, and polishing pads, finishing solution |
| General Use | Soft sponge, warm soapy water, microfiber towels |
Keep these supplies handy for quick touch-ups and long-term maintenance.
Compare Methods at a Glance
| Method | Time | Difficulty | Cost | Best For |
|---|---|---|---|---|
| Scotch-Brite | 2–5 min | Easy | $ | Light scratches |
| Baking Soda | 5 min | Easy | $ | New sinks, fine marks |
| Metal Polish | 5–10 min | Easy | $$ | Shine boost, minor flaws |
| Scratch Kit | ~20 min | Moderate | $$$ | Deep scratches |
| Professional | Varies | N/A | $$$$ | Severe damage |
Start with the simplest method. Most sinks only need light maintenance to look great again.
Maintain the Shine After Repair
Once you’ve removed the scratches, a simple routine keeps your sink looking fresh.
Weekly Care
- Clean with mild soap and a soft cloth
- Dry after each use
- Apply stainless steel conditioner monthly for extra protection
- Inspect for new scratches and address them early
💡 Bonus: A tiny amount of olive oil on a cloth adds shine and repels water spots. Use sparingly to avoid a greasy feel
Frequently Asked Questions About Removing Scratches from Stainless Steel Sinks
Can deep scratches be fully removed from a stainless steel sink?
Deep scratches can be significantly improved with a commercial scratch removal kit, but they may not disappear completely. The goal is a visibly smoother, shinier surface. Some fine marks may remain under close inspection, which is normal and often only visible at certain angles.
Is it safe to use a Scotch-Brite pad on a stainless steel sink?
Yes, as long as you use the non-scratch green or blue version and apply light pressure. Always work on a dry surface and rub in circular or back-and-forth motions. Avoid aggressive scrubbing, which can create new marks.
How do I know which direction the grain runs?
Look closely at the sink under good lighting. The grain appears as fine parallel lines across the surface. You can also rub a soft cloth back and forth to see which direction blends smoothly. Always rub in that direction during any repair.
Will baking soda damage my stainless steel sink?
No, baking soda is a very mild abrasive and is safe for stainless steel when used properly. Mix it with water to form a paste, rub gently in the direction of the grain, and rinse thoroughly. Avoid pressing too hard or scrubbing in circles.
How long does it take to fix scratches with a repair kit?
The complete process takes about 20 minutes of active work, though you may need short breaks to manage hand fatigue. The kit involves three steps: sanding, polishing, and buffing, with rinsing between each stage.
When should I call a professional instead of doing it myself?
Contact a professional if the scratches are deep, wide, or cover large areas, if the surface feels uneven, or if DIY attempts have made the damage worse. A metal refinisher or your sink’s manufacturer can assess whether repair or replacement is the better option.
Key Takeaways for Restoring Your Stainless Steel Sink
Removing scratches from a stainless steel sink is well within reach for most homeowners. Match the method to the scratch depth, always work with the grain, and start with the gentlest approach before moving to stronger treatments. Light scratches often disappear in minutes with a Scotch-Brite pad, while deeper ones respond well to a dedicated repair kit.
Your next step: Identify your worst scratch, run your fingernail across it, and choose the method that matches its depth. Most sinks look dramatically better after just one focused repair session, and a few minutes of weekly maintenance will keep them that way for years.







