

Is your shower failing to turn on while water keeps pouring from the tub spout? Or does the diverter lever feel frozen, requiring excessive force to engage? You are likely dealing with a stuck faucet diverter, a common plumbing issue in older bathtubs with shared tub and shower fixtures. The good news: most diverter problems can be fixed quickly and affordably with basic tools and a little know-how. This guide walks you through diagnosing, repairing, and preventing a stuck diverter without calling a plumber.
A faucet diverter redirects water from the tub spout to the showerhead when activated. Over time, mineral buildup, worn seals, or corrosion can cause the mechanism to stick or fail. Whether your diverter is located in the spout or on the center handle of a three-handle system, this guide covers every fix from simple vinegar soaks to precision mechanical repairs.
Identify Your Diverter Type Before Starting
Before starting any repair, confirm where your diverter is located. The fix depends entirely on the type you have.
Spout-Mounted Diverter
Found on the end of the tub spout, this type uses a pull-up lever or twist knob to activate. When pulled, a plastic gate inside lifts to block water flow to the spout, forcing it up to the showerhead. Common in Moen, Danco, and many two-handle systems.
How to spot it: Look for a small lever or button on the spout. If pulling it redirects water, you have a gate-type spout diverter.
Handle-Mounted Diverter
Located in the center handle of a three-handle faucet (hot, cold, diverter). Turning the middle handle opens an internal valve that redirects flow to the shower.
How to spot it: If the middle handle controls the shower, you have a valve stem diverter. It may have a cap covering a set screw.
Diagnose the Problem Fast
Use these symptoms to pinpoint the cause without guesswork.
Water Leaks from Spout During Shower
Likely cause: Worn rubber seal or misaligned gate. Even a tiny gap allows water to bypass the shower riser. Replace the seal or ensure the gate sits properly under the metal fins.
Diverter Lever Will Not Lift or Feels Stuck
Likely cause: Mineral buildup or corroded tracks. Hard water deposits bind the plastic gate in its brass tracks. Soak or clean the parts to restore movement.
Shower Works Only After Shutting Off Water
Likely cause: Water pressure lock. High pressure holds the gate tightly in place. Lubricate or clean the mechanism so it moves freely under pressure.
Handle Will Not Turn or Feels Tight
Likely cause: Corroded stem or over-tightened packing nut. Common in handle-mounted diverters. Loosen the nut slightly or soak the stem in vinegar.
Tools You Need for Diverter Repair
Most repairs require only basic tools found in any toolbox.
• Needle-nose pliers to remove retaining legs and lift rod
• Flat-head screwdriver to align gate legs
• Adjustable wrench to remove packing nut
• Hex key (Allen wrench) to remove handle set screw
• Flashlight to inspect inside spout
• Plumber’s grease (silicone-based) to lubricate moving parts
• Distilled white vinegar to dissolve limescale
Optional for tough cases include a fine-toothed file to smooth corroded tracks, a rotary tool with router bit to enlarge clogged holes, and graphite packing rope to replace worn stem seals.
Fix a Stuck Spout Diverter Step by Step
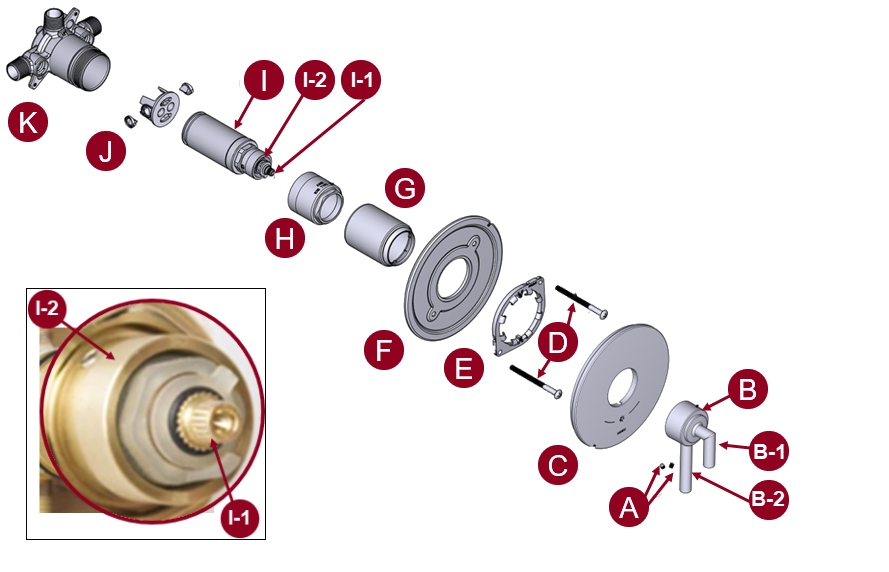
Spout diverters fail most often due to mineral buildup or a worn rubber seal. Follow these steps to fix it.
Remove the Diverter Assembly
- Turn off the water at the main supply or ensure hot and cold valves are fully closed.
- Block the drain with a towel because small parts can fall in.
- Use needle-nose pliers to gently spread the plastic retaining legs on the gate.
- Pull the white plastic gate off the lift rod.
- Remove the metal lift rod from the spout.
Inspect and Replace the Rubber Seal
- Check the rubber seal inside the gate.
- If cracked, hardened, or missing, replace it.
- The seal has two sides: flat side outward, indented side inward.
- Insert a new seal into the replacement gate, flat side facing out.
Pro tip: Use a Danco diverter repair kit costing $8 to $15. It includes a new gate and seal that fit most Moen-style spouts.
Reassemble the Diverter
- Slide the new gate into the spout, ensuring it rests under the metal fins.
- Insert the lift rod from the top.
- Align the rod’s notch with the gate’s plastic legs.
- Gently spread the legs and push the rod down until it clicks into place.
- Apply plumber’s grease to the gate and rod for smooth operation.
Warning: If the gate does not slide freely, file the metal tracks or enlarge the hole slightly.
Test the Repair
- Turn water back on.
- Pull the lever. Water should stop flowing from the spout and go only to the showerhead.
- No leaks indicate success.
Fix a Stuck Handle Diverter (Center Handle Type)
If the middle handle will not turn, the issue is likely a tight packing nut, corroded stem, or worn packing rope.
Remove the Handle
- Pop off the decorative cap on the handle.
- Use an Allen wrench to remove the set screw.
- Pull the handle straight off the stem.
Note: If the handle is stuck, tap it gently with a rubber mallet or use penetrating oil.
Remove the Packing Nut
- Use an adjustable wrench to turn the brass packing nut counterclockwise.
- Once removed, pull the valve stem out.
Access tip: If space is tight, use an access panel behind the wall for easier reach.
Clean or Replace the Stem
- Soak the stem in distilled white vinegar for 1 to 2 hours to dissolve limescale.
- Use a soft brush to clean threads and grooves.
- Check for corrosion or bending. Replace if damaged.
Repack or Replace the Stem
Option 1 involves repacking with graphite rope. Wrap graphite packing rope around the stem just below the top. Use enough to fill the gap, typically 2 to 3 wraps. Avoid over-tightening, which restricts movement.
Option 2 involves replacing the stem. Take the old stem to a hardware store to match the model (American Standard, Kohler, etc.). New stems come pre-sealed and ready to install.
Reinstall and Test
- Insert the stem back into the valve body.
- Screw on the packing nut hand-tight, then give a quarter-turn with the wrench.
- Reattach the handle and secure with the set screw.
- Turn water on and test. The handle should turn smoothly with no leaks around the base, and water should fully divert to the shower.
Vinegar Soak Method for Minor Buildup
Cannot take it apart? Try this vinegar soak method that works for minor buildup.
- Fill a plastic bag three-quarters full with distilled white vinegar.
- Place the bag over the spout, submerging the opening.
- Secure with rubber bands to seal it.
- Leave for 12 to 24 hours.
- Remove, flush with water, and test.
Best for: Early-stage mineral buildup. This is not a permanent fix in hard water areas.
Advanced Fixes for Stubborn Cases

When cleaning is not enough, these precision methods restore function.
File Corroded Metal Tracks
When to use: Gate binds in pitted or roughened grooves.
- Turn off water.
- Remove the spout if needed for access.
- Shine a flashlight inside to locate the metal fins.
- Use a fine-toothed file to gently smooth both sides of each groove.
- Alternate sides to keep it even.
- Test movement. The gate should slide freely.
Warning: Over-filing creates a loose fit and leaks. Remove minimal material.
Enlarge the Diverter Hole
When to use: Mineral deposits have narrowed the internal passage.
- Remove the diverter assembly.
- Secure it in a vise.
- Attach a 1/8-inch router bit to a rotary tool (Dremel, etc.).
- Set to low speed.
- Insert the bit into the hole.
- Make 2 to 3 light rotational passes with no pressure.
- Focus on restricted areas.
- Clean out debris with compressed air.
- Reassemble and test.
Why a router bit: It cuts sideways without grabbing, unlike standard drill bits that can damage the hole.
Prevent Future Diverter Problems
Avoid repeat issues with simple maintenance.
Clean Every 6 to 12 Months
Disassemble and soak parts in vinegar or citric acid. In hard water areas, do this every 6 months.
Lubricate Moving Parts
Apply silicone-based plumber’s grease to the gate and lift rod, the valve stem, and O-rings. Never use petroleum-based lubes because they degrade rubber.
Install a Water Softener
If water hardness exceeds 7 grains per gallon, consider a whole-home softener. This reduces scale buildup in all plumbing fixtures.
Replace Seals Proactively
Swap rubber seals every 3 to 5 years even if they look fine. This prevents sudden failures.
When to Replace Instead of Repair
Some cases are not worth fixing.
Replace the Spout If
The gate is cracked or broken, the metal fins are severely corroded, or no replacement parts are available. Replacement spouts cost $20 to $50 and install in minutes.
Upgrade the Entire Faucet If
You have frequent diverter issues, an outdated or leaking valve body, or difficulty finding parts.
Cost Comparison: Repair vs Replace
| Option | Cost | Time |
|---|---|---|
| Diverter repair kit | $8 to $15 | 20 minutes |
| Graphite packing rope | $5 to $10 | 30 minutes |
| Replacement spout | $20 to $50 | 15 minutes |
| Full faucet replacement | $100 to $300+ | 1 to 2 hours |
Bottom line: Repairing a stuck diverter saves $50 or more and takes under 30 minutes.
Frequently Asked Questions About Fixing a Stuck Faucet Diverter
Why does my faucet diverter get stuck?
The most common cause is hard water mineral buildup that deposits calcium and magnesium on the internal mechanisms. This binds the plastic gate in its metal tracks or clogs the small passages. Corrosion from moisture and worn rubber seals also contribute to sticking.
Can I fix a stuck diverter without removing the spout?
Yes. The vinegar bag method involves filling a plastic bag with distilled white vinegar, securing it over the spout overnight, and then flushing with water. This dissolves minor mineral deposits without disassembly. This fix works best for early-stage buildup but may not last in areas with hard water.
How do I know if I need to replace the entire spout?
Replace the spout if the plastic gate is cracked or broken, the metal fins are severely corroded, or you cannot find replacement parts for your specific model. If the diverter lever still sticks after cleaning and lubrication, the internal components are likely too damaged to repair.
What happens if I do not fix a stuck diverter?
A stuck diverter wastes water by allowing it to flow from both the tub spout and showerhead simultaneously. It also puts extra strain on the valve mechanism and can lead to water damage behind the walls over time. Addressing the problem early prevents costly repairs later.
How often should I maintain my faucet diverter?
Clean and lubricate the diverter every 6 to 12 months. In hard water areas (above 7 grains per gallon), perform maintenance every 6 months. Replace rubber seals every 3 to 5 years as a preventive measure, even if they appear intact.
Key Takeaways for Fixing Your Stuck Faucet Diverter
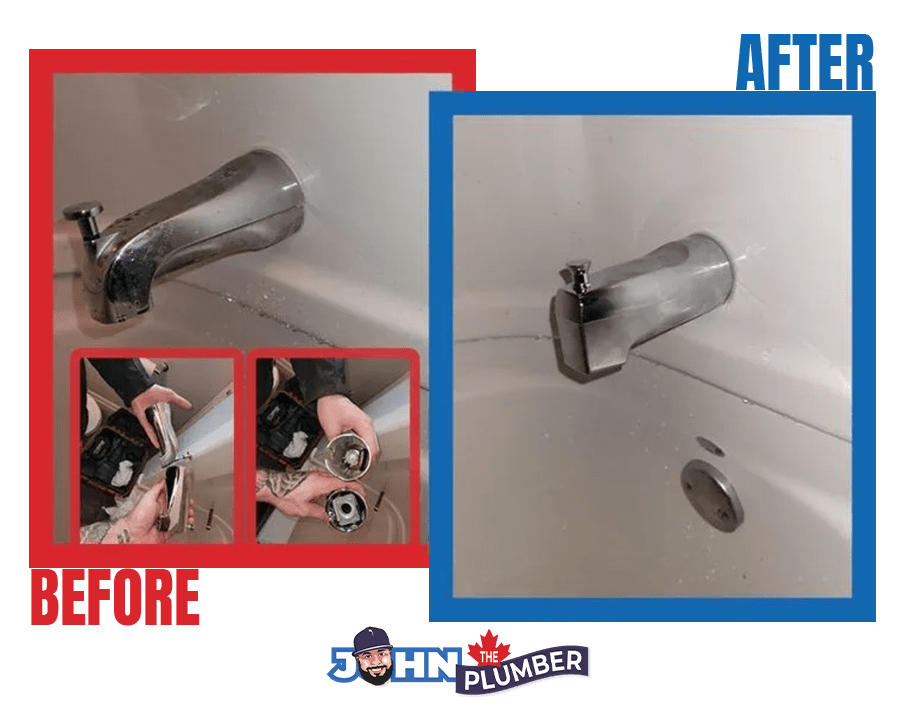
A stuck faucet diverter is almost always caused by hard water mineral buildup, worn rubber seals, or corrosion on internal sliding surfaces. The nylon or rubber gate becomes immobilized when binding in corroded tracks or restricted by scale in narrow passages. Two effective DIY repair methods include filing corroded grooves to restore free movement and enlarging the diverter hole with a router bit on a rotary tool to remove mineral deposits.
Quick fixes like vinegar soaks work temporarily but fail within weeks in hard water environments. Always work slowly, use minimal material removal, and avoid aggressive tools like standard drill bits. Prevention through regular maintenance, annual lubrication, and water treatment significantly extends diverter lifespan.
Repair is preferred when components are intact. Replacement is advised for cracked, warped, or obsolete parts. Most repairs cost under $15 and take less than 30 minutes, making this one of the easiest plumbing fixes you can do yourself.







