
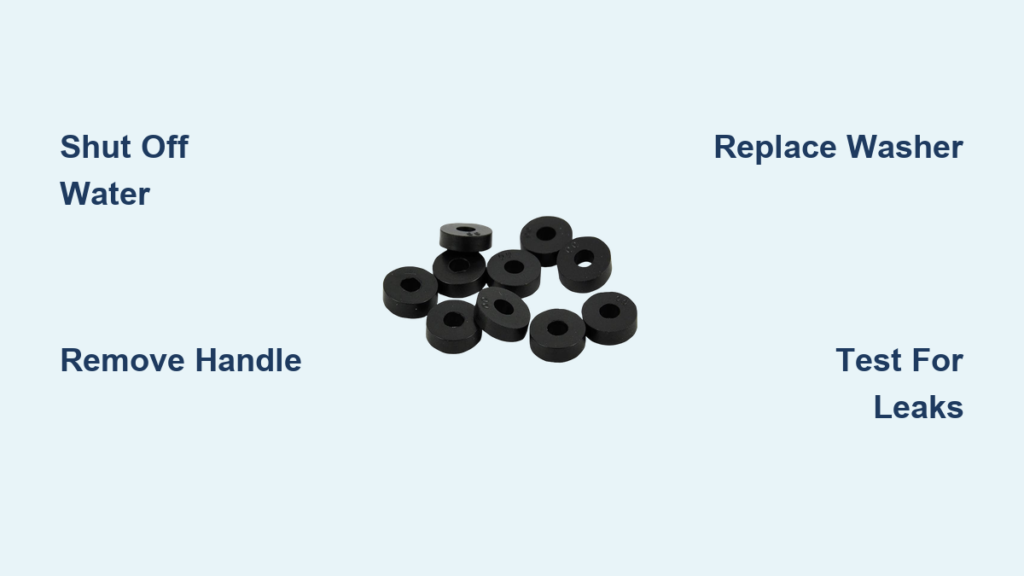
A dripping faucet wastes water, increases your utility bills, and signals a failing washer. If you have a compression-type faucet, the fix is often as simple as replacing the small rubber disc at the base of the valve stem. This washer creates a watertight seal when the handle turns off, but constant use, mineral buildup, and heat cause it to degrade over time. Replacing a faucet washer costs under $5 in parts and can save up to 3,000 gallons of water per year. This guide walks you through every step, from shutting off the water supply to testing your repair, with tips for vintage faucets, accessibility needs, and common mistakes to avoid.
Shut Off Water Supply Before Starting
Locate the individual shut-off valves under your sink. There are usually two: one for hot water on the left and one for cold water on the right. Turn both valves clockwise until they are fully tight. If your sink lacks individual shut-offs, you will need to turn off the main water supply, typically located near the water heater or where water enters your home.
Identify Hot and Cold Lines
If you are unsure which line is hot, turn on the hot faucet and feel the pipes. The warm or hot pipe indicates the hot water line. Consider marking it with tape for future reference.
Release Pressure and Drain Residual Water
Open the faucet fully to relieve trapped pressure and drain any remaining water. Place a bucket or rag under the spout to catch drips. For faster drainage, open another faucet in your home such as a shower or bathtub to help empty the system completely.
Remove the Faucet Handle
Most faucet handles hide a set screw under a decorative cap on the top or side. Gently pry off the cap with a flathead screwdriver, wrapping the tool tip in cloth to avoid scratching chrome finishes. Use a Phillips screwdriver, flathead, or Allen wrench to remove the screw. Pull the handle straight off the stem.
Handle Stuck Methods
If the handle will not budge, apply penetrating oil such as WD-40 and wait 5-10 minutes. Reinsert the screw slightly and rock the handle gently to loosen it. For stubborn handles, use a faucet handle puller to apply even pressure without damaging the finish.
Remove Packing Nut and Valve Stem

Below the handle, you will find a hexagonal packing nut surrounding the valve stem. Use an adjustable wrench or pipe wrench to turn the nut counterclockwise, wrapping the wrench jaws in a rag to protect the finish. Once loose, unscrew the nut by hand and grasp the valve stem to pull it straight out.
Extracting Stuck Stems
If the stem is stuck, reattach the handle and use it as a lever. Apply penetrating oil and tap gently with a rubber mallet. For vintage faucets with separate stem nuts, use a pipe wrench to break through corrosion.
Inspect and Replace the Washer
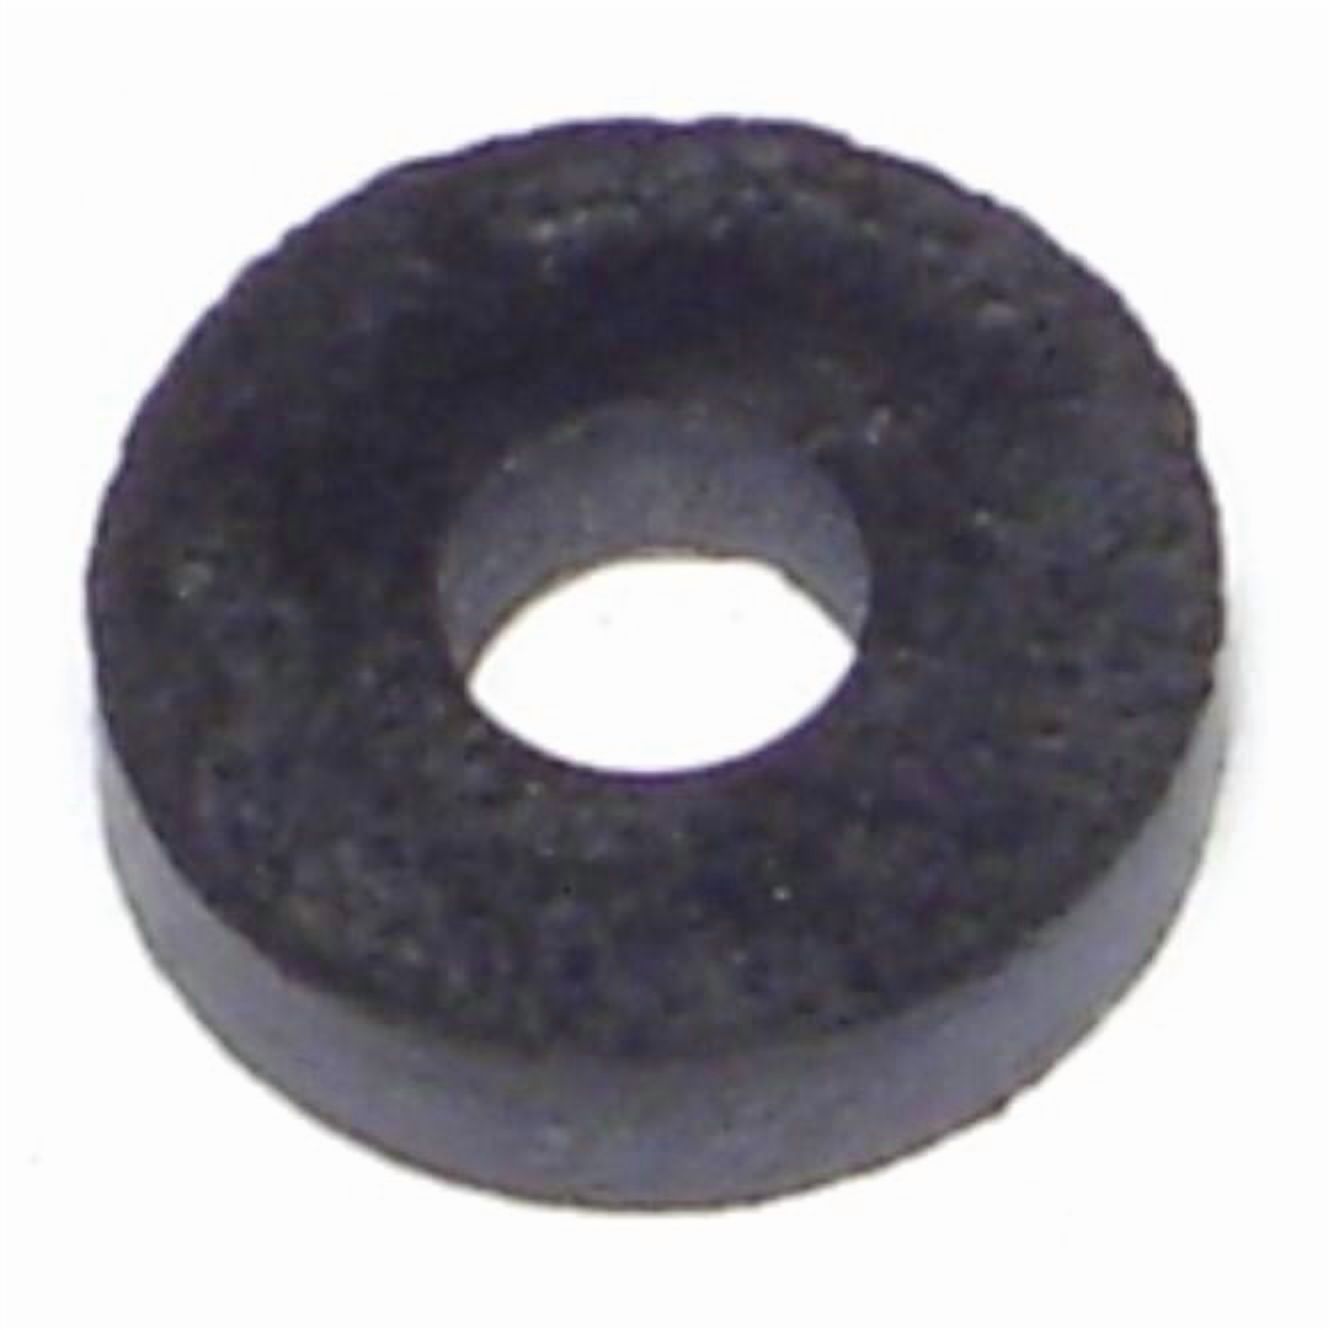
Examine the rubber washer at the base of the stem. Look for cracks, flattening, hardening, or disintegration. Check the brass retaining screw for corrosion and clean or replace it as needed. Also inspect the O-ring on the upper stem and replace if swollen or cracked.
Install the New Washer
Unscrew the retaining screw and lift out the old washer. Use a utility knife if it is stuck. Select a replacement washer that matches exactly in size, diameter, and thickness. Choose the correct shape: flat washers for flat seats and cone-shaped washers for angled seats. Use red rubber washers for the hot water side because they resist heat, and neoprene washers for the cold side. Insert the new washer into the recessed cup, add the small metal washer if used, and secure with the retaining screw. Tighten firmly but avoid excessive force.
Inspect the Valve Seat
The valve seat is the metal surface inside the faucet body where the washer seals. Even a new washer fails if this surface is damaged. Shine a flashlight into the faucet opening and use your fingernail or a small tool to feel for scratches, grooves, pitting, or corrosion.
Repair or Replace the Seat
For minor damage, use a valve seat grinding tool to smooth the surface. For severe damage, replace the seat if it is removable, or consider replacing the entire faucet. A damaged valve seat will cause leaks even with a new washer, so inspect this component every time.
Lubricate and Reassemble the Faucet
Apply silicone-based lubricant or waterproof grease to the stem threads, new washer surface, O-ring, and packing area. Never use petroleum-based products because they degrade rubber and are not food-safe. Lubrication reduces friction, improves sealing, and extends component life.
Reinstall Steps
Insert the valve stem into the faucet body, turning clockwise as you push. Hand-tighten first, then snug the packing nut with a wrench without over-tightening. Reattach the handle, align it properly, and tighten the set screw. Replace the decorative cap. For wall-mounted faucets, apply caulking around the flange to prevent water intrusion.
Restore Water and Test for Leaks
Slowly open the shut-off valves under the sink. Open the faucet gradually to let air escape and listen for normal filling sounds. Operate the handle several times to seat the washer. Check for drips at the spout, leaks at the handle base, hissing, misting, or chattering. Verify smooth handle operation.
Success Indicators
A successful repair shows no drips, hissing, or chattering. The handle should turn smoothly. In vintage models, you should achieve half-turn operation for full on/off functionality. Wipe connections dry and recheck after 10 minutes.
Fix Leaks in Vintage Faucets
Older faucets, especially those 85-90 years old, often have significant corrosion and mineral buildup. Use a pipe wrench for stubborn nuts and channel locks with gentle tapping. Apply penetrating oil for seized stems. Preserve historical value by repairing rather than replacing, and use original-spec parts to maintain function.
Avoid Cartridge Confusion
This guide applies only to compression-type faucets with removable stems and rubber washers. It does not work for cartridge, ball, or ceramic-disk faucets, which rely on internal cartridges instead of washers. Before disassembling, check your warranty. You may qualify for a free cartridge replacement. Contact the manufacturer before taking it apart to avoid doing the job twice.
Accessibility Tips for Blind or Low Vision Users
Rely on tactile feedback to complete this repair. Use your fingernail to detect scratches in the valve seat and feel for screw heads, notches, and thread direction. Keep old parts for comparison when purchasing replacements. Use free services like BeMyEyes or paid services like AIRA for visual confirmation during complex steps. Attach rubber bands or tactile markers to tools for quick identification. Consider working with a sighted helper for steps requiring visual confirmation.
Prevent Future Leaks
Inspect washers and valve seats every 6-12 months in high-use faucets. Replace washers proactively every 2-3 years, even if no leak is visible. Install faucet aerators to reduce sediment and use water softeners to minimize scale, though regular maintenance remains essential even with softeners. Apply silicone grease to stem threads and O-rings during every reassembly to prevent future seizing.
Troubleshoot Common Problems
If a leak persists after repair, the valve seat is likely damaged and needs resurfacing or replacement. A stiff handle indicates dry or corroded stem threads that need lubrication. Drips at the handle base mean a loose packing nut or worn O-ring that needs attention. No water flow suggests a cross-threaded or misaligned stem. Chattering sounds indicate the wrong washer type or damaged seat. Washer failure quickly points to wrong washer selection, hard water issues, or a poor valve seat condition.
Avoid Costly Mistakes
Never use a “close enough” washer because even slight mismatches cause leaks. Bring the old washer to the store for an exact match. Avoid over-tightening, which strips threads or damages the valve seat. Do not skip lubrication, as dry parts wear faster and make future repairs harder. Never ignore O-rings and valve seats because recurring leaks often stem from these components. Always shut off the water supply before starting to prevent flooding and injury. Take time to test thoroughly after reassembly to catch subtle leaks or problems.
Key Takeaways for Replacing Your Faucet Washer

Replacing a faucet washer is a simple, cost-effective repair that saves water and money. The process requires basic tools, an exact-matching washer, and attention to the valve seat condition. Always shut off water first, inspect all components including O-rings and seats, lubricate with silicone-based products, and test thoroughly before considering the job complete. For vintage faucets, preserve historical value with original-spec parts. If repairs become frequent or parts are unavailable, consider upgrading to a modern faucet. With proper maintenance, your repaired faucet will operate smoothly and drip-free for years.
Frequently Asked Questions About Replacing Faucet Washers
How do I know if my faucet needs a washer replacement?
Signs include persistent dripping from the spout after the handle is fully closed, hissing or fine mist when the faucet is off, chattering sounds during operation, and handles that turn more than a full rotation before water stops.
Can I replace a faucet washer myself?
Yes, this is a straightforward DIY repair that most homeowners can complete with basic tools. Parts cost under $5, and the job typically takes 30-60 minutes.
What type of washer do I need?
You need an exact match in size, diameter, and thickness. Choose flat washers for flat valve seats and cone-shaped washers for angled seats. Use red rubber washers for hot water lines and neoprene washers for cold water lines.
Why does my faucet still leak after replacing the washer?
A damaged valve seat is the most common cause. Even with a new washer, scratches, grooves, pitting, or corrosion on the valve seat will cause leaks. Inspect and repair or replace the seat.
How often should I replace faucet washers?
Inspect washers every 6-12 months in high-use faucets and replace proactively every 2-3 years, even if no leak is visible. Regular maintenance prevents unexpected drips and extends faucet life.







