
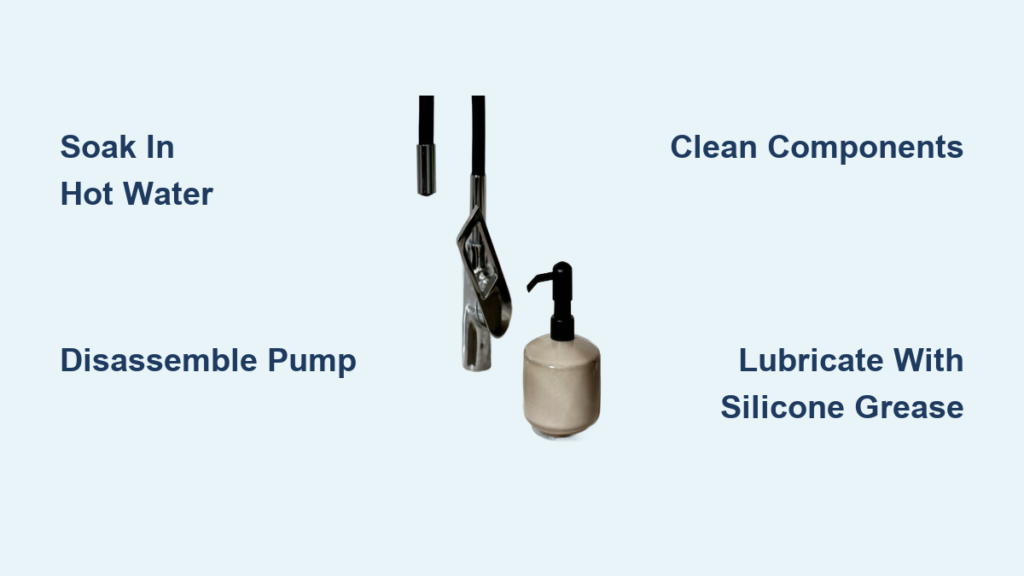
Is your sink soap dispenser not working? You’re not alone. A clogged, sticky, or completely unresponsive pump is a common frustration in kitchens and bathrooms. The good news: most issues can be fixed in under 30 minutes with simple tools and household items. Whether the plunger won’t go down, the soap won’t come out, or the dispenser sticks and retracts slowly, this guide will help you diagnose and repair the problem.
You’ll learn how to clean, lubricate, and re-prime your sink soap dispenser, whether it’s a Delta, Moen, or generic brand. We’ll cover quick fixes for thickened soap, step-by-step disassembly instructions, and the best lubricants to use for long-term performance. By the end, your dispenser will work smoothly again, and you’ll know how to keep it that way.
Soak the Pump in Hot Water
The fastest fix for a clogged or sluggish sink soap dispenser not working is soaking the pump in hot water. Thickened soap residue is the leading cause of pump failure. Over time, liquid soap dries and builds up inside the pump tube and valves, blocking flow.
Clear Clogs in 2 Hours
- Remove the pump head from the sink.
- Fill a bowl with hot (not boiling) water.
- Submerge the entire pump assembly for 2 hours.
- While submerged, press the plunger repeatedly to flush out gunk.
- Drain and dry the parts.
- Reinstall and refill with fresh soap.
Pro Tip: After reinstallation, pump forcefully 10–15 times to re-prime the system. It may take a few pumps before soap flows.
If the dispenser still doesn’t work, move to full disassembly.
Disassemble the Pump Mechanism
When soaking doesn’t restore function, take the pump apart for a deep clean. The disassembly method depends on your dispenser brand.
Delta Dispenser: Pry Open the Base
Delta models have a sealed base that hides internal parts. Use a sharp utility knife to gently pry open the seam around the base.
Warning: Work over a towel. The spring and small plastic valves can fly out unexpectedly.
Once open, lay out the parts in order:
– Plunger
– Main tube
– Two plastic valves (one pointed)
– Spring (fat end up)
– Retaining cap
Moen Dispenser: Release Hidden Side Clips
Moen pumps use two side clips that only release when the center plunger is depressed.
- Remove the plunger knob if present.
- Hold the assembly upside down.
- Press the center plunger down firmly.
- Insert a butter knife or flat tool to pry the housing off.
Without pressing the plunger, the clips won’t disengage. This is a common mistake users make.
Clean All Internal Components

Once disassembled, clean every part to restore smooth operation. Use warm, soapy water and a soft brush (like an old toothbrush) to scrub:
- The plunger shaft
- Inner walls of the tube
- Valves and spring
- O-ring if present
Rinse thoroughly and let all parts air dry.
Visual Cue: Look for white, crusty deposits. These are dried soap or mineral buildup that cause sticking and slow retraction.
Lubricate for Smooth Operation

Lubrication prevents future sticking and ensures quick plunger return. The best choice is food-safe silicone grease, like Danco Silicone Grease, available at Home Depot or Lowe’s.
Apply a small amount to:
– Plunger’s outer surface
– Inside of the pump tube
– O-ring (on Moen models)
– Valve contact points
Do not over-grease. A thin, even film is enough.
Note: While some users report success with Vaseline, it degrades and washes out over time. Silicone grease is the recommended long-term solution.
Reassemble with Correct Orientation

Putting the parts back in the right order is critical. Incorrect orientation is a common reason a sink soap dispenser remains not working after repair.
Delta: Insert Valves and Spring Correctly
- Place the pointed valve into the tube, pointy end down.
- Add the spring with the fat end facing up.
- Place the flat valve on top, flat side up.
- Insert the plunger.
- Snap the cap back on.
Critical: The slanted end of the tube must face downward when reinstalled in the sink.
Moen: Reattach Housing and Clips
- Insert the spring into the base.
- Slide the plunger and seals into place.
- Place the O-ring in its groove.
- Hold the unit upside down.
- Press the plunger down and slide the housing back on until it clicks.
The side clips should snap securely. If they don’t, the plunger isn’t depressed enough.
Thin Thickened Soap in the Reservoir
If the soap itself is too thick, no amount of cleaning will help. Some soaps, like Ajax liquid soap, tend to thicken over time, especially in cooler environments.
Add Hot Water to the Bottle
- Remove the soap bottle from under the sink.
- Add ½ cup of hot water directly into the soap.
- Stir with a long chopstick or skewer.
- Reinstall and pump several times to mix.
Result: The pump will often start working immediately.
Prevent Future Thickening
- Add a small amount of hot water each time you refill.
- Use soaps labeled “pump-friendly” or “low-viscosity.”
- Avoid bar soap dissolved in water, as it clogs pumps quickly.
Test with Water to Diagnose the Issue
Not sure if the problem is the soap or the pump? This quick test saves time and tells you whether to focus on the liquid or the hardware.
Prime with Water First
- Remove the pump tube from the soap bottle.
- Place it in a cup of plain water.
- Pump several times.
If water flows:
– The pump works.
– The issue is soap thickness or composition.
If water doesn’t pump:
– The problem is mechanical: a clog, broken valve, or damaged spring.
Adjust the Hose Length
A long or kinked hose can block suction and cause a sink soap dispenser to stop working.
Shorten for Better Suction
Some dispensers (like NeverMT-style models) come with excess hose length.
- Cut the hose so it’s as short as possible while still reaching the soap.
- Ensure the tube end stays submerged in the liquid.
- Avoid sharp bends or kinks.
A long hose creates air pockets and reduces suction power, preventing the pump from drawing soap.
Replace the Pump if Damaged
Sometimes, cleaning isn’t enough. Replace the dispenser if:
- The plunger pulls out completely and won’t stay in
- Internal parts are cracked or worn
- The spring is broken or compressed
- Cleaning and lubrication don’t restore function
Replacement units are available at hardware stores, big-box retailers, and online.
Cost: $10–$25 for a new pump.
Prevent Future Problems
Keep your dispenser working smoothly with simple maintenance.
Clean Every 6–12 Months
- Disassemble and clean every 6 months for Moen, 1–2 years for Delta.
- Use silicone grease during reassembly.
- Flush the tube with hot water if dispensing slows.
Use the Right Soap
- Avoid thick, gel-like, or exfoliating soaps.
- Choose liquid hand soaps labeled for pump use.
- Dilute thick soaps with a splash of warm water at refill.
Avoid Common Mistakes
- Don’t use Vaseline, as it washes out and attracts dirt.
- Don’t force the plunger, or you may pull it out or break internal parts.
- Don’t skip priming. Pump 10–15 times after cleaning or refilling.
Frequently Asked Questions About Sink Soap Dispensers
Why does my sink soap dispenser not work after refilling?
A sink soap dispenser not working after refilling usually means air got into the pump tube during the refill process. Simply pump the handle 10–15 times to re-prime the system and push the air out. If that doesn’t work, the soap itself may be too thick.
Can I use Vaseline to lubricate my soap dispenser pump?
You can use Vaseline for short-term fixes, and some users report success with it. However, Vaseline degrades over time and washes out with water. Food-safe silicone grease like Danco Silicone Grease is the better long-term choice.
How do I know if my soap dispenser pump is clogged or broken?
Test the pump by placing the tube in a cup of plain water and pumping. If water flows normally, your pump works and the issue is likely soap thickness. If water doesn’t pump, you have a mechanical problem like a clog, broken valve, or damaged spring.
Why is my Delta or Moen soap dispenser plunger sticking?
Sticking plungers are usually caused by dried soap residue or mineral buildup inside the pump tube. Disassembling the unit, cleaning all parts with warm soapy water, and applying food-safe silicone grease typically restores smooth operation.
What kind of soap won’t clog a sink soap dispenser?
Thin, low-viscosity liquid hand soaps labeled “pump-friendly” work best. Avoid thick gel soaps, exfoliating soaps with particles, or bar soap dissolved in water, as these clog pumps quickly. Dilute thicker soaps with a splash of hot water at each refill.
Key Takeaways for Fixing a Sink Soap Dispenser Not Working
A sink soap dispenser not working is usually an easy fix. Start with hot water soaking for two hours, then move to disassembly and lubrication if needed. For thick soap, add hot water directly to the bottle. Test with plain water to diagnose whether the issue is mechanical or related to the liquid. And if all else fails, replace the pump; it’s inexpensive and simple.
With the right care, your dispenser can last years. Regular cleaning every 6–12 months, proper lubrication with food-safe silicone grease, and using the right soap will keep it working like new. Pick up a tube of Danco Silicone Grease and a soft brush today, and you’ll have everything you need to restore your dispenser in under an hour.







