
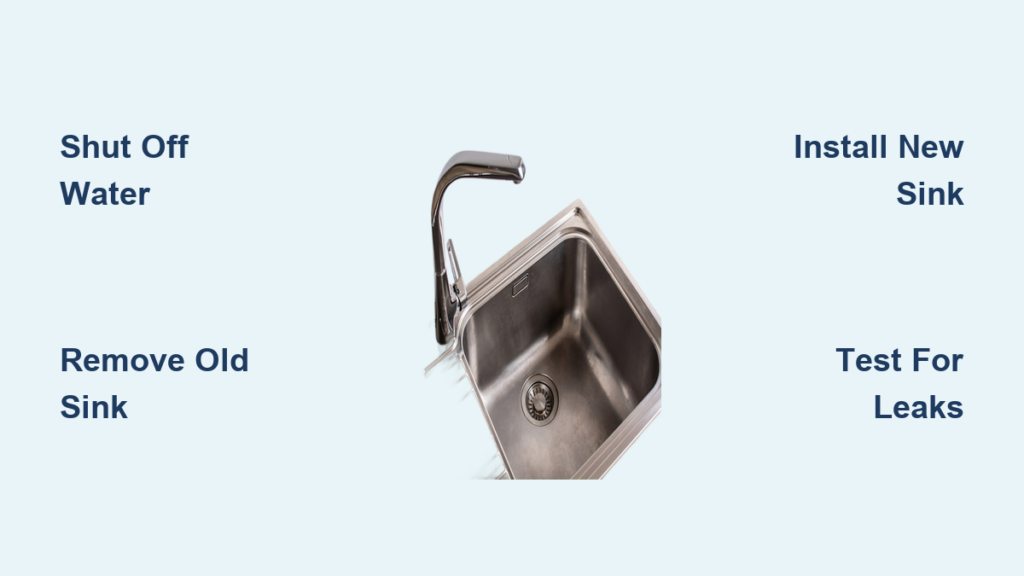
A worn-out or cracked kitchen sink can make even the cleanest kitchen feel dated. Maybe your basin is chipped, stained beyond repair, or simply no longer matches your style. The good news is that learning how to replace a kitchen sink is well within reach for most homeowners, and you don’t need to call a plumber to get professional-looking results.
With the right tools and a clear plan, you can complete this project in just a few hours. This guide covers every step: shutting off the water, removing the old sink, preparing your countertop, installing the new basin, reconnecting plumbing, and testing for leaks. You’ll also learn how to handle heavy cast iron sinks, modify cutouts, and avoid common DIY mistakes.
Gather Tools and Materials First

Preparation prevents mid-project trips to the hardware store.
Essential Tools Checklist
Before you begin, round up these items:
- Adjustable wrench
- Basin wrench for tight faucet spaces
- Screwdriver set (flathead and Phillips)
- Pipe wrench
- Utility knife
- Putty knife or flat pry bar
- Razor blade scraper
- Measuring tape
- Level
- Flashlight
- Bucket and towels
- Safety gloves and goggles
- Sawzall or PVC cutter
- Vacuum for debris cleanup
Materials You’ll Need
Stock up on these supplies before starting:
- New kitchen sink
- Faucet and drain assembly (if not included)
- 100% silicone caulk or plumber’s putty
- Plumber’s tape (Teflon tape)
- PVC primer (purple) and PVC cement
- Denatured alcohol for surface cleaning
- Mounting clips or brackets (usually included with sink)
- New supply lines (optional but recommended)
Pro Tip: Take a photo of your existing plumbing setup before disconnecting anything. This reference makes reassembly much easier.
Shut Off the Water Supply
Stop water flow before touching any pipes.
Find and Close the Shut-Off Valves
Look beneath the sink cabinet for the hot and cold shut-off valves. Turn both levers clockwise until they stop. If your kitchen lacks individual valves, locate the main house shut-off (usually near the water meter or where the line enters your home) and turn it off completely.
Release Pressure in the Lines
Open the faucet and let it run until water stops flowing. This drains leftover pressure from the lines. Place a bucket and towels under the cabinet to catch any drips during disconnection.
Disconnect the Plumbing
With water off, dismantle the existing connections.
Remove Supply Lines
Use an adjustable wrench to disconnect the hot and cold supply lines from the faucet tailpieces. Hold each faucet stem steady with a second wrench to prevent twisting and internal damage. Replace old supply lines with new flexible braided hoses if they show any corrosion.
Detach the P-Trap and Drain
Place a bucket under the P-trap to catch residual water. Loosen the slip nuts on both ends using pliers or a pipe wrench, then slide the trap off. Disconnect the drainpipe from the wall stub-out and remove any dishwasher drain hose clamped to the disposal or drain tailpiece.
Remove the Old Sink
Free the sink from the countertop carefully.
Cut Through the Sealant
Score around the sink’s perimeter with a utility knife, keeping the blade at a shallow angle to protect the countertop. Cut all the way around to break the silicone or caulk seal completely.
Loosen Mounting Clips
Check underneath for metal clips or brackets securing the sink. Remove these with a screwdriver or basin wrench. If clips are rusted, apply penetrating oil and wait a few minutes before trying again.
Lift the Sink Out Safely
Rock the sink gently to break any remaining adhesive bond. For heavy cast iron sinks (up to 100 pounds), place a block of wood across the cabinet opening for support. Lift with your legs, keep fingers clear of sharp edges, and pull straight up to avoid chipping the countertop.
Prepare the Countertop Surface
A clean, dry surface ensures a watertight seal.
Scrape Away Old Adhesive
Remove leftover silicone, caulk, or plumber’s putty with a razor blade or putty knife. For stubborn residue, wipe with denatured alcohol on a clean cloth. Never use acetone on laminate countertops; it causes discoloration.
Inspect and Repair Damage
Check the cutout edge for cracks, warping, or delamination. Repair minor damage with epoxy or laminate filler. If your new sink has different dimensions, use a jigsaw or router to modify the opening, clamping a straight edge guide for clean cuts.
Final Cleaning Before Installation
Wipe the entire perimeter with denatured alcohol to remove dust, grease, and moisture. Let it dry completely. Vacuum debris from inside the cabinet to prevent clogs later.
Install the New Sink

Set and secure your new basin properly.
Test Fit First
Lower the sink into the opening without sealant. Confirm it sits flush and aligns evenly on all sides. Use a level to check front-to-back and side-to-side. For undermount sinks, verify the mounting rails match your countertop thickness.
Apply Sealant Correctly
Run a continuous quarter-inch bead of 100% silicone caulk around the underside of the rim. Follow manufacturer instructions; some sinks require plumber’s putty instead. Never combine both. Work quickly because silicone cures fast, and wipe excess away with a damp cloth immediately.
Set and Secure the Sink
Lower the sink into place from above, guiding it carefully through the opening. Press firmly to compress the sealant. From underneath, attach mounting clips and tighten screws gradually from front to back and side to side to prevent warping. Recheck level after tightening.
Install the Faucet and Sprayer
Mount fixtures before reconnecting plumbing.
Secure the Faucet
Slide the faucet tailpieces through the sink or countertop holes. From below, add washers and mounting nuts, then tighten with a basin wrench. Don’t over-tighten; this can crack porcelain or damage internal seals.
Connect Sprayer and Accessories
Attach the sprayer hose to the faucet’s side outlet and secure it with the included clip. For soap dispensers, screw the base from above while tightening the nut below. Make sure no hoses kink or bind during routing.
Reconnect Drain and P-Trap
Rebuild the drainage system with precision.
Install Strainer and Drain Tail
Insert the basket strainer into the drain hole. From below, slide the friction ring and locknut over the tailpipe, then tighten the center screw. No plumber’s putty is needed when a rubber gasket is present. Connect the drain tailpiece to the strainer.
Dry-Fit the P-Trap
Assemble the P-trap loosely and hold it in place. Check alignment with the wall drain and cabinet walls. If the stub-out is too close, mark pipes for trimming, cut with a PVC cutter or Sawzall, and sand burrs smooth. Vacuum up plastic shavings.
Glue PVC Connections
Apply purple PVC primer to all joints, then brush on PVC cement. Join fittings with a slight twist and hold for 30 seconds. Reconnect the dishwasher hose with a stainless steel clamp. Confirm the P-trap dips low enough to hold water but doesn’t sag.
Reconnect Water Supply Lines
Finalize plumbing with leak-proof connections.
Attach Supply Lines to Faucet
Connect hot (red) and cold (blue) lines to their matching faucet inlets. Wrap threads with plumber’s tape to prevent leaks. Tighten with an adjustable wrench just until snug. Over-tightening strips threads and damages fittings.
Verify All Connections
Before testing, confirm:
- Supply lines have no kinks
- P-trap aligns and seals properly
- Dishwasher hose clamps are secure
- Faucet sits level and stable
- Mounting clips are tight
Test for Leaks Thoroughly
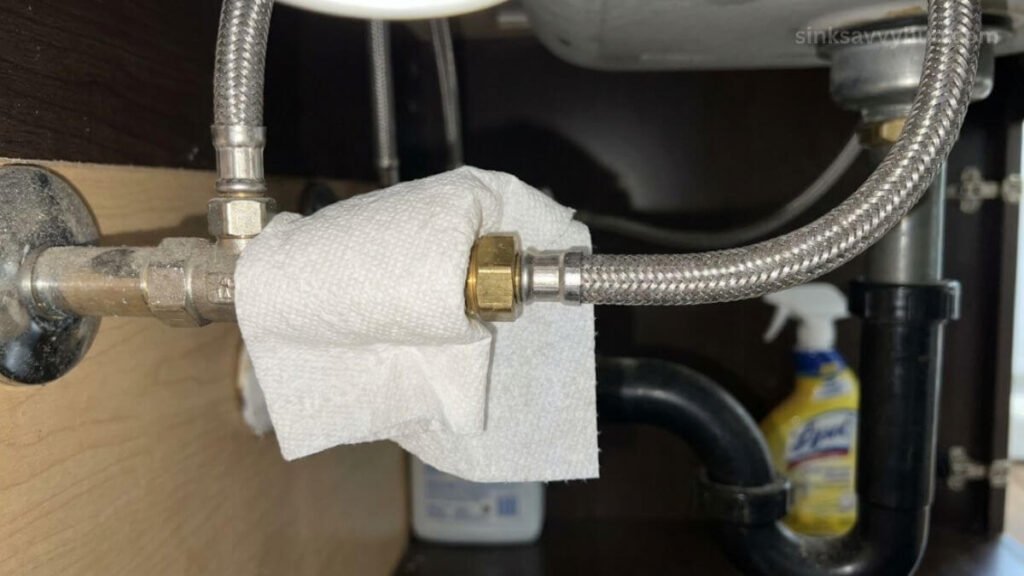
Never skip this critical final step.
Turn Water On Slowly
Open the shut-off valves gradually to avoid pressure surges. Run the faucet for 20 seconds to purge air from the lines; expect some sputtering. Watch every joint for drips: supply lines, faucet base, P-trap, and drain connections.
Inspect and Fix Any Drips
Shine a flashlight under the sink and look for moisture. If you spot a leak:
- Tighten the connection slightly
- Reapply plumber’s tape on threaded joints
- Re-glue any seeping PVC connections
- Replace worn washers or O-rings
Run both hot and cold water, test the sprayer, and confirm proper drainage. Check again after 5 minutes of continuous use.
Final Touches and Cleanup
Finish strong for a polished, professional look.
Wipe Down and Polish
Clean the sink, faucet, and countertop with a soft cloth. Remove any uncured caulk with a damp rag. For a watertight finish, apply a final thin bead of silicone around the sink’s outer edge and smooth it with a soapy fingertip.
Final Inspection Checklist
Confirm everything is in order:
- Sink sits level and secure
- No tools or debris left in cabinet
- All connections remain dry
- Drain flows freely
- Faucet handles operate smoothly
Frequently Asked Questions About Kitchen Sink Replacement
How long does it take to replace a kitchen sink?
Most homeowners complete the project in a few hours. The exact time depends on your plumbing configuration, countertop material, and whether you need to modify the cutout. First-time DIYers may take longer than experienced renovators.
Do I need a plumber to replace my kitchen sink?
No. Replacing a kitchen sink is a DIY-friendly project for anyone comfortable with basic tools. However, if you encounter complex plumbing issues, corroded pipes, or uncomfortable working conditions, hiring a licensed plumber is a smart choice.
Can I replace a kitchen sink without replacing the countertop?
Yes, as long as your new sink matches the existing cutout dimensions. If the size or shape differs, you can modify the opening with a jigsaw or router. Drop-in sinks are easiest to swap because they sit on top of the countertop.
What should I do if my new sink doesn’t fit the existing cutout?
Measure the cutout before purchasing your new sink. If dimensions don’t match, you can enlarge the opening with a jigsaw for laminate counters or a router for solid surfaces. For granite or quartz, professional modification is recommended to avoid cracking.
How do I remove silicone caulk from my countertop?
Scrape away cured silicone with a razor blade held at a shallow angle. For residue, wipe with denatured alcohol on a clean cloth. Avoid acetone on laminate surfaces, as it causes discoloration. Work carefully to avoid scratching the countertop.
What is the heaviest kitchen sink I can install by myself?
Stainless steel and composite sinks typically weigh 20 to 50 pounds and are manageable for one person. Cast iron sinks can weigh up to 100 pounds and require extra caution. Use a block of wood for support, lift with your legs, and consider having a helper for safe removal and installation.
Key Takeaways for a Successful Kitchen Sink Replacement
Replacing a kitchen sink is one of the most rewarding DIY upgrades you can tackle. Start by shutting off the water and disconnecting plumbing carefully. Take time to clean and inspect the countertop before installing the new basin; a dry, contaminant-free surface is essential for a watertight silicone seal. Always test for leaks thoroughly before declaring the job done, because even a small drip can cause major water damage over time.
Before you begin, double-check your measurements and confirm that your new sink matches the existing cutout. Gather every tool and material on your list so you won’t need to interrupt the project mid-stream. With patience, proper preparation, and attention to detail, your new sink will serve your kitchen reliably for many years to come.







