
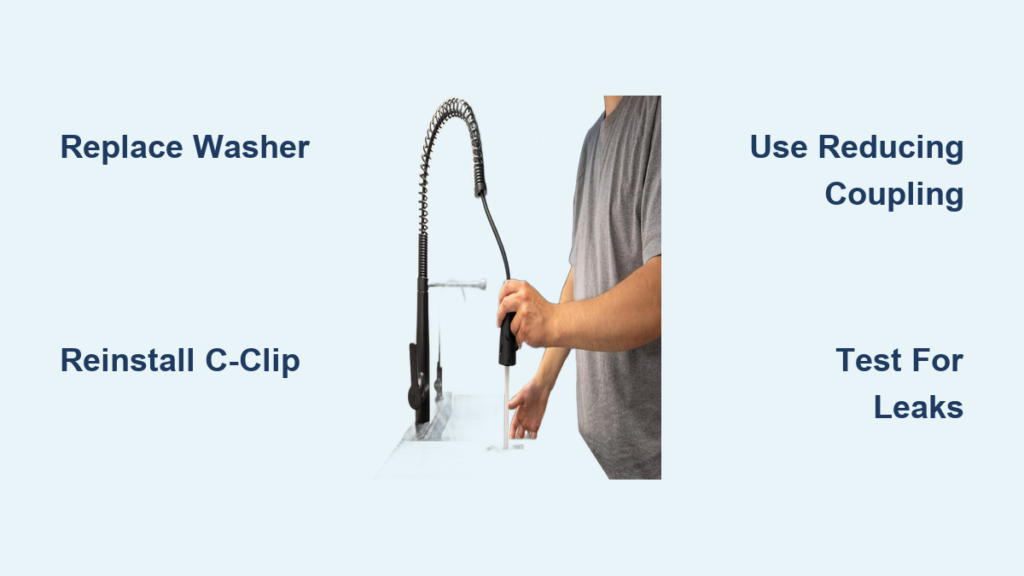
A leaky or malfunctioning sink sprayer wastes water, reduces cleaning power, and can even cause under-sink moisture damage. The good news is that most sink sprayer repair jobs take under 20 minutes and require only basic tools you probably already own. Common culprits include a worn rubber washer, a loose C-clip, or hose fittings that simply don’t match your faucet.
This guide covers every fix you might need, from a quick spray head swap to a full assembly upgrade. You’ll learn which method to pick, how to handle stubborn compatibility issues, and how to keep your sprayer working like new for years.
Replace the Spray Head in 10 Minutes
When the drip comes from the spray tip itself, replacing just the spray head is the fastest, cheapest sink sprayer repair.
Shut Off Water and Prep the Workspace
Before touching anything, shut off both water valves under the sink and open the faucet to release pressure. Place a towel inside the basin to catch small parts like the C-clip, which can easily vanish down the drain. A small cup covering the drain opening adds extra protection.
Pro Tip: Lay out your tools in order of use. This prevents the classic mistake of having a wet, slippery C-clip shoot across the room while you fumble for pliers.
Remove the Old Spray Head
Unscrew the spray head from the hose by hand. If mineral buildup or over-tightening locks it in place, use an adjustable wrench gently, taking care not to crush the plastic housing. Once the head is off, pull out the rubber washer sitting inside the base. This washer is the most common cause of leaks and weak spray patterns.
Pry Out the C-Clip
The spray head locks onto the hose with a small metal C-clip. Slide a small flathead screwdriver or a pocketknife can opener under the clip and pry it outward. Have your towel ready because the clip can pop out unexpectedly. This step feels tricky the first time but becomes routine after one try.
Warning: Watch your eyes. The clip travels fast once released.
Install the New Spray Head
Slide the new spray head base onto the hose and press the C-clip back into its groove. Use pliers to gently squeeze the clip closed if it does not seat fully. Drop in the new rubber washer included with the kit, then screw the spray head on by hand. No wrench needed; over-tightening cracks the housing.
Test for Leaks
Turn the water valves back on slowly to avoid pressure surges. Pump the sprayer several times and check for a strong, even spray, no dripping at the connection, and zero moisture under the sink. If you spot a leak, confirm the C-clip is fully engaged and the washer sits flat.
Upgrade with a Universal Sprayer Kit

When the whole assembly feels tired or multiple parts fail at once, a universal kit like Danco delivers a modern, long-lasting upgrade in under 20 minutes.
Remove the Old Sprayer Assembly
Shut off the water and open the faucet. Twist off the sprayer head from the collar by hand, using a wrench only if it refuses to budge. Under the sink, find the retaining clip holding the collar in place. Use two screwdrivers: one to steady the clip, the other to push it out of its groove.
Keep a rag nearby because a small drip of residual water is normal once the collar comes free.
Reuse the Original Collar if Needed
Universal kits sometimes include a new collar with internal fins that shrink the inner diameter, making the collar too tight to slide over your faucet’s brass tube. Do not force it.
The proven workaround: keep the original collar if it’s still in good shape, then attach the new sprayer head and handle from the Danco kit. Slide the original collar onto the brass fitting and use the larger Danco retaining clip for extra security.
Expert Note: Mixing old and new parts is a smart move. The original collar frequently outlasts the components around it.
Install and Secure the New Handle
Hand-tighten the new sprayer handle to the hose, no tools required. Snap the new retaining clip from the kit into the collar groove. The larger Danco clip is easier to handle and far less likely to fall out during future repairs.
Test the Full Assembly
Slowly restore water flow and operate the sprayer 5 to 10 times. Check under the sink for drips. A dry cabinet and a strong, consistent spray mean the job is done right.
Fix Hose Fitting Mismatches

Replacing a hose seems simple until you discover the threads don’t line up. This is common on single-lever faucets from brands like Moen or Delta.
Identify Your Faucet Connection
Look under the sink before buying parts:
- Standard replacement hose: 1/8″ male thread
- Many faucets: 1/4″ male threaded nipple with a union nut
If you bought a 1/8″ hose but your faucet has a 1/4″ connection, you have a mismatch you can fix in minutes.
Use a Reducing Coupling (Best Fix)
A 1/4″ to 1/8″ reducing coupling is the cleanest, most durable adapter for this problem.
- Shut off the water and relieve pressure
- Loosen the union nut and remove the old hose
- Wrap Teflon tape around the 1/4″ male thread on the faucet
- Screw the reducing coupling onto the faucet nipple
- Wrap Teflon tape around the 1/8″ end of the new hose
- Connect the hose to the coupling and tighten
Pro Tip: Toss a reducing coupling into your plumbing kit. It’s cheap insurance for any future hose swap.
Splice Hoses Only in Emergencies
Splicing is a last-resort, temporary fix when no hardware store is available. You’ll need a 5/16″ barbed fitting, stainless steel hose clamps, and a hair dryer.
Cut both hose ends cleanly, warm them slightly with the hair dryer, slide each end onto the barbed fitting, and secure with clamps.
Warning: Spliced connections leak more easily and may fail under pressure. Replace with a proper coupling as soon as possible.
Troubleshoot Common Sprayer Issues
Use this quick reference to diagnose and fix recurring problems.
Spray Head Leaks
Cause: Worn rubber washer
Fix: Replace the washer using the new one from your kit. Never reuse an old washer.
Weak or Uneven Spray
Cause: Clogged nozzle or degraded washer
Fix: Soak the spray head in white vinegar for 30 minutes to dissolve mineral buildup. Replace the head if clogs persist.
Head Won’t Stay Attached
Cause: Lost or damaged C-clip
Fix: Reinstall or replace the clip. The larger clips in universal kits hold better than stock versions.
New Collar Doesn’t Fit
Cause: Internal fins reduce inner diameter
Fix: Reuse the original collar with the new sprayer head for a hybrid setup that works perfectly.
Hose Connection Leaks
Cause: Mismatched threads or missing Teflon tape
Fix: Install a reducing coupling and apply Teflon tape to every threaded joint.
Prevent Future Problems
A few minutes of maintenance every six months keeps your sprayer working like new.
Inspect the Washer and Clip Regularly
Every six months, unscrew the spray head and check the rubber washer for cracks or flattening. Inspect the C-clip for corrosion or looseness. Replace both at the first sign of wear.
Avoid Over-Tightening
Excess force cracks plastic fittings and strips threads. Hand-tighten all connections, then add a quarter-turn with a wrench only if needed.
Keep Spare Parts Handy
Store these items under the sink so you’re ready for any emergency:
- Extra C-clips
- Rubber washers
- Teflon tape
- 1/4″ to 1/8″ reducing coupling
Choose the Right Repair Method

Not every problem needs the same fix. Match the repair to the situation.
Replace Spray Head Only
Best when: Only the spray head leaks or clogs
Time: Under 10 minutes
Tools: Screwdriver, pliers
Cost: $10 to $15
Complete Sprayer Replacement
Best when: Multiple parts fail or you want an upgrade
Time: Under 20 minutes
Tools: Two screwdrivers, wrench
Cost: $20 to $30 for a Danco kit
Replace Hose with Adapter
Best when: The hose is cracked or fittings don’t match
Time: 15 to 25 minutes
Tools: Wrench, Teflon tape, reducing coupling
Cost: $15 to $25
Frequently Asked Questions About Sink Sprayer Repair
Why does my kitchen sink sprayer drip even when the faucet is off?
A drip with the faucet off usually points to a worn rubber washer inside the spray head. Water is seeping past the seal and out the nozzle. Replacing the washer (or the whole spray head) solves the problem in minutes.
Can I replace just the sprayer head without replacing the hose?
Yes. In most cases, the spray head unscrews from the hose and can be swapped independently. You only need to replace the hose when it leaks at the connection or the fittings don’t match your faucet.
What do I do if the new sprayer collar won’t fit over the brass tube?
Many universal kit collars include internal fins that reduce the inner diameter, making them too tight for some faucets. Reuse your original collar with the new sprayer head and handle for a perfect fit.
How do I know if my hose thread is 1/8″ or 1/4″?
Look under the sink. If the faucet has a union nut connecting to a small threaded nipple, it’s likely a 1/4″ connection. Standard replacement hoses are usually 1/8″. When in doubt, take the old hose end to the hardware store for a perfect match.
Is it safe to splice a sprayer hose as a permanent fix?
No. Splicing with a barbed fitting and hose clamps is only a temporary emergency fix. Spliced connections leak more easily and may fail under household water pressure. Use a 1/4″ to 1/8″ reducing coupling for a lasting repair.
How often should I check my sink sprayer for wear?
Inspect the rubber washer and C-clip every six months. Routine checks catch small wear before they turn into leaks, saving water and preventing under-sink moisture damage.
Final Thoughts on Repairing Your Sink Sprayer
A working sink sprayer depends on three things: a tight seal at every connection, a flexible, undamaged hose, and regular inspections of the small parts that take the most abuse. For most homeowners, the right repair is a 10-minute spray head swap or a 20-minute universal kit upgrade, both of which cost far less than a plumber visit.
Your next step: Open the cabinet under your sink right now, identify your faucet connection, and order a universal sprayer kit plus a 1/4″ to 1/8″ reducing coupling. When the next drip appears, you’ll have everything on hand to fix it in under 20 minutes.







