
Installing an outdoor faucet on an existing water line gives you reliable access to water for gardening, cleaning, and irrigation without relying on indoor plumbing or unsightly hose extensions. Whether you’re replacing a leaky spigot or adding a completely new outdoor water source, this guide walks you through every step using professional methods and code-compliant practices. The key is choosing the right faucet type, routing PEX tubing safely, ensuring proper drainage, and preventing freeze damage. With the correct tools and attention to detail, most homeowners can complete this project in 2 to 4 hours.
Choose the Right Outdoor Faucet for Your Climate
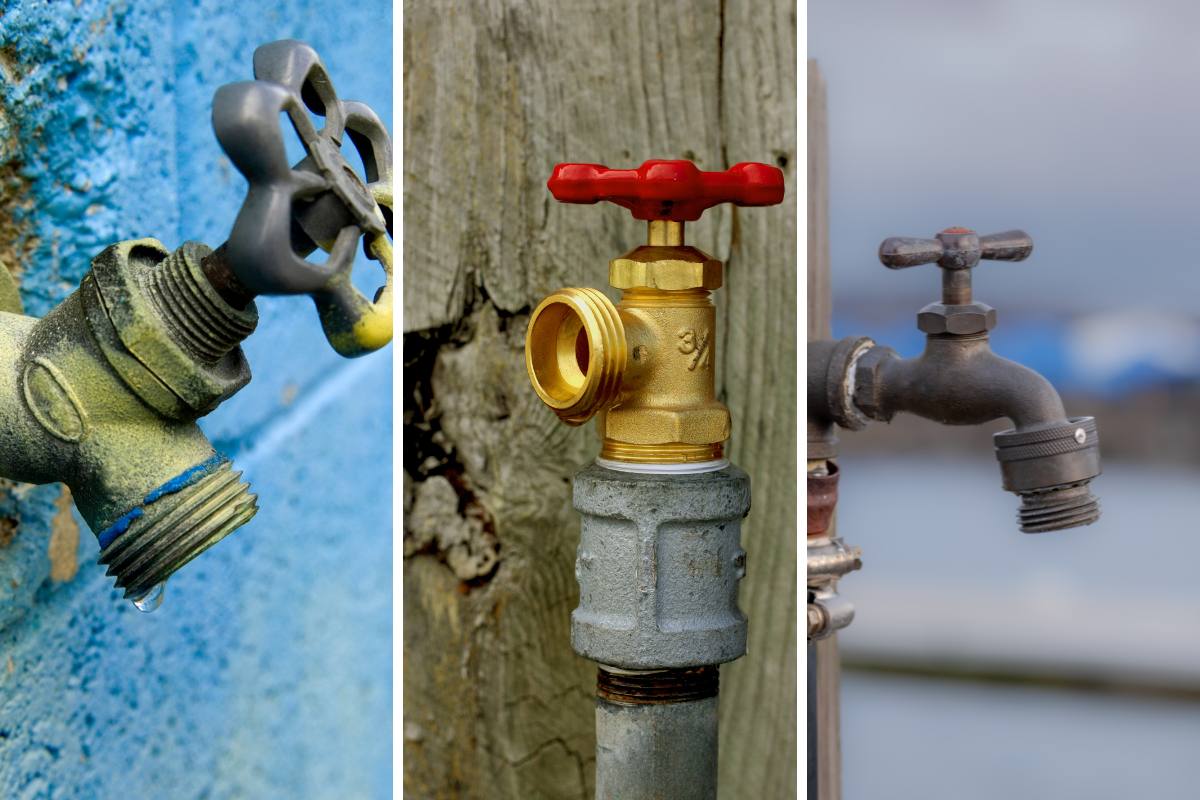
Selecting the appropriate outdoor faucet is the most important decision you will make for this project. Your climate directly determines which type will perform best and prevent costly freeze damage.
Standard vs. Frost-Free Spigot
For mild climates in USDA Zones 8 through 11, a standard spigot may suffice. These basic faucets are affordable, simple to install, and last 10 to 20 years when made from brass. The downside is that they retain water in the stem when shut off, making them vulnerable to freezing and bursting in cold weather.
For freezing regions north of Zone 5, always install a frost-free sillcock. The internal shutoff valve sits inside your home is conditioned space, typically 6 to 12 inches from the exterior wall. When closed, water drains back into the house, preventing ice buildup. These models come in 6, 8, 10, and 12 inch lengths. Select one long enough so the valve mechanism stays indoors completely.
A 12 inch model is often needed for insulated or thick walls. Measure your wall depth before buying to avoid purchasing a faucet that is too short.
Include Anti-Siphon Protection
All outdoor faucets must have backflow prevention to stop contaminated water from siphoning back into your potable supply. Frost-free sillcocks usually include an integrated anti-siphon vacuum breaker. If yours does not, attach a standalone vacuum breaker directly to the spout threads.
Local codes may require the device to be permanently installed. Some models have a break-off screw that snaps after tightening. Check your municipal plumbing regulations before finalizing your purchase.
Plan the Installation Location
Choosing the right location affects both functionality and ease of future maintenance. Take time to map out the entire route before purchasing materials.
Pick an Accessible Wall
Select a location near gardening zones, patios, or garages where you will actually use the water. Ensure the interior side, whether basement, crawlspace, or utility room, has easy access to your 3/4 inch copper cold water line. Avoid corners or areas blocked by landscaping, vehicles, or structural elements.
If future repairs are a concern, consider installing a removable access panel by cutting into joists halfway and framing a service door. This avoids drywall damage during maintenance.
Map the Interior Route
Use a magnetic stud finder to locate floor joists spaced 16 inches on center. Plan your pipe run between them or through existing cavities like exhaust chases. Drill pilot holes to confirm clearance and avoid electrical wires, HVAC ducts, and gas lines.
Run the PEX one joist over from a known reference point like a bathroom vent to simplify navigation.
Shut Off and Prepare the Water Supply
Working on pressurized lines creates serious flooding and injury risks. Follow these steps to isolate the water safely.
Isolate the Line Safely
For city water systems, shut off the curb stop valve near your foundation using a valve key. For well systems, close the ball valve between the pump and house line by turning the handle 90 degrees so it is perpendicular to the pipe.
If no dedicated shut-off exists, use the main house valve but expect temporary loss of indoor water.
After shutting off, open an existing outdoor faucet to relieve pressure and drain residual water. Confirm no flow before disconnecting anything.
Never work on pressurized lines. Flooding and injury risks are real and preventable.
Tap Into the Existing Water Line
Now you will connect your new outdoor water line to the existing copper supply. This step establishes the foundation for your entire installation.
Install a Shut-Off Valve First
Before connecting anything, install an indoor shut-off valve to isolate the new outdoor circuit. This lets you service the faucet without turning off all water throughout the house.
Use a 3/4 inch compression T-fitting to tap into the copper line. Cut the pipe cleanly with a tubing cutter. Insert the copper into the T-fitting about 7/8 inch to fully seat the O-ring. Tighten securely with a wrench.
Alternatively, use SharkBite push-to-connect fittings for a solder-free connection. They are easy to install and carry a 25-year warranty, but only use them indoors, never outside or underground.
Crimp fittings are cheaper than SharkBite for multiple connections, saving you money on larger projects.
Drill Through the Exterior Wall
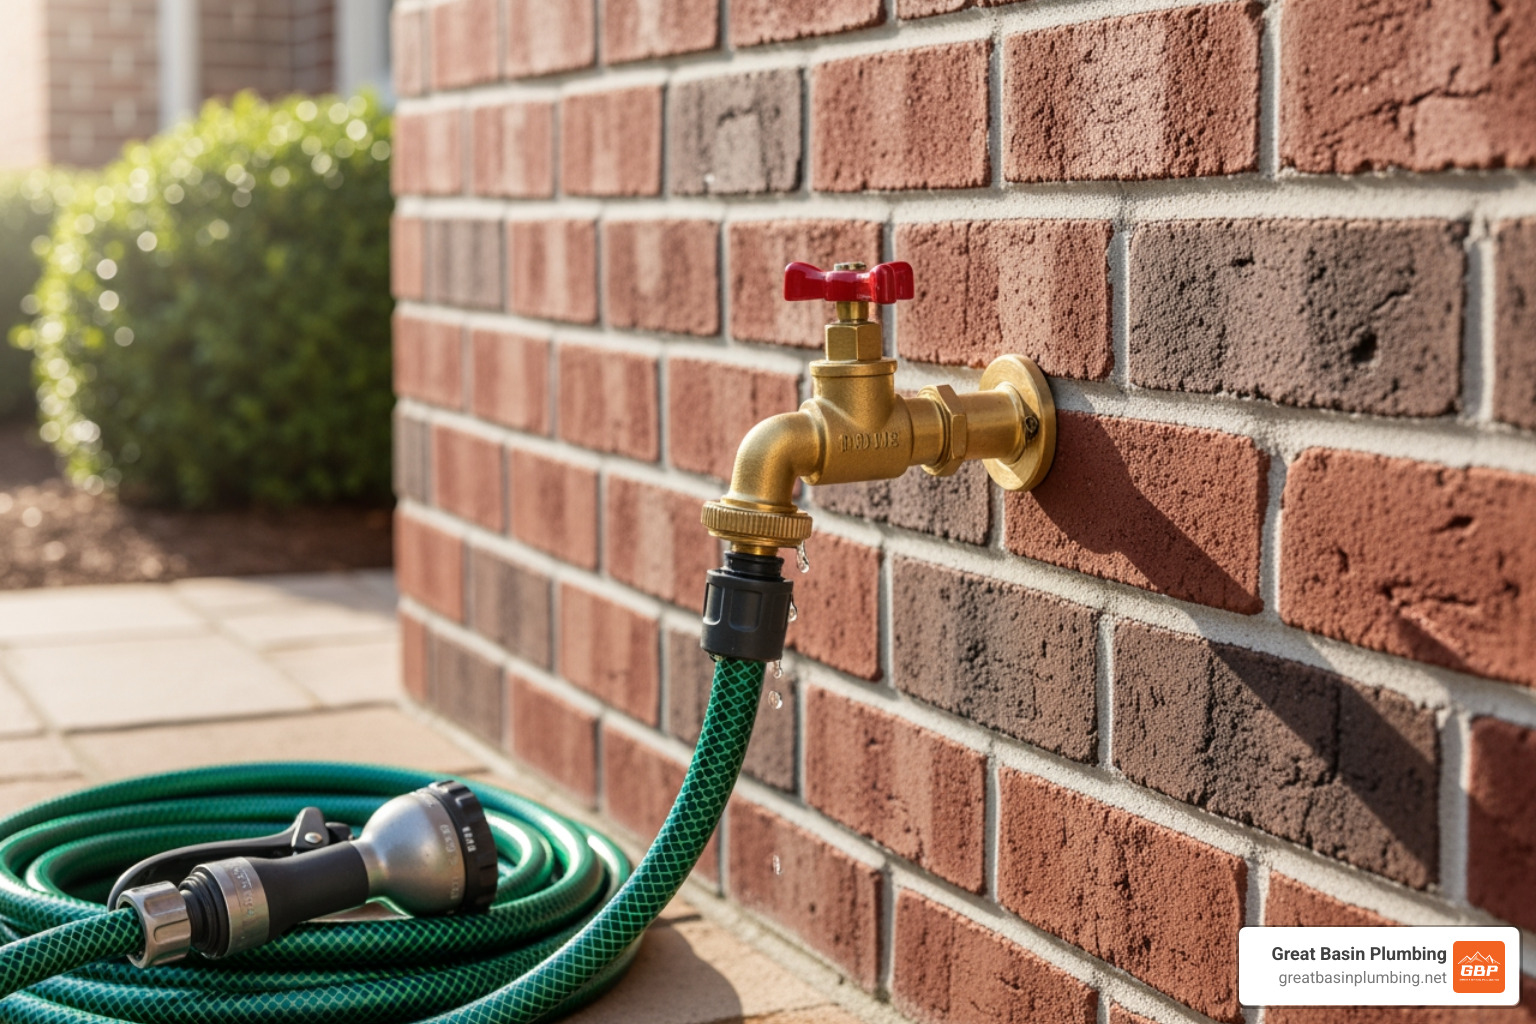
Creating the opening for your faucet requires precision to avoid structural damage and ensure a clean fit.
Line Up and Drill Accurately
Mark exactly where the faucet will exit. Drill through the rim joist or stud, staying at least 2 inches from top or bottom edges to avoid structural weakening.
Use a 1 inch hole saw. This size fits the faucet body and allows room for sealing and slope adjustment. Drill a pilot hole from inside first, then enlarge from the exterior to minimize siding damage.
Add approximately 2 inches to your wall thickness measurement to ensure the full spigot body inserts properly.
A 1 inch hole accommodates both the faucet and PEX tubing while allowing space for sealing.
Run PEX Tubing to the Faucet
PEX tubing provides flexibility, freeze resistance, and easy routing through walls. This material has become the standard for residential water supply lines.
Use PEX-B for Flexibility and Durability
Choose 1/2 inch PEX-B tubing for standard installations. It is flexible, freeze-resistant, and easy to route. For high-demand uses like drip irrigation, go with 3/4 inch PEX-B.
Feed the tubing through the drilled hole. If passing through insulated cavities with no access, insert a 1 inch rigid PVC pipe as a guide. Thread a 25 foot coil of PEX through it. Pull the PVC out and draw the PEX through.
Leave a service loop, which is extra coiled length inside the wall, for future repairs.
Warm PEX slightly in sunlight or with a heat gun to reduce stiffness on cold days.
Mount the Outdoor Faucet
Proper mounting ensures drainage and prevents water damage behind your walls. This step requires attention to slope and sealing.
Set the Correct Drainage Slope
Position the spigot so the outdoor end is 5 to 10 degrees lower than the indoor side. This angle ensures water drains completely when the faucet is off.
Use a level and spacers to hold the angle during installation.
Seal and Secure the Base
Apply exterior-grade silicone sealant around the back flange before mounting. This prevents water intrusion, rot, and mold behind the wall.
Secure the faucet with outdoor-rated screws, either stainless steel or coated. Use two screws for stability.
For 12 inch frost-proof models, ensure the valve mechanism is fully inside the heated space.
Connect PEX to the Faucet

Creating a watertight connection between PEX and your faucet requires proper technique and the right fittings.
Use Crimp Fittings for Outdoor-Ready Joints
Indoors, connect the PEX to a 1/2 inch male brass adapter on the faucet using a crimp ring. Slide a copper crimp ring onto the PEX. Insert PEX into the adapter. Crimp with a manual crimping tool, squeezing fully. Test with a go/no-go gauge to confirm proper compression.
This creates a watertight seal via an internal O-ring and mechanical bond.
Crimp fittings are more economical than SharkBite for this application.
Never Use SharkBite Outdoors
While SharkBite fittings work well indoors for quick connections, they are not rated for exterior exposure or burial. Always use threaded or crimped joints outside.
Install a Vacuum Breaker
Backflow prevention is required by plumbing codes in most jurisdictions. This protects your potable water supply from contamination.
Prevent Backflow Contamination
Even with an anti-siphon faucet, add a vacuum breaker on the hose connection threads. Tighten snugly with an adjustable wrench, but do not over-tighten.
In some areas, plumbing codes require the securing screw to snap off after installation, making the device permanent. Non-compliance could require replacement.
For irrigation systems, add a filter and pressure regulator upstream to protect the drip lines.
Always verify local code requirements before finalizing installation.
Test for Leaks and Performance
Thorough testing catches problems before you close up walls and finish the project. This step determines whether your installation is successful.
Restore Water and Inspect
Slowly turn the main water back on to prevent water hammer. Check all connections including the PEX crimp, copper T-fitting, spigot threads, and vacuum breaker.
Tighten or re-crimp any leaks immediately.
Verify Flow and Drainage
Open the faucet fully and partially. Check for smooth operation and strong flow. Close it and watch for dripping.
Frost-free models may drip briefly as the washer seats. This is normal and stops within seconds.
Confirm the spout slopes downward and no water pools inside.
Prevent Freezing Damage
Even frost-free faucets require seasonal attention in cold climates. Proper winterization prevents catastrophic pipe bursts.
Winterize in Cold Climates
Even with a frost-free sillcock, annual winterization is essential. Shut off the indoor valve. Open the outdoor faucet to drain. Leave it open during winter. Install an insulated spigot cover.
For irrigation systems, blow out lines with compressed air before the first freeze.
Never leave the faucet closed and full of water in freezing weather.
Insulate the Wall Cavity
If the PEX run is short, approximately 5 feet, and near the exterior, insulate around the pipe with spray foam. Avoid compressing insulation. Leave an air gap for drainage.
Maintain Long-Term Performance
Regular maintenance extends the life of your outdoor faucet and prevents problems before they occur.
Perform Seasonal Checks
Each spring, inspect for cracks or corrosion, leaks at the base, dripping washers, and clogged aerators. Each fall, shut off, drain, and cover the faucet.
Replace washers if dripping becomes persistent. Clean or replace aerators that become clogged with mineral deposits.
Use the Service Loop
The extra PEX coiled inside the wall, called the service loop, lets you replace or repair the faucet without cutting open walls. Always leave one, especially in inaccessible areas.
Most brass faucets come with a 5-year limited warranty or even lifetime material coverage. But warranties are voided by freeze damage due to improper installation or lack of winterization.
When to Call a Plumber
Some situations require professional expertise. Recognizing these conditions saves money and prevents damage.
Skip DIY if the existing faucet is soldered or glued, requiring cutting and rejoining. Skip DIY if pipes are corroded or galvanized, risking breakage during removal. Skip DIY if there is no accessible shut-off, because plumbers can install one safely. Skip DIY if you detect leaks inside walls, which needs diagnostic tools and possible repair. Skip DIY if your home has a history of frozen pipes, because a pro can reroute or add heat tape. Skip DIY when drilling near electrical or structural elements, which requires expert assessment.
Frequently Asked Questions About Installing an Outdoor Faucet
Can I install an outdoor faucet myself?
Yes, if the existing pipe is threaded and accessible. For new installations involving pipe runs, using push-fit fittings like SharkBite simplifies the job without soldering. Plan for 2 to 4 hours for a complete new installation.
What size thread should I buy?
Most U.S. outdoor faucets use 1/2 inch NPT threads. Verify by measuring the existing pipe or old faucet before purchasing.
Should I use a frost-free spigot?
Yes, if you live in a climate with freezing temperatures. It prevents burst pipes and extends faucet life significantly. The internal valve location inside your home is the key advantage.
Can I connect PEX to an outdoor faucet?
Yes, using a PEX-to-threaded adapter and a shut-off valve. However, PEX should not extend outside the home. Connect to a copper stub or faucet indoors, then run the indoor connection only.
Why is my new faucet leaking at the base?
Common causes include insufficient Teflon tape, dirty threads, over-tightening, or a warped sealing surface. Reapply tape with 3 to 5 clockwise wraps and tighten moderately.
How do I prevent freezing?
Install a frost-free sillcock. Shut off and drain the line in winter. Use an insulated cover. Ensure the spout tilts downward 5 to 10 degrees for complete drainage.
Key Takeaways for Installing Your Outdoor Faucet
Installing an outdoor faucet on an existing water line is a rewarding DIY project that provides years of convenient water access for gardening, cleaning, and irrigation. The most critical factors for success are selecting the right frost-free faucet for your climate, ensuring proper drainage slope of 5 to 10 degrees downward, and using correct connection methods like crimp fittings instead of SharkBite outdoors.
Always shut off water and drain the line before starting work. Apply Teflon tape with 3 to 5 clockwise turns on all threaded connections. Seal all wall penetrations with exterior-grade silicone. Install an indoor shut-off valve for easy maintenance and winterization.
Finally, winterize every year even with a frost-free model. Leave a service loop inside the wall for future access. Following these professional practices ensures your outdoor faucet delivers decades of reliable service while protecting your home from water damage.







