
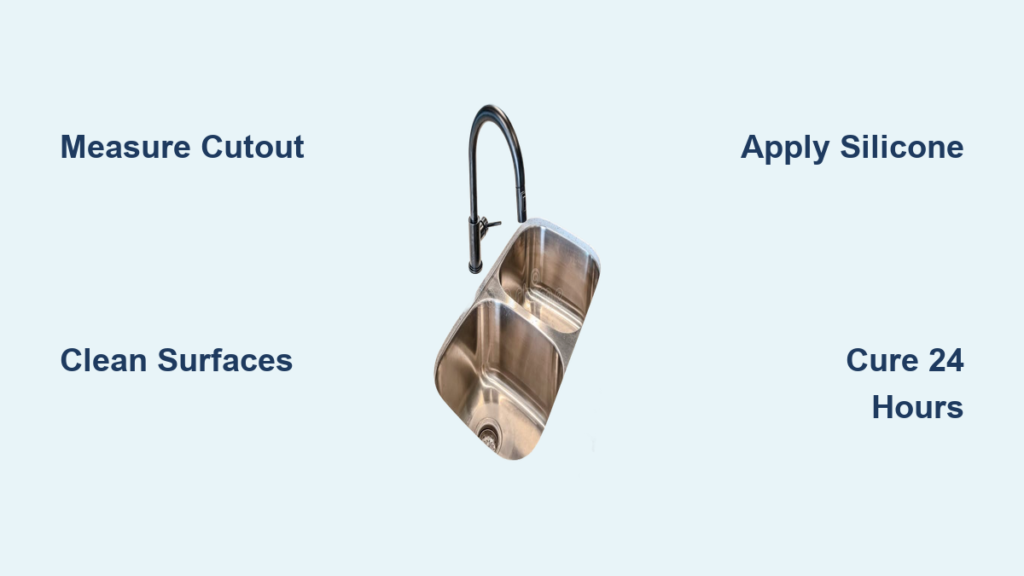
Installing an undermount sink gives your kitchen a clean, seamless look while making counter cleanup effortless. Unlike drop-in models, undermount sinks hang beneath the countertop, letting you wipe crumbs straight into the basin. The catch? One mistake in sealing, alignment, or support can mean leaks or a cracked countertop. This guide breaks down the entire process into clear, manageable steps, covering measuring, sink selection, three installation methods, and curing. You’ll learn which technique fits your cabinet type, how to apply silicone like a pro, and the pitfalls that trip up most DIYers.
Measure the Countertop Cutout Before Buying
Accurate measurements save you from costly returns and failed fits. Always confirm dimensions before purchasing your new sink.
Take Three Critical Measurements
Measure the width and depth of the existing cutout in your countertop. Compare those numbers to your new sink’s rim specifications. Most standard undermount sinks fit common 33×22 inch openings, but always verify.
Next, measure from the cabinet floor to the underside of the countertop. This determines the height of your support block. For example, a 16¼-inch gap means you’ll cut a 2×4 to match.
Finally, measure the sink cutout width itself. A 7¾-inch opening typically requires an 8-inch wooden support block for stability. Pre-cut blocks save time and ensure accuracy.
Bring Measurements to the Retailer
If you’re replacing an existing sink, bring the old unit or precise measurements when shopping. Home improvement stores like Lowe’s offer custom ordering for non-standard sizes. Never assume a sink will fit without checking first.
Choose the Right Sink and Orientation
The right sink material and orientation affects both function and longevity. A poor choice leads to ergonomic strain or water pooling.
Compare Common Sink Materials
Stainless steel resists scratches and dents, making it ideal for busy kitchens. Matte black finishes hide wear better than glossy surfaces. Porcelain offers elegant aesthetics but may require special care on delicate countertops like cultured marble.
If your sink has a built-in overflow, ensure it aligns with the drain during installation. No additional parts are needed for integrated overflow systems.
Position the Shallow Bowl Forward
Always install the shallow side of the sink closest to the front edge of the counter. This improves hand-washing comfort and matches natural faucet water flow. Incorrect orientation forces users to reach over deep basins, reducing usability.
Check that gaps around all sides are even for a balanced appearance. Use a tape measure to confirm uniform spacing before securing anything.
Gather Tools and Materials
Having everything ready prevents mid-project delays. Missing a single item can compromise your installation.
Essential Installation Supplies
You’ll need these core items:
- Razor knife and scraper for cutting and removing old silicone
- 100% silicone sealant (fresh, with a vinegar-like smell)
- Denatured alcohol and clean rags for surface prep
- 2×4 boards for support and clamping
- Wood clamps, shims, and a hammer
- ¼-inch threaded rod, galvanized bolts, and a wrench
- Drill with appropriate bits
- Mounting clips or brackets (model-specific)
- Gloves and towels for protection
Keep toilet paper handy for quick silicone cleanup. Use a single swipe and discard immediately. Reusing paper spreads the mess.
Know When Specialty Hardware Is Required
Some sinks use epoxy-bonded brackets, while others require specialty anchors drilled into the countertop. Check manufacturer instructions before starting. For weak cabinets with ¼-inch plywood bases, avoid bottom-up pressure and opt for top-down compression instead.
Remove the Old Undermount Sink Safely
Removal is a two-person job. Rushing this step risks cracking your countertop.
Cut Through the Silicone Seal
Use a razor knife to slice through the silicone bead around the sink’s perimeter. Work slowly with multiple shallow passes to avoid gouging the countertop. Forcing the blade causes damage.
Once the seal is broken, remove all metal mounting clips with a screwdriver. These typically sit along the cutout edge and secure the sink flange to the countertop.
Lower the Sink With Helper Support
Have one person lift slightly from above while another supports the sink from below. Gently lower it out of the opening together. Never let the sink hang by its own weight, as this risks cracking the countertop.
If the old sink is in good condition, consider donating it to Habitat for Humanity ReStore.
Prepare Both Bonding Surfaces
Surface preparation is the most crucial step for a leak-proof seal. Skip this, and even perfect silicone application will fail.
Scrape Off All Old Silicone
Use a razor scraper to remove every trace of old silicone from both the countertop edge and the sink’s mounting flange. Any leftover material prevents full contact and compromises adhesion.
Work methodically around the entire perimeter. Avoid using solvents that could damage stone or cultured marble surfaces.
Clean With Denatured Alcohol
Wipe both surfaces with denatured alcohol and a lint-free rag. This removes oils, dust, and moisture, ensuring optimal silicone bonding. Let surfaces dry completely before applying new sealant.
Do not touch cleaned areas with bare hands. Skin oils interfere with adhesion.
Apply Silicone Sealant the Right Way
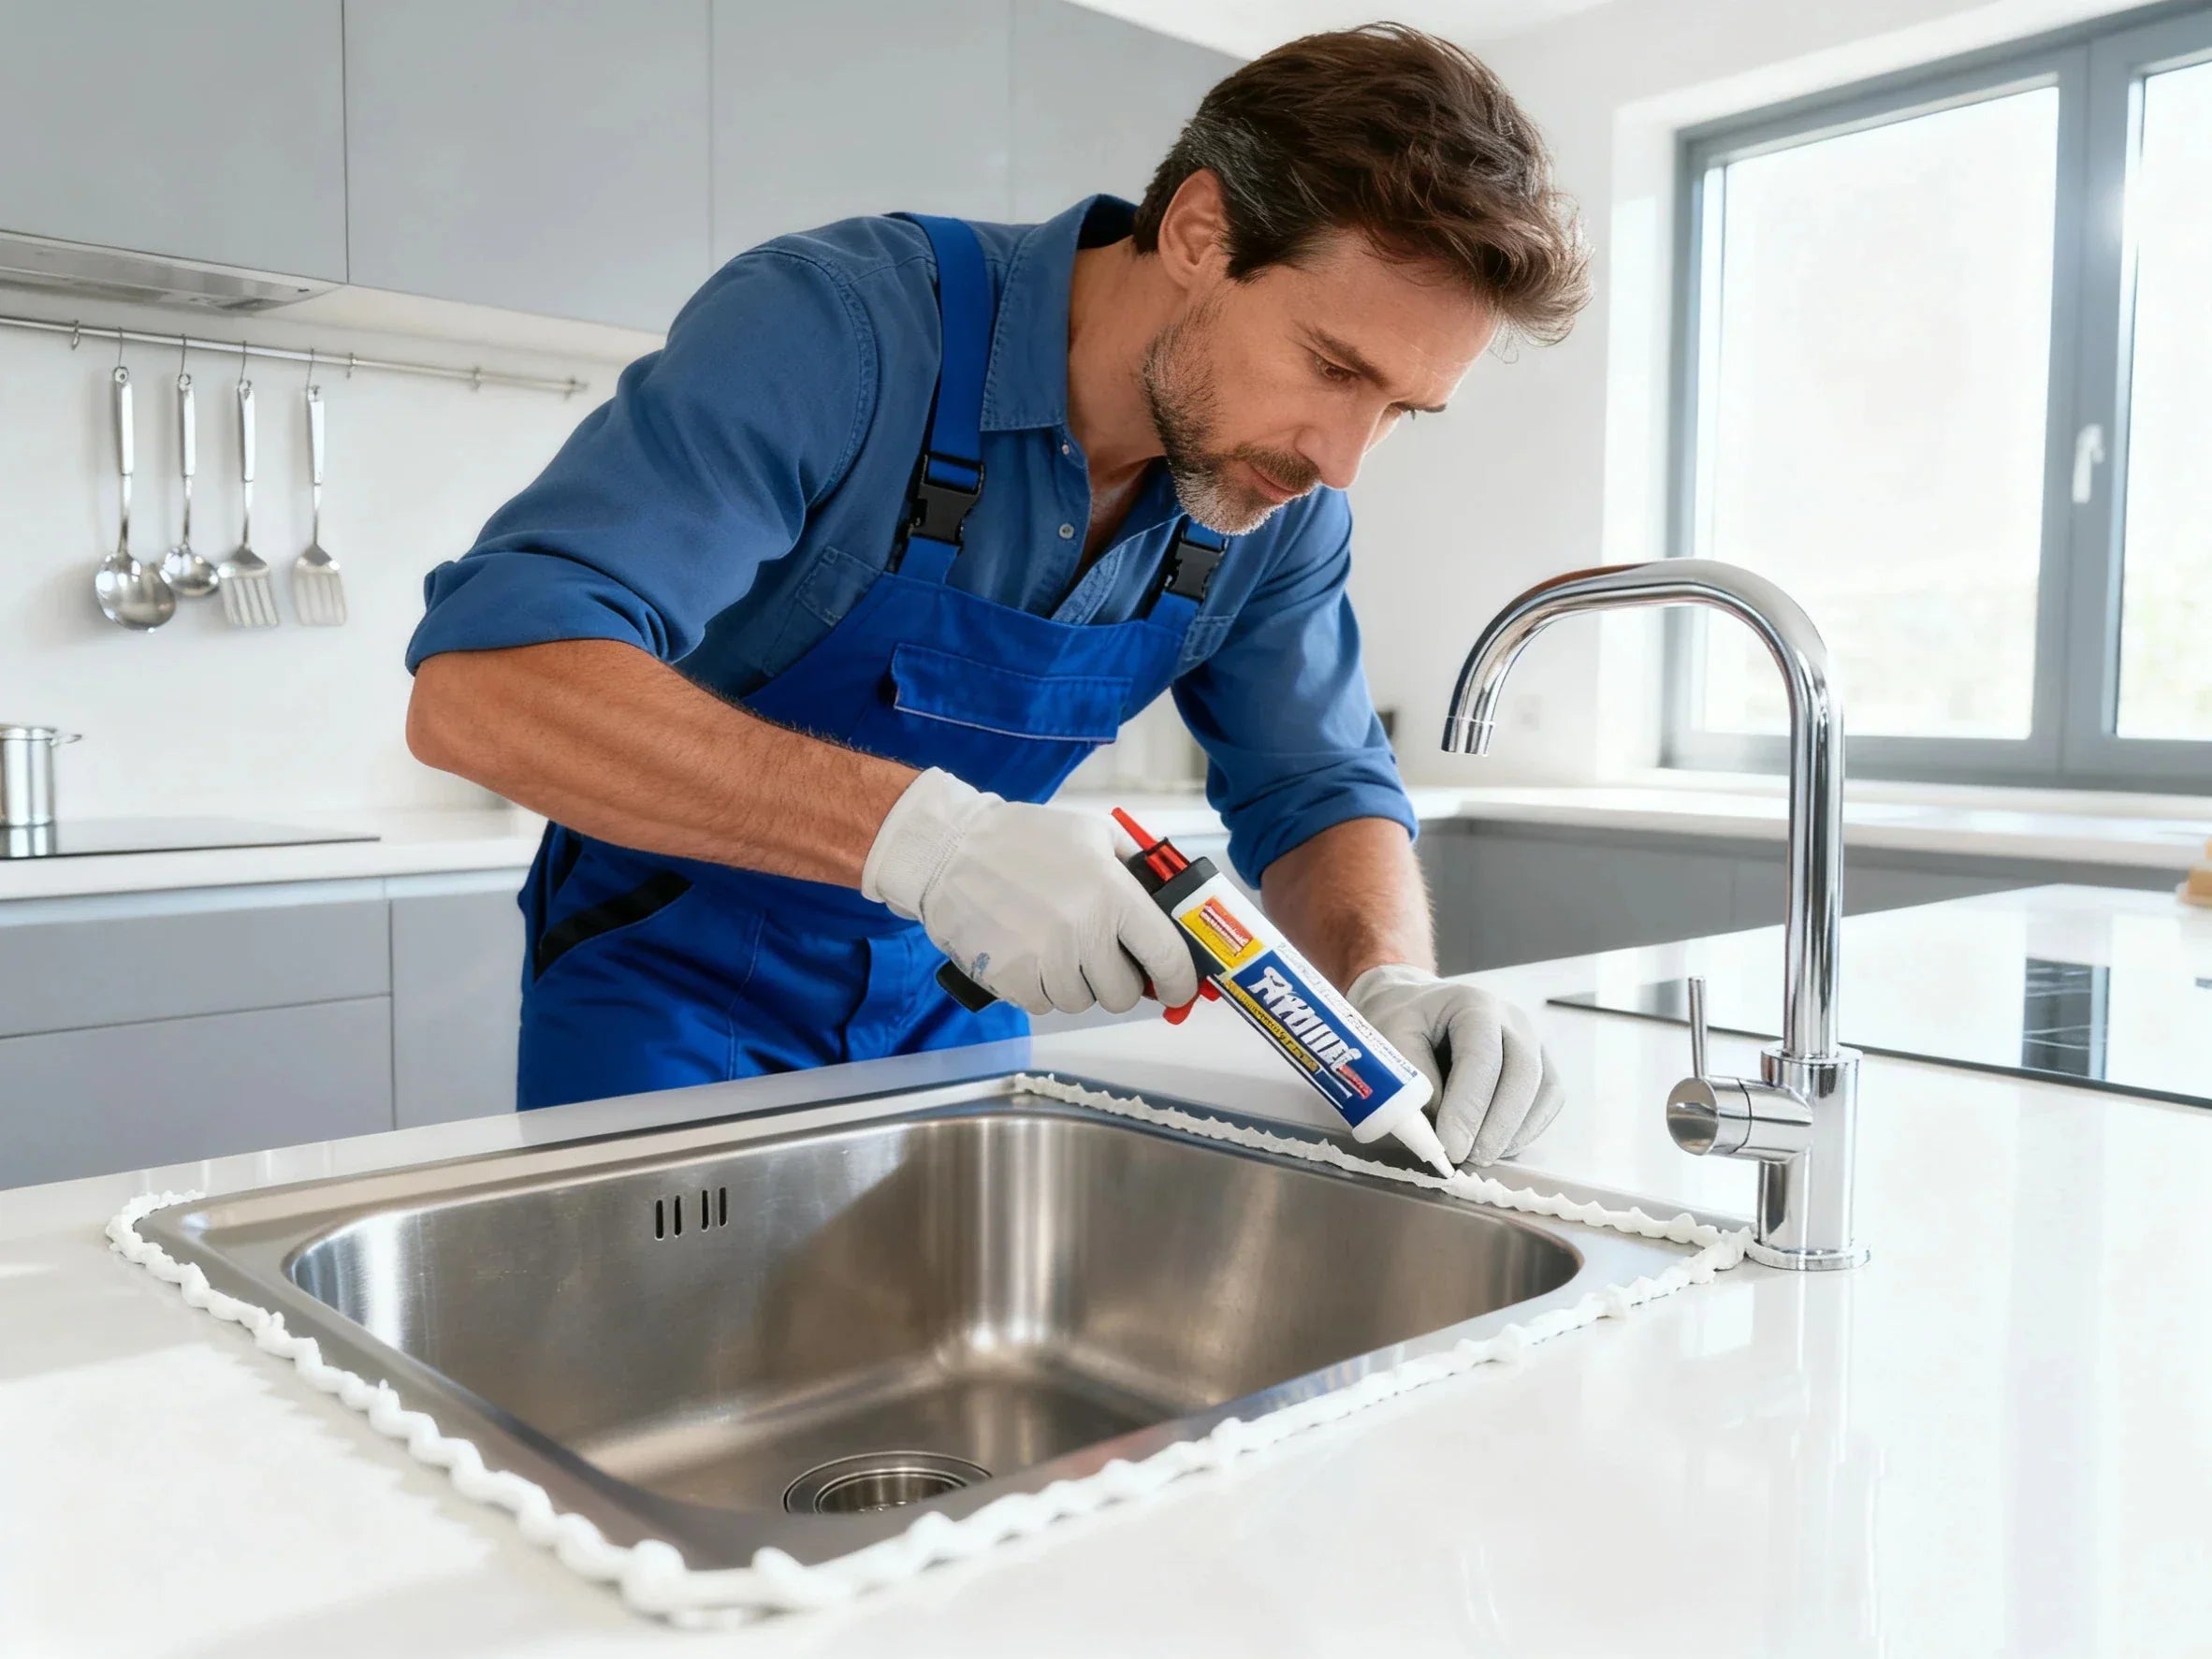
Silicone serves as both adhesive and waterproof barrier. Application technique determines success.
Run a Continuous ¼-Inch Bead
Apply a steady, unbroken ¼-inch bead of 100% silicone along the countertop’s cutout edge. For cultured marble, apply the bead to the sink’s underside instead. Keep the line consistent; too little silicone weakens the bond, while too much creates excess oozing.
Use a caulk gun for control. Apply only what’s needed. Overfilling makes cleanup harder and doesn’t improve strength.
Avoid These Silicone Mistakes
Never use construction adhesive or plumber’s putty. Only 100% silicone is approved for undermount sinks. Check the expiration date, since old silicone loses tackiness. A strong vinegar smell means it’s fresh and effective.
Work quickly after application. Silicone skins over in minutes, so you have limited time to position the sink.
Install the Sink Using the Support Block Method

This approach works well for standard cabinets with solid flooring. It’s the most common DIY installation technique.
Set Up the Wooden Support Block
Cut a 2×4 to match the sink cutout width. Place it under the opening and secure it to the cabinet wall so it supports the sink’s center.
Raise the sink into position with helper support from below. Use the block as a fulcrum to gently lever the sink upward into place.
Align and Compress With Shims
Check for even gaps around the sink. Insert shims between the sink flange and countertop to fine-tune alignment. Tap gently with a hammer to compress the sink into the silicone bead.
Ensure no corners sit higher than others. Compression forces silicone to spread evenly, creating a strong, watertight bond.
Use the 2×4 and Clamp Method for Extra Stability
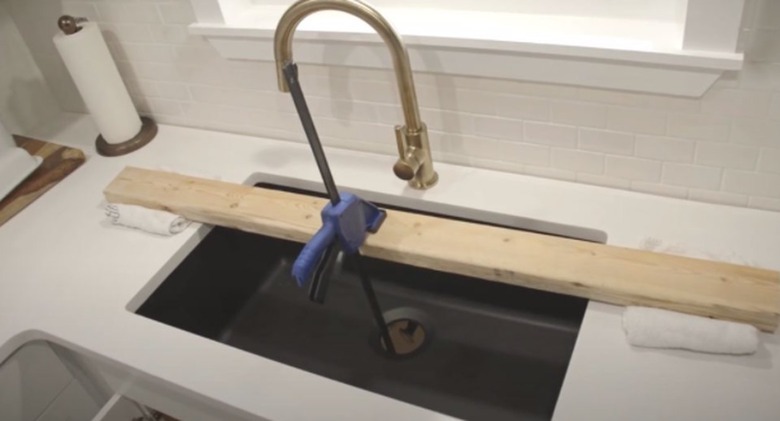
When support blocks aren’t feasible, this clamp system holds the sink firmly during the cure period.
Position the 2×4 Across the Cabinet
Place a 2×4 board across the top of the cabinet, padded with towels to protect the countertop. Attach a wood clamp so one end reaches through the drain hole.
Place a second 2×4 between the clamp screw and the sink basin to distribute pressure and prevent cracking.
Tighten the Clamp Evenly
Gradually tighten the clamp until the sink seats firmly against the countertop. Don’t overtighten; just enough to compress the silicone without deforming the sink.
Check alignment frequently and adjust shims as needed before final tightening.
Install With Top-Down Compression for Weak Cabinets
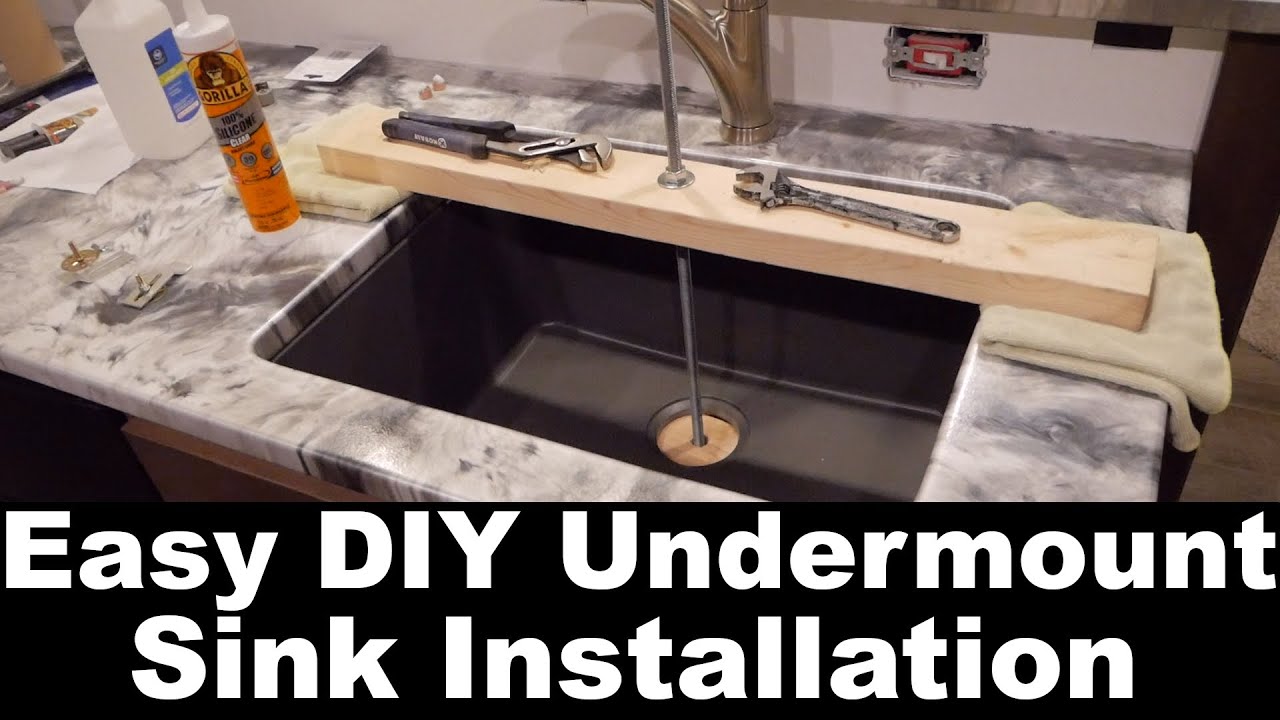
Cabinet bases made of ¼-inch plywood can’t support upward clamping. This method protects weak structures.
Assemble the Threaded Rod System
Drill a hole through a 2×4 placed across the cabinet top. Insert a ¼-inch threaded rod through the hole, then run it up through a small spacer block under the sink.
Secure the rod with galvanized bolts above and below. Turn the top nut with a wrench to apply downward pressure.
Apply Even Pressure Without Stress
This system compresses the sink without stressing the cabinet floor. It’s ideal for older or lightweight cabinets. Ensure the rod doesn’t contact plumbing lines.
Tighten slowly and check alignment every quarter-turn.
Secure Mounting Brackets and Clean Excess
Final hardware locks the sink in place after silicone sets. Cleanup at this stage prevents permanent mess.
Attach Model-Specific Brackets
Some sinks use epoxy-bonded brackets, so follow manufacturer instructions precisely. Others use metal clips screwed into the countertop edge.
If drilling into stone or marble, use a diamond-tipped bit at low speed to prevent cracking.
Wipe Excess Silicone Immediately
As brackets are installed, silicone may squeeze into the sink bowl. Use a damp rag to wipe it away right away. Once cured, removal is extremely difficult.
Clean as you go to maintain a professional finish.
Let Silicone Cure for 24 Hours
Patience here prevents failure. Rushing this step risks leaks and detachment.
Keep the Sink Undisturbed
Do not remove clamps, adjust hardware, or test the sink for at least 24 hours. Temperature and humidity affect cure time, so cooler rooms may need longer.
Never install plumbing or use the sink before full cure.
Inspect the Seal After Curing
After 24 hours, check the silicone bead around the perimeter. It should be firm, continuous, and free of gaps. Press lightly; no movement should occur.
If any area feels loose, consult a professional before proceeding.
Connect the Drain and Plumbing
Once the sink is secure, complete the functional setup to make it usable.
Install the Drain Assembly
Follow manufacturer directions for the drain kit. Use plumber’s tape on threaded connections and tighten securely, but not excessively, to avoid cracking components.
For sinks with overflow, ensure the drain tailpiece aligns with the overflow channel.
Add a Garbage Disposal if Needed
If installing a disposal, refer to the manufacturer’s video guide. Align mounting ears correctly and test for leaks with water before finalizing.
Check all connections under the sink for tightness and drips.
Perform a Final Inspection
A quick review ensures long-term performance and prevents future issues.
Verify Level and Flush Fit
Confirm the sink sits perfectly level and flush with the countertop. No edges should protrude. Use a spirit level if unsure.
Check that water flows toward the drain and doesn’t pool near the seam.
Schedule Regular Seal Inspections
Even a perfect installation degrades over time. Inspect the silicone seal annually for cracks, discoloration, or shrinking.
Re-caulk if needed using the same 100% silicone after removing old sealant completely.
Frequently Asked Questions About Undermount Sink Installation
What type of silicone should I use for an undermount sink?
Use only 100% silicone sealant. Construction adhesive and plumber’s putty are not approved for undermount installations. Fresh silicone has a vinegar-like smell, which indicates it’s still potent and will bond properly.
How long does silicone need to cure before using the sink?
Allow a minimum of 24 hours for the silicone to cure fully. Cooler temperatures and high humidity can extend cure time. Never install plumbing or test the sink before the full cure period.
Can I install an undermount sink without removing the countertop?
Yes, but the process is more difficult. You’ll need to work entirely from below the counter, which limits visibility and makes alignment harder. Removing the countertop is easier if a full remodel is already underway.
What if my cabinet floor is too weak to support the sink?
Use the top-down compression method with a threaded rod system. This applies pressure from above rather than pushing up from below, protecting weak cabinet bases like those made of ¼-inch plywood.
How do I know if my sink is aligned correctly before the silicone cures?
Check for even gaps around all sides of the sink perimeter. Use a tape measure to confirm uniform spacing. No corner should sit higher than another, and the sink should appear flush with the countertop when viewed from above.
Should the shallow bowl face forward or backward?
Always position the shallow bowl toward the user (front edge of the counter). This improves hand-washing ergonomics and matches natural faucet water flow patterns.
Key Takeaways for a Successful Undermount Sink Installation
Proper surface preparation is the single most important factor. Clean both bonding surfaces with denatured alcohol and remove all old silicone before applying new sealant. Choose your installation method based on cabinet strength: support blocks for standard cabinets, clamps for extra stability, and top-down compression for weak bases. Finally, respect the 24-hour cure time without exception.
Your next step is to assess your cabinet structure and gather the tools listed above. With clean workmanship and patience during curing, your new undermount sink will provide years of reliable, leak-free service.







