
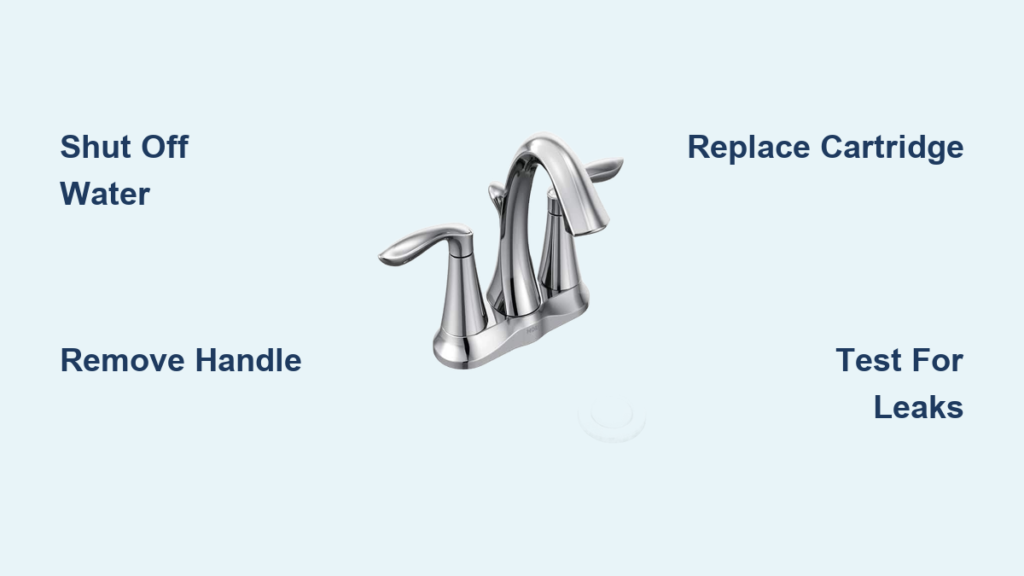
A dripping Moen faucet wastes water, increases bills, and often signals a failing cartridge. Whether your kitchen faucet drips after shutting off or the handle feels stiff and hard to turn, the fix is usually straightforward. Replacing the Moen 1225 or 1224 cartridge resolves most issues in under an hour with basic tools. This guide walks you through diagnosing the problem, removing the old cartridge, and installing a new one. You will learn exactly what parts to buy, how to avoid damaging the valve body, and pro tips for keeping your faucet running smoothly for years.
Shut Off Water Supply Before Starting
Always turn off the water supply before beginning any faucet repair. This prevents flooding, water damage, and injury during disassembly.
Locate Under-Sink Valves
Find the hot and cold shut-off valves beneath your sink. Turn both clockwise until fully closed. If the valves are stuck, corroded, or missing entirely, shut off the main water supply to your house instead.
Release Remaining Pressure
Open the faucet handle to let trapped water escape. Let it run until the flow stops completely. This step clears pressure from the lines and prevents water spray during cartridge removal.
Remove Handle and Access Cartridge
Expose the cartridge by taking off the handle and its retaining hardware.
Lift Off Handle Cap
Use a flat-head screwdriver or pocketknife to gently pry the colored cap (red and blue or marked H/C) from the top of the handle. Set it aside carefully. Forcing this cap can cause it to crack.
Extract Handle Screw
Remove the Phillips screw located beneath the cap. Place a small plug or rag in the sink drain to catch any dropped small parts.
Pull Handle From Stem
Lift the handle straight up. It should slide off the stem smoothly. If it sticks, wiggle gently rather than pulling hard. Some handles have a bottle-opener shape that must align with the cartridge groove during reassembly.
Remove Retaining Clip or Ring
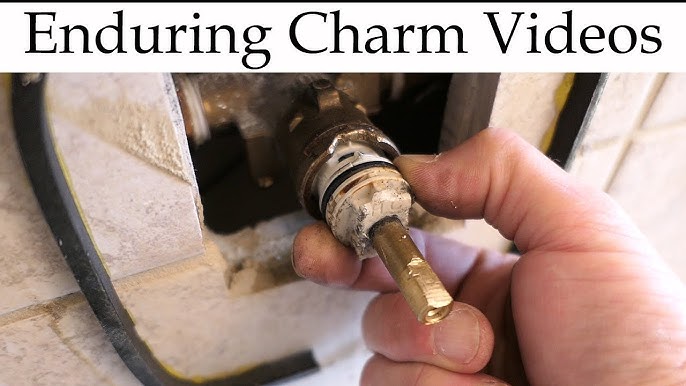
Free the cartridge by taking out its locking mechanism.
Identify Your Retention Type
Examine the base of the cartridge to determine what holds it in place. A metal retaining clip is C-shaped and sits in a groove. A brass retaining ring is a threaded copper piece that screws off.
Extract Metal Clip
Use needle-nose pliers to lift one end of the clip and slide it out completely. Do not leave any portion lodged in the valve body.
Unscrew Brass Ring
If your model uses a brass ring, grip it with channel locks or a pliers and turn counterclockwise. Hold the faucet body steady to avoid twisting the pipes beneath. Apply penetrating oil if corrosion makes it difficult, and let it sit for five minutes before trying again.
Pull Out the Faulty Cartridge
Remove the old cartridge using the method that works best for your situation.
Use a Cartridge Puller
Insert the alignment sleeve onto the puller tool, then thread it into the cartridge center. Turn clockwise slowly until you feel resistance, then pull upward steadily. The cartridge should release with a pop. This method prevents damage to the valve body.
Try the Plastic Removal Tool
If your new cartridge came with a white plastic removal tool, insert it into the top of the old cartridge. Twist back and forth while pulling up to break corrosion and ease removal.
Pull Manually as Last Resort
Grip the brass pin with needle-nose pliers and pull straight up. Add a slight twisting motion if it sticks. Avoid prying with screwdrivers, as this can scratch the valve seat and cause leaks.
Inspect Valve Body and diagnose Issues
Check the valve body for hidden damage even if the removed cartridge looks clean.
Examine the Old Cartridge
Look for cracked or split rubber seals, torn O-rings, corrosion on the brass pin, or a warped plastic body. A cartridge with no visible damage can still leak internally, so replacement is often the only reliable fix.
Feel Inside the Valve Body
Run your finger around the interior of the valve body. It should feel smooth. If you detect pitting, scale, or roughness, flush the interior with vinegar or consider replacing the entire faucet.
Dry All Components Thoroughly
Wipe the valve body with a clean rag or toilet paper. Moisture remaining inside leads to corrosion and premature failure of the new cartridge.
Choose the Correct Replacement Cartridge
Install the right model to ensure compatibility and proper function.
Confirm Part Number
Check the side of the removed cartridge for stamped numbers. The Moen 1225 is the most common cartridge used in single-handle kitchen and bathroom faucets. The Moen 1224 has a small alignment tab and is used in older models.
Compare Cartridge Types
The Moen 1225 positions with one ear up and one ear down, with no front or back requirement. The Moen 1244 requires the tab to fit into a specific slot inside the faucet body. Both need lubrication on O-rings and seals before installation.
Lubricate and Install New Cartridge
Prepare the new cartridge for smooth, long-lasting performance.
Apply Waterproof Grease
Coat all O-rings, rubber seals, and contact points with valve body using silicone-based waterproof grease. This reduces friction, prevents premature wear, and ensures smooth handle operation.
Insert Cartridge Correctly
For Moen 1225 cartridges, position one ear up and one ear down. Push straight in until fully seated. Use the plastic alignment guide included with the cartridge if needed to rotate it into position. For Moen 1224 cartridges, align the tab with the internal slot and press down firmly until it bottoms out. Never force the cartridge if it does not slide in easily.
Reinstall Retaining Mechanism
Secure the cartridge before putting the handle back on.
Replace Retaining Clip
Slide the metal clip back into the groove. Press down until it clicks and sits flush with both ends locked in place.
Tighten Brass Ring
If using a brass retaining ring, hand-tighten first, then use pliers for a quarter-turn extra. Do not over-tighten, as this can crack the valve body.
Reassemble the Faucet
Put everything back together in the reverse order of disassembly.
Reattach Handle
Slide the handle onto the stem, aligning the flat side (the bottle-opener shape) with the cartridge groove. Push down until it seats completely.
Secure Handle Screw
Insert the Phillips screw and tighten just enough to secure the handle. Over-tightening can strip the plastic base.
Snap On Handle Cap
Press the red and blue cap back into place until it clicks.
Test for Leaks and Proper Function
Verify the repair worked before finishing the job.
Turn Water Back On
Open both shut-off valves slowly. Watch carefully for leaks around the base or supply lines.
Operate the Faucet
Lift the handle and check for smooth movement without grinding. Verify full hot and cold flow and complete shut-off with no drip after release.
Verify Temperature Alignment
Standard configuration places hot on the left and cold on the right. If temperatures are reversed, shut off the water, remove the handle, rotate the brass pin 180 degrees, reassemble, and test again.
Prevent Future Problems
Extend your faucet lifespan with simple maintenance practices.
Lubricate During Future Repairs
Every one to two years, apply pneumatic tool oil to threads and re-grease O-rings and seals. Dry all parts thoroughly before reassembly to prevent corrosion.
Use OEM Parts
Stick with Moen-branded cartridges. Aftermarket versions may wear faster, particularly in areas with hard water.
Claim the Lifetime Warranty
Moen offers a lifetime warranty on original cartridges. Contact Moen with proof of purchase to receive a free replacement if the cartridge is defective due to manufacturing flaws.
Final Repair Checklist
Water supply shut off and handle cap and screw removed. Retaining clip or ring removed and old cartridge extracted safely. Valve body inspected and dried, then new cartridge lubricated on O-rings and seals. Cartridge installed with correct orientation and retaining mechanism reinstalled. Handle reassembled and secured, then water turned back on. Leak test passed on all settings and temperature direction verified. Excess grease wiped away.
Key Takeaways for Fixing Your Moen Faucet
Fixing a Moen faucet is a fast, low-cost repair that saves hundreds compared to replacing the entire fixture. The Moen 1225 cartridge solves most dripping and stiffness issues in single-handle faucets. Using a cartridge puller prevents damage to the valve body and makes extraction much easier. With the right tools and this guide, you can stop leaks, restore smooth operation, and gain confidence for future plumbing repairs. Keep a cartridge puller and waterproof grease on hand, as this repair may be the last you ever need.
Frequently Asked Questions About Fixing Moen Faucets
How do I know if my Moen faucet needs a new cartridge?
Common signs include a dripping spout after the handle is off, stiff or grinding handle movement, water leaking at the base of the handle, and mixed temperatures when the faucet is supposed to be off. These symptoms indicate worn seals or a failing internal cartridge.
Can I replace just the O-rings instead of the whole cartridge?
While worn O-rings sometimes cause leaks, the cartridge itself often fails internally even when the O-rings look intact. Replacing just the O-rings rarely provides a permanent fix. The Moen 1225 cartridge is inexpensive, and replacing it ensures reliable operation.
What tools do I need to fix a Moen faucet?
You need a Phillips screwdriver, flat-head screwdriver or pocketknife, channel locks or pliers, needle-nose pliers, and a cartridge puller. You also need a replacement Moen 1225 or 1224 cartridge, waterproof grease, and a rag for drying components.
How long does it take to replace a Moen faucet cartridge?
Most homeowners complete the repair in 20 to 45 minutes. First-time repairs may take up to 90 minutes. Having the right tools and following the steps in order saves time and prevents mistakes.
Does Moen offer a warranty on faucet cartridges?
Yes, Moen provides a lifetime warranty on original cartridges. Contact Moen customer service with proof of purchase to receive a free replacement for manufacturing defects. The warranty does not cover damage from mineral buildup in untreated water.







