
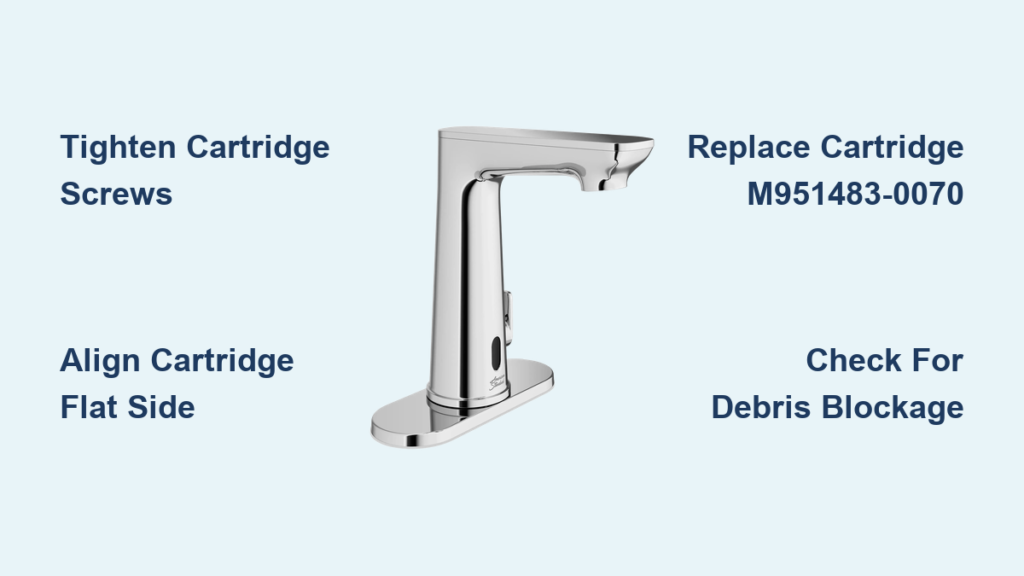
Is your American Standard faucet dripping, leaking, or underperforming? You’re not alone. Many homeowners face persistent drips, low spray pressure, or base leaks, especially in popular models like the Lillian 4144SSF and high-rise pull-out sprayer faucets. The good news: most issues can be fixed in under 30 minutes with basic tools and a simple adjustment. This guide reveals the exact steps to diagnose, repair, and prevent common problems, often for less than $10.
We’ll focus on two primary American Standard kitchen faucet types: the high-rise spout with pull-out sprayer (using cartridge M951483-0070) and the Lillian 4144SSF. These models share a plastic cartridge design with nylon seals and ceramic discs, making repair procedures similar but precision-critical. By following this guide, you’ll avoid costly replacements, prevent damage from overtightening, and extend your faucet’s lifespan for years.
Identify Your American Standard Faucet Model
Before disassembling, confirm which American Standard faucet you own. Repair steps vary slightly based on design and cartridge type.
Check for Pull-Out Sprayer Design
Look for a detachable spray head on a hose. If present, your model likely uses the M951483-0070 cartridge. This high-rise faucet has a tall spout and a push-button spray switch on the sprayer head. The cartridge features a boxy body with a triangular end, a flat side for alignment, and a tan polymer plate measuring approximately 1 3/8 inches. Misalignment or incorrect replacement cartridges often cause leaks or poor spray performance.
Confirm Lillian 4144SSF Features
This single-handle kitchen faucet is designed for drip-free operation. It uses a plastic cartridge with internal ceramic discs and a nylon base seal. A common failure point is the fourth retaining screw beneath the cartridge. When loose, it allows misalignment and dripping. If your faucet has a sleek lever handle and stainless steel finish (SSF), it’s likely this model.
Verify Cartridge Part Number
Remove the handle and inspect the cartridge. The correct replacement for pull-out models is M951483-0070. Never assume compatibility. Using a substitute can damage the valve body or cause leaks. Check the side of the cartridge or your original packaging for the exact number.
Common Faucet Problems and Their Causes
Most American Standard faucet issues stem from a few recurring mechanical failures. Identifying the symptom helps target the fix.
Fix Persistent Dripping at Spout
Dripping after turning off the faucet is the most common complaint. It’s usually not a worn-out cartridge. It’s loose screws or misalignment. Over time, vibrations and usage loosen the three or four screws securing the cartridge. A flattened nylon seal or trapped debris can also prevent a tight seal. In many cases, simply tightening the screws stops the drip without replacement.
Stop Leaks at Base or Handle
If water pools around the base or leaks from the handle, the problem may be overtightened screws or damaged O-rings. The plastic housing can crack if torqued too hard, breaking the seal. Alternatively, degraded internal seals within the cartridge may need replacement. Always inspect the cartridge and housing for cracks before reassembly.
Restore Pull-Out Sprayer Function
Weak spray, failure to switch modes, or hose leaks often trace back to cartridge orientation or blockages. If the flat side of the M951483-0070 cartridge isn’t aligned correctly, water flow to the sprayer is restricted. Also check the hose for kinks and the spray button mechanism for debris. A quick flush can restore full pressure.
Tools and Parts Needed for Repair
Use the right tools to avoid damaging your faucet during repair.
Essential Repair Tools
You will need several basic tools to complete this repair successfully. An Allen wrench in 1/8 inch or 3/32 inch size is required for removing set screws on Lillian 4144SSF handles. A flat-head screwdriver helps pry off decorative caps without scratching the finish. An adjustable or basin wrench provides access to tight spaces under the sink. Penetrating oil such as WD-40 loosens stuck screws. Apply it sparingly and wait one to two minutes before attempting to turn the screw. Keep a clean rag and drain plug handy to prevent lost screws and protect the sink finish.
Pro Tip: Use a plastic-tipped screwdriver to avoid marring chrome or stainless finishes.
Replacement Parts You May Need
The cartridge M951483-0070 costs between $8 and $12 and is the recommended OEM part. A rebuild kit runs $18 to $25 and includes the cartridge, seals, and screws. Always reuse original screws whenever possible. Substitutions can cross-thread or crush seals.
Warning: Never use metal pliers on the cartridge. The plastic housing cracks easily.
How to Shut Off Water and Prepare
Skip this step and you’ll flood the cabinet. Proper prep prevents mess and damage.
Turn Off Under-Sink Valves
Locate the hot and cold shut-off valves under the sink. Turn both clockwise until tight. Then, open the faucet to drain residual water and release pressure. This ensures no unexpected flow during disassembly.
Protect Sink and Drain
Place a towel in the sink basin to cushion falling tools or parts. Insert a drain stopper or cloth to catch small screws. A lost screw in the P-trap can cause clogs or require disassembly.
Clear Under-Sink Area
Remove cleaning supplies or storage bins to create space. You’ll need room to maneuver a basin wrench and inspect connections. Good lighting helps spot leaks during testing.
Removing the Handle and Cartridge
Accessing the cartridge is the first mechanical step. Method varies by model.
Remove Set Screw on Lillian 4144SSF
Flip the handle and locate the small Allen set screw underneath. Insert the wrench and turn counterclockwise to loosen. Lift the handle straight off. No wiggling. If stuck, tap gently with a rubber mallet.
Pry Off Decorative Cap on Other Models
For high-rise pull-out faucets, use a flat-head screwdriver to gently pry off the cap on top of the handle. Underneath, you’ll find a mounting screw. Remove it with a Phillips or flat-head driver.
Unscrew Decorative Ring
Some models have a chrome or stainless ring below the handle. Twist it off by hand or use a rag for grip. No tools needed. Forcing it can scratch the finish.
Remove Cartridge Mounting Screws
After removing the handle and ring, you’ll see three screws around the cartridge housing. Use a Phillips screwdriver to remove them. One may be tighter. Apply steady pressure to avoid stripping. For Lillian 4444SSF models, there’s a hidden fourth screw directly under the cartridge. Remove the three outer screws first, then lift the cartridge slightly to access the center screw. Take it out to free the cartridge completely.
If a screw resists, apply penetrating oil and wait 60 seconds. Try a fresh screwdriver bit for better grip. Never force it. Stripped screws complicate reassembly.
Inspecting the Cartridge for Damage

Pulling the cartridge reveals the root cause of most leaks.
Pull Cartridge Straight Out
Grasp the cartridge by the stem and pull upward evenly. If it resists, apply a few drops of oil around the base. Let it sit for one minute. Try again with a gentle rocking motion. Never use pliers.
Check for Damage or Debris
Inspect the cartridge for cracks or warping in the plastic body. Look for scoring or pitting on ceramic discs if visible. Check for a flattened or worn nylon seal at the base. Look for mineral buildup in grooves or channels.
Key Insight: A $9 fix often works. Many users stop drips by tightening screws, not replacing parts.
Compare with Replacement Cartridge
If replacing, verify the flat side orientation matches. Check that tapered end and plate size are identical. Confirm the part number is M951483-0070 for pull-out models.
Cleaning the Valve Seat
A dirty valve seat prevents a proper seal, even with a new cartridge.
Wipe Interior with Damp Cloth
Use a lint-free rag to clean the inside of the faucet body. Remove sand, grit, or limescale that could block full seating.
Flush with Vinegar in Hard Water Areas
Soak a cloth in white vinegar and wrap it around the opening for 10 minutes. This dissolves mineral deposits. Rinse thoroughly before reinserting the cartridge.
Inspect Locating Pins
Some models have small plastic pins inside the housing. Ensure they’re intact and aligned. Broken pins cause misalignment.
Reinstalling the Cartridge Correctly
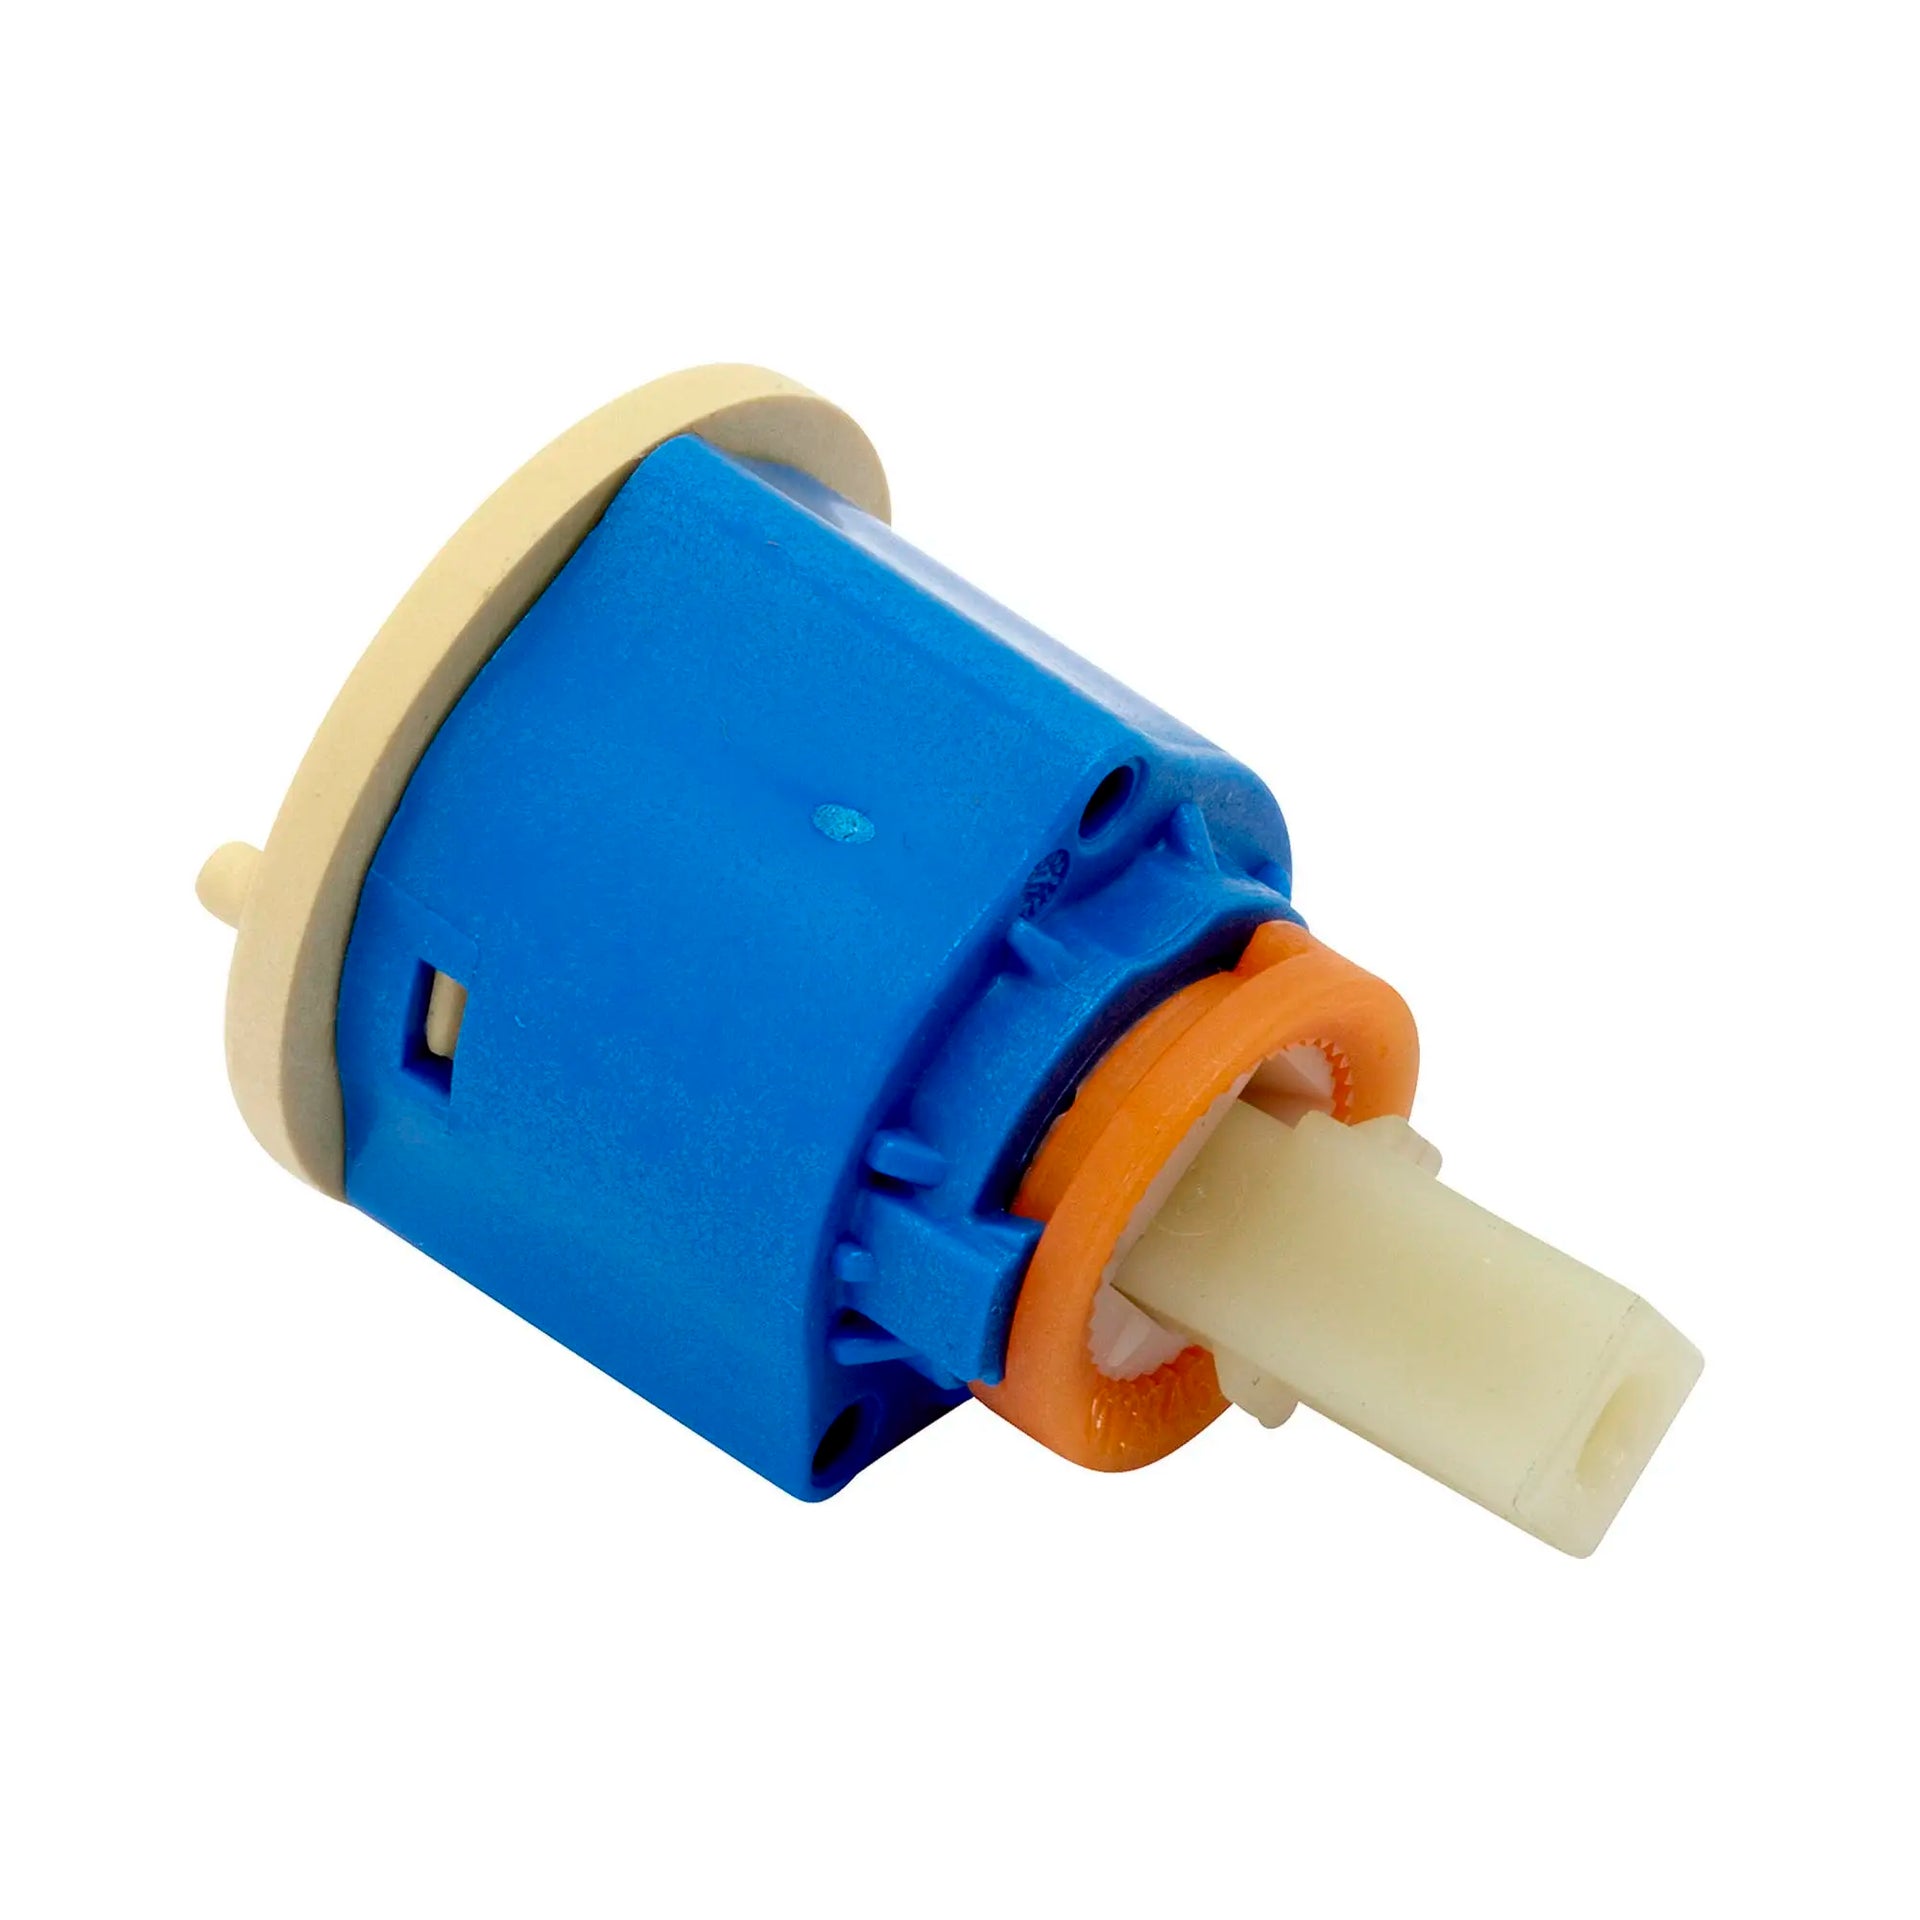
Proper alignment is critical, especially for pull-out sprayer function.
Align Flat Side with Notch
The cartridge has a flat side that must match a notch or mark in the faucet body. Misalignment causes leaks and poor spray performance. Rotate the cartridge until it fits flush.
Seat Cartridge Fully
Push down gently but firmly until the cartridge is fully seated. You should feel it bottom out. Do not hammer or force it.
Reinstall Retaining Screws in Order
Start with the center screw if present, then add the three outer screws. Tighten just enough to hold. Do not overtighten. The nylon seal compresses easily. Over-torquing crushes it and causes leaks.
Torque Tip: Hand-tight plus quarter turn with screwdriver is maximum.
Reassembling the Faucet
Now rebuild the faucet to its original state.
Replace Decorative Ring
Slide the ring back into place and twist it clockwise until snug. It should sit flush with no gaps or wobbling.
Reinstall Handle
Slide the handle onto the stem. For Lillian 4144SSF, insert the Allen set screw and tighten until snug. For other models, replace the mounting screw under the cap.
Snap On Decorative Cap
Press the cap back into place until it clicks. Avoid prying it back on. This can crack the finish.
Testing Your Repair
The final phase confirms your repair worked.
Slowly Turn On Water Supply
Open both shut-off valves slowly to prevent water hammer. Watch for leaks at the connections and base.
Check for Drips at Spout
Close the faucet fully. Wait 5 to 10 minutes. A single drop is normal (evaporation), but continuous dripping means misalignment or seal damage.
Test Pull-Out Sprayer
Engage spray mode. It should switch smoothly. Check for leaks at the hose connection. Ensure full water pressure. Low flow suggests blockage or incorrect cartridge.
User Success: One homeowner fixed a 5-year drip by tightening screws. Total cost was $0 and it took 15 minutes.
Preventing Future Leaks
Avoid repeat repairs with smart maintenance habits.
Never Overtighten the Handle
Closing the faucet with excessive force stresses the cartridge. Turn until water stops. No extra twists.
Inspect Every 2 to 3 Years
Remove the cartridge, clean it, and reseat it, especially in hard water areas. This prevents mineral buildup and seal degradation.
Keep a Spare Cartridge
Buy one M951483-0070 and store it in your toolbox. Replacement takes 10 minutes and avoids future downtime.
Flush System After Repair
Run water for 30 seconds to clear any debris introduced during disassembly.
When to Replace Instead of Repair
Most issues are repairable, but some require full replacement.
Replace If Body Is Cracked
Visible cracks in the spout or base mean structural failure. No seal will hold.
Consider Upgrade If Over 15 Years Old
Older faucets may have outdated internal designs. New models offer better spray patterns and water efficiency.
Understanding Warranty Coverage
American Standard offers a limited lifetime warranty against leaks and drips due to defects. It does not cover damage from overtightening, hard water buildup, or improper installation. Keep your receipt and register the product for coverage.
Frequently Asked Questions About Fixing American Standard Faucets
Why does my American Standard faucet keep dripping even after I turn it off?
The most common cause is loose cartridge screws. Over time, vibrations from use loosen the three or four screws securing the cartridge in place. Simply tightening these screws often stops the drip without needing any new parts. If tightening doesn’t work, inspect the nylon seal for wear or debris trapped in the cartridge.
How do I know which cartridge my American Standard faucet uses?
For pull-out sprayer models, the correct cartridge is M951483-0070. For the Lillian 4144SSF, check the part number on your existing cartridge or consult your product documentation. Always verify the number before purchasing a replacement to ensure compatibility.
Can I repair my American Standard faucet myself, or do I need a plumber?
Most American Standard faucet repairs are straightforward DIY projects. You only need basic tools like an Allen wrench, flat-head screwdriver, and penetrating oil. The entire process typically takes 15 to 30 minutes. However, if the faucet body is cracked or you encounter stripped screws you cannot remove, professional help may be needed.
Why is my pull-out sprayer spraying weakly?
Weak spray usually results from incorrect cartridge orientation or a blockage in the hose. Check that the flat side of the M951483-0070 cartridge aligns with the notch in the faucet body. Also inspect the hose for kinks and clean any debris from the spray head or filter screen.
How much does it cost to fix an American Standard faucet?
A basic repair costs between $8 and $12 for a replacement cartridge. A complete rebuild kit runs $18 to $25. This is far cheaper than full faucet replacement, which typically costs $150 to $350. Many drips are fixed with zero cost by simply tightening existing screws.
Key Takeaways for Fixing Your American Standard Faucet
Fixing an American Standard faucet is usually quick, cheap, and effective. The most common fix, tightening loose cartridge screws, costs nothing and takes minutes. Always use OEM parts like the M951483-0070 cartridge to ensure proper fit and function. Avoid overtightening, which crushes the nylon seal and causes new leaks. Test thoroughly after reassembly by running water and checking for drips over 10 minutes. With proper care and occasional maintenance, your American Standard faucet can deliver drip-free performance for over a decade.







