
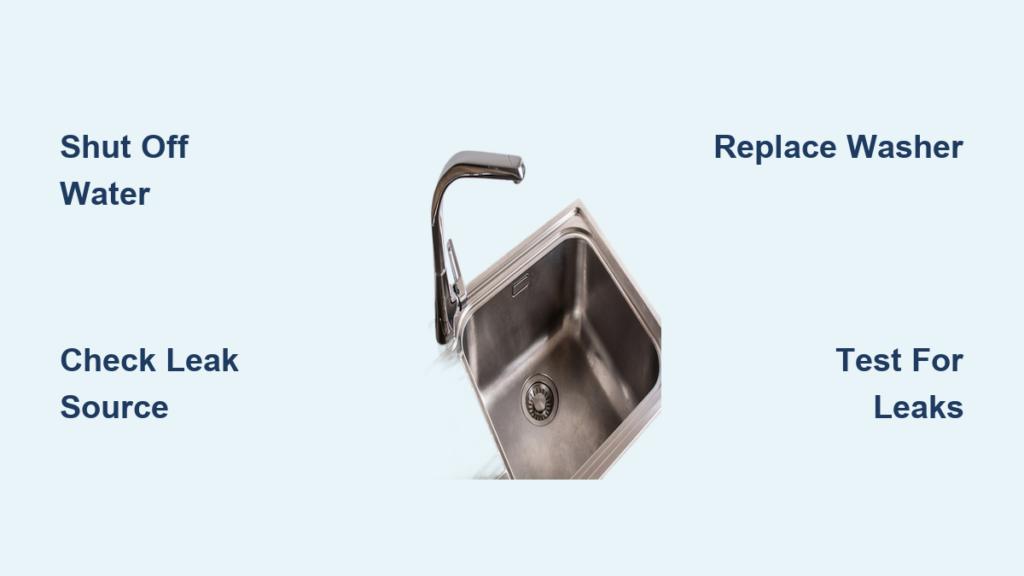
A puddle forming under your kitchen sink is more than an annoyance. Left alone, that slow drip can rot cabinet floors, grow mold, and turn a simple fix into a costly renovation. The encouraging part? Most kitchen sink leaks come from worn seals, loose nuts, or a failing basket strainer, all of which you can repair in under an hour with basic tools. No plumber required.
In this guide, you’ll learn how to pinpoint the exact source of a leak, replace the basket strainer and worn washers, reseal connections with plumber’s putty, and test your work to confirm a watertight finish. You’ll also pick up a simple maintenance routine to keep leaks from coming back. Grab your tools and let’s get that sink dry again.
Shut Off the Water and Clear Your Workspace
Before you touch a single pipe, shut off the water supply. Look under the sink for two valves, one for hot and one for cold. Turn both clockwise until they stop. If your sink also feeds a dishwasher, you may see a third valve. Leave that one open unless you’re working on that line.
Drain Residual Water and Set Up
Run the faucet for a few seconds to release pressure and empty the lines. Place a bucket under the P-trap to catch whatever spills out during disassembly. Empty the cabinet completely so you can see every connection clearly. Lay down a towel to protect the cabinet floor and use a flashlight if your under-sink lighting is dim.
Pro Tip: A clean, dry workspace isn’t just about comfort. It helps you spot new drips during the leak test later.
Locate the Source of the Leak

Before you start replacing parts, find out exactly where the water is coming from. Guessing wastes time and money.
Check the Faucet Base and Sink Rim
Water pooling around the faucet base or along the sink edge usually points to a failed plumber’s putty seal or a worn rubber washer. These materials break down over years of use, especially in busy kitchens where the faucet moves frequently.
Inspect the Drain Connections
Look at the P-trap, tailpiece, and any hose connections. Drips at the slip nuts often mean the nuts are loose or the washers inside have flattened out. If the leak only appears when the sink is full, suspect the basket strainer or pop-up drain seal.
Warning: Visible rust or corrosion under the sink means moisture has been present for weeks or longer. Treat this as urgent and replace the affected components before structural damage sets in.
Gather Your Tools and Replacement Parts
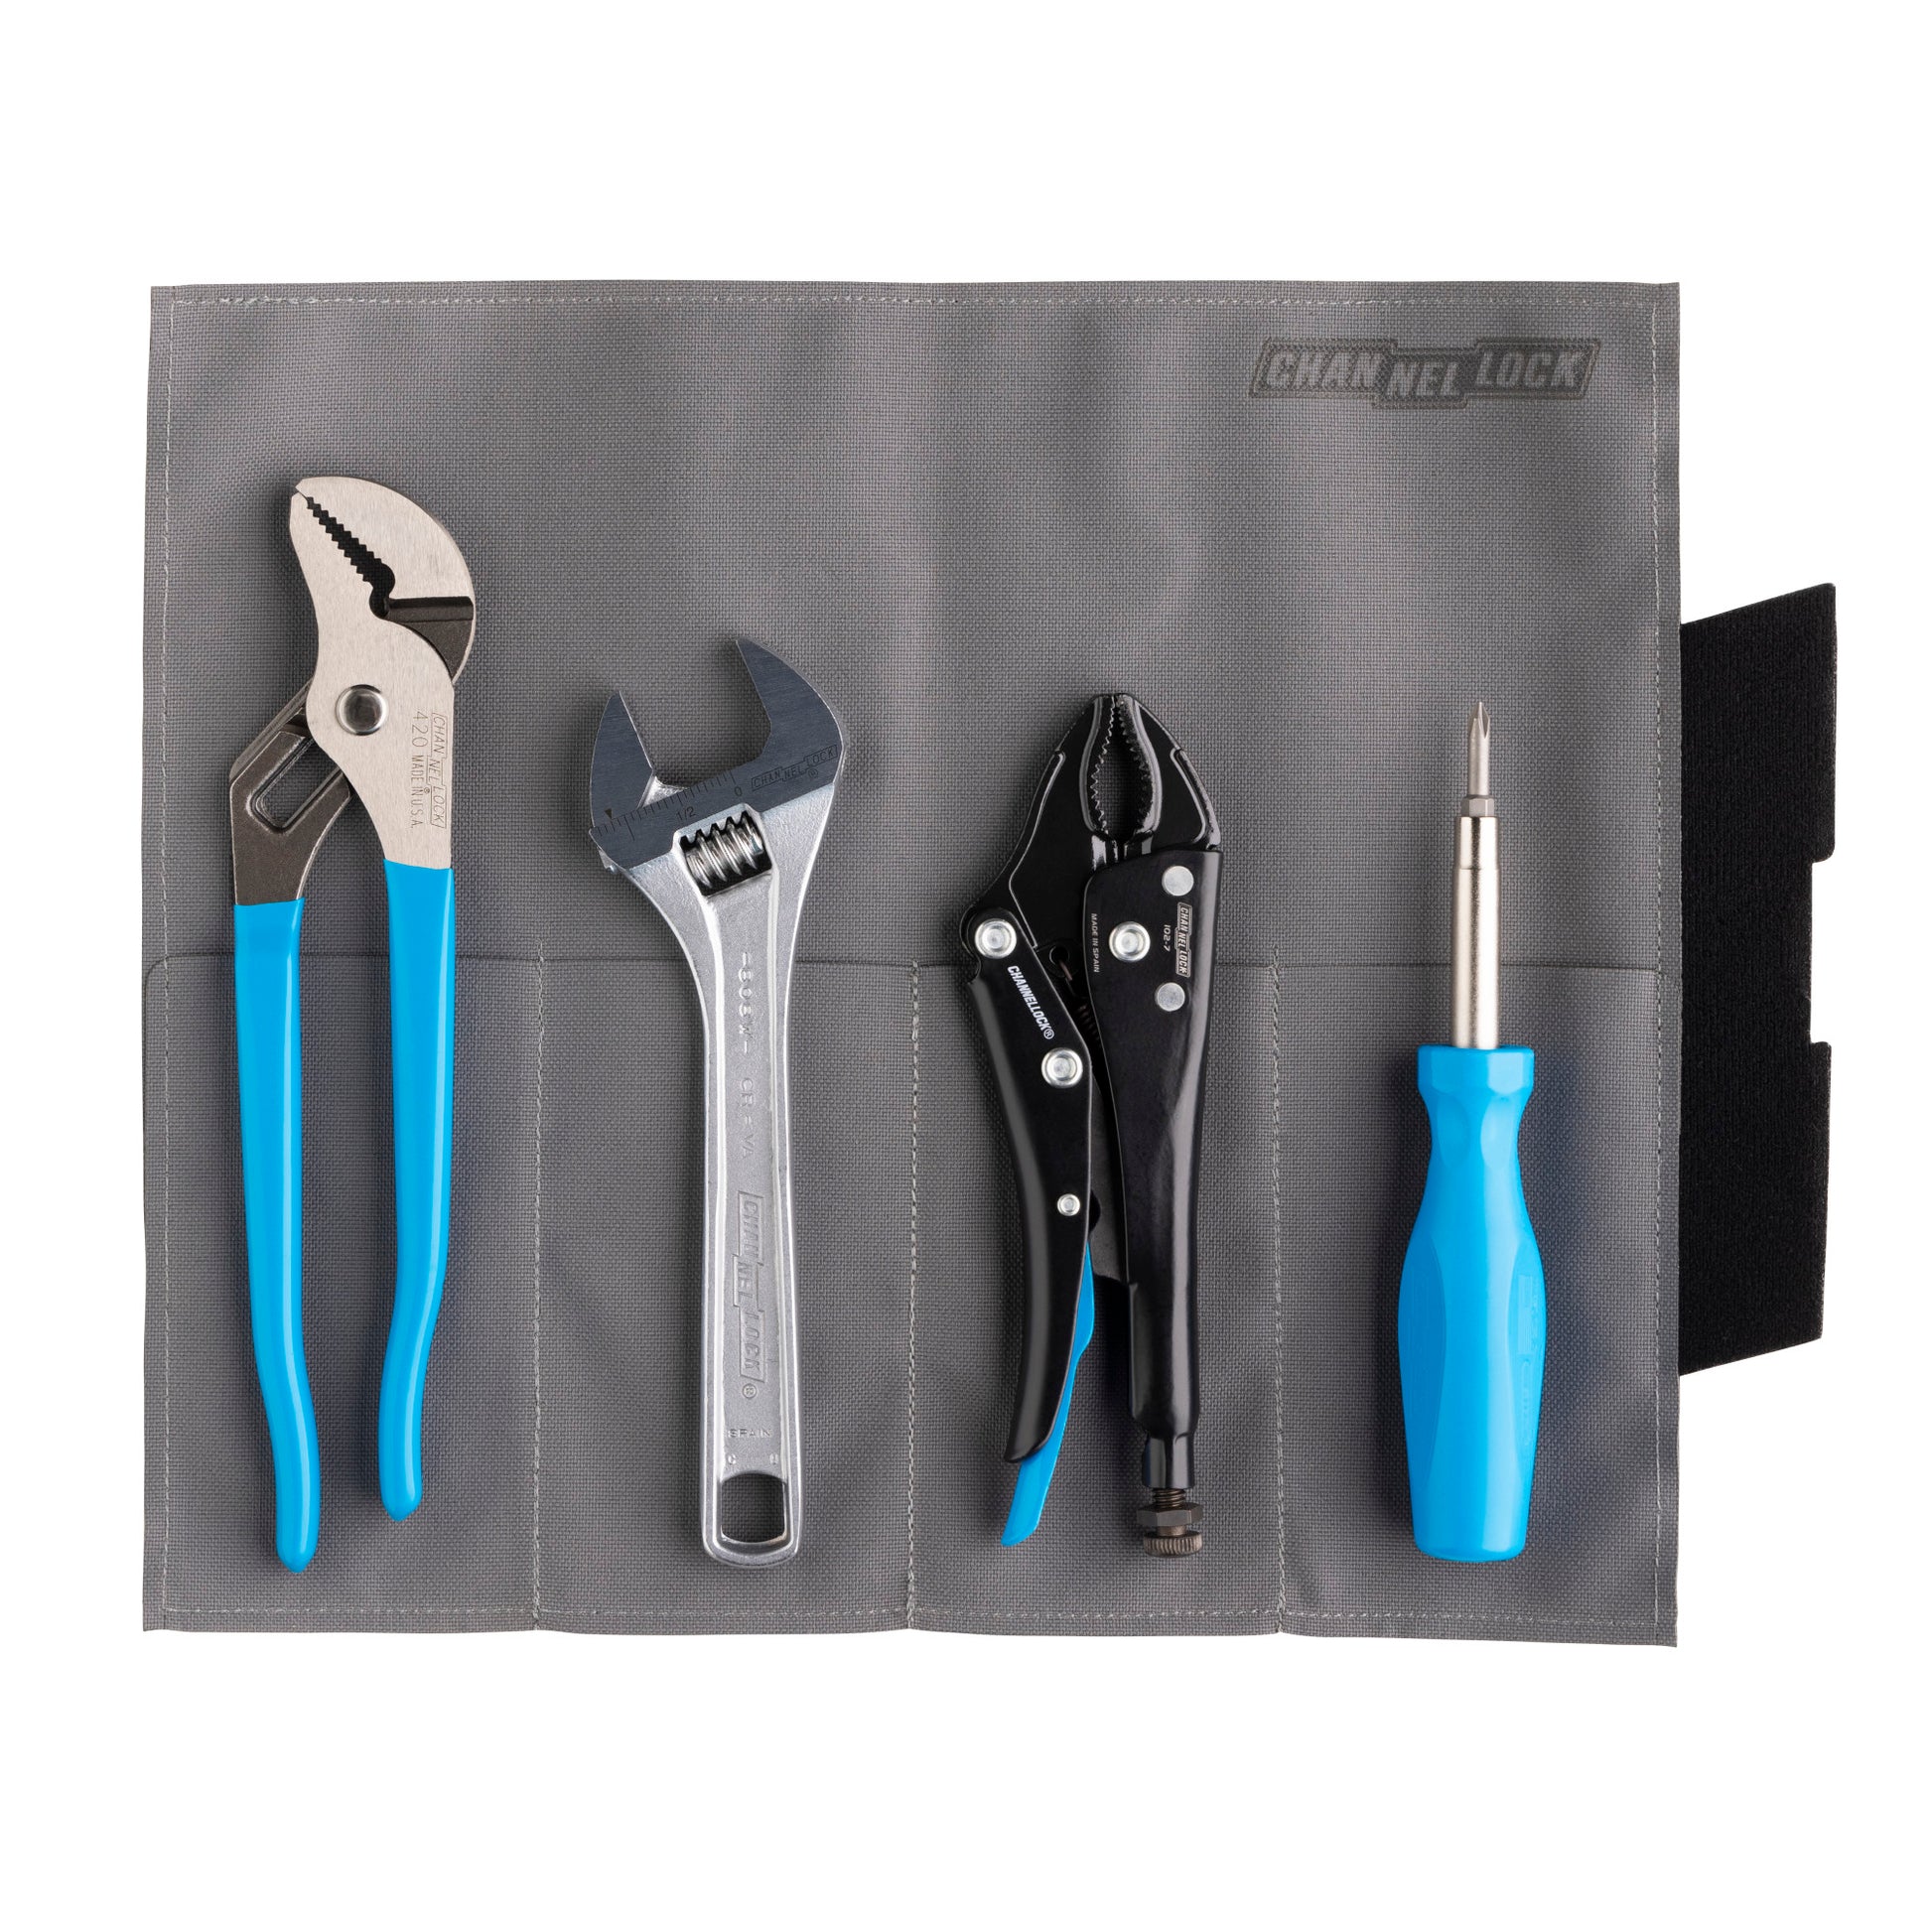
Having everything ready before you start keeps the job moving smoothly.
Tools You’ll Need
- Adjustable wrench or channel locks for tight nuts
- Flathead screwdriver for hose clamps and prying
- Mini hacksaw or oscillating tool for cutting stubborn strainer nuts
- Bucket to catch draining water
- Rag for wiping surfaces clean
Pro Recommendation: Knipex Cobras are thin, precise pliers made in Germany. They’re ideal for the cramped space under most sinks.
Parts to Have on Hand
- Plumber’s putty for resealing sink openings
- A new rubber washer that matches your faucet or strainer size
- A new basket strainer if the old one is cracked or corroded
- A brass mounting nut for secure reassembly
Why Plumber’s Putty Beats Silicone: Most pros recommend plumber’s putty over silicone for sink seals. It stays flexible, is fully waterproof, and is far easier to remove later. Silicone needs a perfectly clean, dry surface and can turn into a messy cleanup job.
Remove and Replace the Basket Strainer
A worn basket strainer is one of the most common leak sources. Here’s how to swap it out cleanly.
Cut Out the Old Strainer
Place a bucket underneath. Use a mini hacksaw or oscillating tool to cut through the old strainer’s mounting nut, and always wear safety glasses. Once the nut splits, pry it loose with a screwdriver and pull the strainer out from above.
Caution: If the nut is rusted solid, spray it with penetrating oil and wait 10 minutes before cutting. Forcing it can damage the sink.
Clean the Drain Opening
Scrape away every trace of old putty and debris with a flathead screwdriver. Wipe the area with a rag until it’s clean and dry. While you’re there, check the drain hole. If it’s back-pitched (angled upward instead of downward), you’ll eventually need a plumber to re-pipe it.
Install the New Strainer
Roll plumber’s putty into a thin rope and press it evenly around the flange of the new strainer. Drop the strainer into the drain hole and press down firmly. From below, slide on the rubber washer and brass nut, and hand-tighten first.
Key Tip: Putty will squeeze out as you tighten. Let it settle, then snug the nut a bit more. Stop before you feel resistance, since over-tightening can crack the sink or distort the seal.
Disassemble and Inspect the P-Trap

The P-trap is the U-shaped pipe under your sink. It holds water to block sewer gases and catches debris before it travels deeper into your plumbing.
Remove the P-Trap
Slide your bucket into place. Loosen both slip nuts by hand; they’re designed to be hand-tightened. Carefully lower the trap and let any water drain into the bucket. Drop all the removed parts into the bucket too, so nothing gets lost.
Note: If a slip nut won’t budge, use channel locks gently. Forcing it can crack the pipe.
Check for Clogs and Damage
Look inside the trap. Grease or food waste buildup can cause slow drainage and pressure that worsens leaks. If the trap is corroded or cracked, replace it with a new PVC or chrome assembly from any hardware store.
Reconnect the Drain Hose and Check the Faucet Base
If water is pooling near the garbage disposal or dishwasher, the drain hose connection is a likely suspect.
Disconnect and Inspect the Drain Hose
Loosen the hose clamp with a flathead screwdriver and slide the hose off the tailpiece. Look at the rubber gasket inside. If it’s cracked, flattened, or missing, replace it.
Access the Faucet Base
With the drain assembly out of the way, you can now see the faucet base clearly. If water has been seeping from here, the mounting seal has failed.
Replace the Washer and Reseal
Remove the mounting nut under the sink and pull the faucet assembly down slightly. Swap in a fresh rubber washer and apply a new bead of plumber’s putty around the base. Re-tighten the mounting nut by hand first, then snug it with a wrench.
Avoid Over-Tightening: Too much pressure can crack porcelain or damage the new seal. A snug fit is all you need.
Reassemble and Test for Leaks
Now it’s time to put everything back together and confirm the fix holds.
Reattach the P-Trap and Tailpiece
Reconnect the tailpiece to the drain pipe, then reinstall the P-trap with both slip nuts aligned. Hand-tighten everything, then give each nut a final quarter-turn with a wrench. If you have a Rigid PC-1250 tool, it makes tubular connections fast and secure.
Restore the Water Supply
Slowly turn the shutoff valves counterclockwise to restore water flow. Open the faucet and let it run for about 30 seconds to bleed air from the lines.
Run a Leak Test
Plug the sink drain and fill the basin halfway with water. Release the plug and let the sink drain two or three times. Crawl back under the sink with a flashlight and check every connection for moisture.
Success: If no drips appear after 10 minutes, the repair is solid. If you spot a drip, tighten that connection slightly or reapply putty where needed.
Prevent Future Leaks
Stopping today’s leak is only half the job. A little routine maintenance keeps the next one from ever starting.
Clean the Strainer Monthly
Pull out the basket strainer once a month and rinse it off. This prevents clogs and reduces wear on the seals below.
Inspect Every 6 to 12 Months
Twice a year, check the P-trap, slip nuts, and faucet base. Look for moisture, rust, cracks, or dried-out sealant. Catching small issues early prevents major repairs later.
Replace Parts Proactively
Even without a visible leak, swap out rubber washers and plumber’s putty every 3 to 5 years. Rubber hardens and putty dries out over time, so refreshing these parts on a schedule is cheaper than an emergency fix.
Use Rubber Drain Plugs
Rubber plugs seal better and last longer than plastic ones. A tight seal means less pressure on the drain assembly below.
Troubleshoot Common Problems
Even careful repairs can hit a snag. Here’s how to handle the usual issues.
The Leak Returns After Repair
Tighten connections a bit more, but stop short of overdoing it. Reapply plumber’s putty if the seal failed. Walk through every joint one at a time, since leaks sometimes shift to a new weak point after the original source is fixed.
The Drain Is Back-Pitched
If water sits in the pipe instead of flowing out, the pipe is angled the wrong way. This requires re-piping and is a job for a professional plumber.
The Old Nut Won’t Budge
Spray it with penetrating oil and wait 10 to 15 minutes. If it still won’t move, cut through it with a hacksaw, always wearing safety glasses.
The Water Supply Valve Is Stuck
Don’t force it. Apply penetrating oil and gently wiggle the handle back and forth. If the valve is heavily corroded, replacing it is the safer long-term move.
When to Call a Plumber
Most kitchen sink leaks are well within DIY territory, but some situations call for a professional.
Hire a Plumber If You Notice:
- Extensive corrosion on pipes or the sink base
- A back-pitched drain that needs re-piping
- Multiple leaks appearing at once
- A leak that returns after a proper repair
If you’re uncomfortable working with plumbing or don’t have the right tools, calling a pro is the smart move. No repair is worth a flooded cabinet or a damaged sink.
Frequently Asked Questions About Fixing a Leaky Kitchen Sink
What Is the Most Common Cause of a Leaky Kitchen Sink?
The most common cause is a deteriorated plumber’s putty seal around the basket strainer or faucet base. Worn rubber washers and loose slip nuts on the P-trap are close runners-up.
Can I Use Silicone Instead of Plumber’s Putty?
You can, but most experts recommend plumber’s putty. It’s more flexible, easier to work with, and simpler to remove during future repairs. Silicone needs a perfectly clean, dry surface and is messier to apply.
How Long Does It Take to Fix a Leaky Kitchen Sink?
Most repairs take under an hour once you have the right tools and parts. Replacing a basket strainer or resealing a faucet base is the most common fix and usually falls well within that window.
How Do I Know if the Leak Is Coming from the Faucet or the Drain?
Fill the sink with water, then let it drain while you watch underneath. If the leak only appears during draining, the issue is in the drain assembly. If it drips constantly, the faucet base or supply lines are the likely culprit.
Do I Need to Replace the Entire P-Trap?
Not usually. In most cases, tightening the slip nuts or swapping out the rubber washers is enough. Replace the whole P-trap only if it’s corroded, cracked, or visibly damaged.
How Often Should I Check Under My Kitchen Sink?
A quick visual inspection every 6 to 12 months is a good rule of thumb. If you notice any moisture, rust, or musty smells, investigate right away. Catching problems early is the easiest way to avoid expensive water damage.
Key Takeaways for Fixing Your Leaky Kitchen Sink
Start by shutting off both water valves and clearing the cabinet so you can see every connection. Identify the leak source before buying parts, since most kitchen sink leaks come down to a bad putty seal, a worn washer, or loose slip nuts. Use plumber’s putty rather than silicone for a flexible, long-lasting seal, and hand-tighten before giving connections a final snug with a wrench. Test by filling and draining the sink two or three times, then inspect underneath for 10 minutes.
For lasting results, clean the strainer monthly, inspect under the sink twice a year, and replace washers and putty every few years even if no leak is visible. Your next step is simple: grab a flashlight, take a look under your sink today, and order any parts you need. An hour of work now can save you from a major repair bill later.







