
A cracked bathroom sink might seem like a disaster, but most minor cracks respond well to a simple DIY repair. Left untreated, even small fissures can let water seep into cabinetry, flooring, or walls, leading to mold and structural damage. The good news is that hairline cracks in ceramic, porcelain, acrylic, or fiberglass sinks can often be sealed permanently with a quality epoxy kit. No plumber or full renovation required.
This guide walks you through every step to fix your cracked bathroom sink. You will learn how to assess the damage, choose the right materials, prep the surface, apply epoxy correctly, and test the final result for a durable, waterproof finish.
Assess the Crack Severity
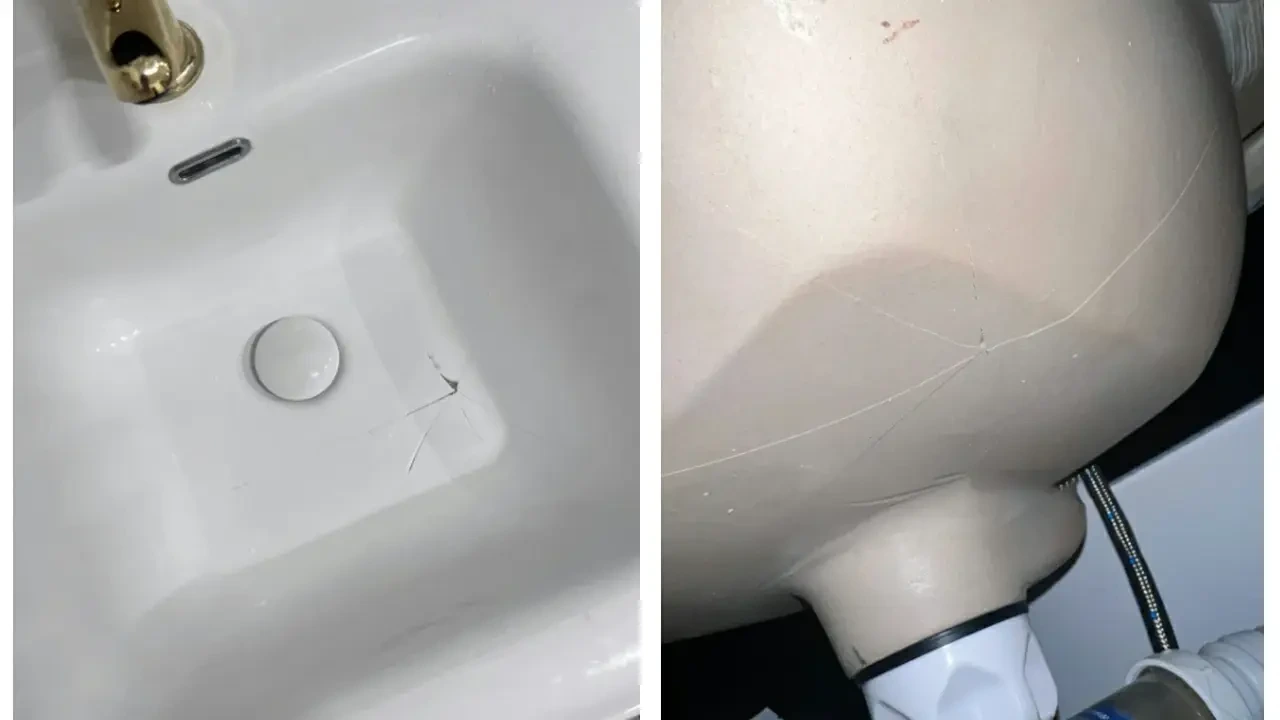
Identify the Crack Type
Start by inspecting the damage closely. Grab a flashlight and shine it into the crack to gauge its depth and length. A hairline crack is typically narrow, under 1 inch long, and confined to the surface. A structural crack runs deeper, may widen under pressure, or shows visible separation. Hairline cracks are ideal candidates for DIY repair. Structural breaks often require professional help or full replacement.
Check for Water Leakage
Run water near the crack and watch underneath the sink for drips. Place a paper towel under the basin to catch any moisture. Even slow seepage can rot wood, stain drywall, or encourage mold growth over time. A crack that does not leak today may still worsen with daily use, so address it early.
Determine Repair Viability
Not every crack qualifies for a DIY fix. Repair makes sense when damage is non-structural and surface-level. If the crack spans a load-bearing zone (like the drain area), the material feels soft or chalky, or the sink flexes when pressed, replacement is the safer choice. Wide gaps or multiple branching cracks signal advanced failure that epoxy cannot fix.
Confirm Sink Material Compatibility
Ceramic and Porcelain Sinks
Ceramic and porcelain are common bathroom materials and work well with epoxy repairs. Both are smooth and non-porous, which helps the adhesive bond strongly. Porcelain’s glossy finish may need light sanding so the epoxy can grip properly. Color matching matters on visible areas, especially for off-white or patterned sinks.
Acrylic and Fiberglass Surfaces
Acrylic and fiberglass sinks are flexible and respond well to kits like the Aquatic Repair Kit. Because these materials flex under pressure, hairline cracks may close when you let go. To get the epoxy inside, you may need to hold the crack open during application (more on that below). Avoid aggressive sanding since these surfaces scratch easily.
Composite and Enamel Materials
Composite sinks (quartz or resin blends) and enamel-coated basins can also be patched. Check the manufacturer’s guidelines first, since some composites resist adhesives. Enamel repairs work best when the metal underneath is not rusted. If corrosion is visible, sealing the surface will not stop future deterioration.
Gather Repair Tools and Materials
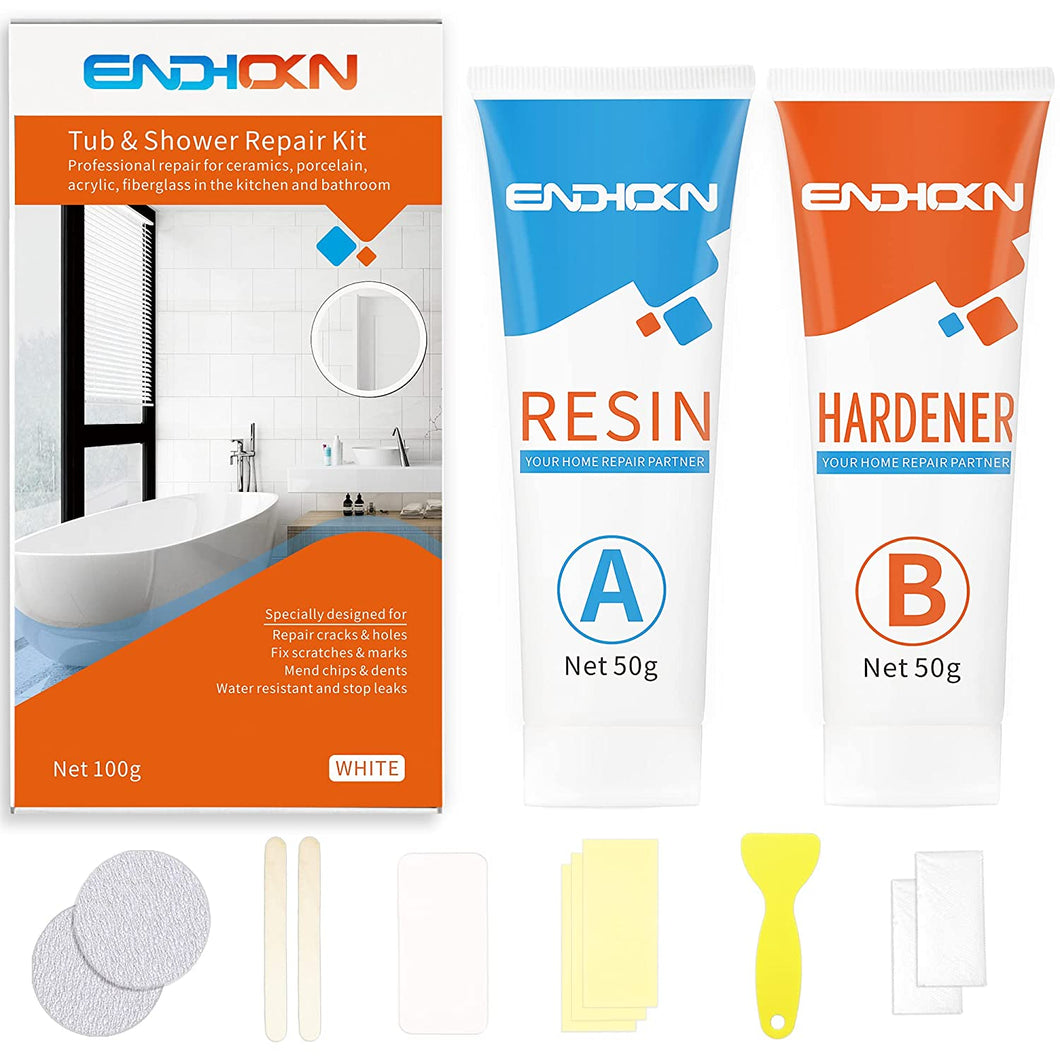
Essential Epoxy Repair Kit
Use a two-part epoxy kit designed for wet environments. The Aquatic Repair Kit is a reliable option for most bathroom sinks. A standard kit includes:
- Part A (Resin) and Part B (Hardener) – mixed in equal parts
- Squeegee tool – forces epoxy deep into the crack
- Color-matching pigments – optional for colored sinks
- Sandpaper (coarse and fine grit) – for prep and finishing
Once cured, this epoxy forms a waterproof polymer that bonds tightly to bathroom surfaces.
Additional Supplies Needed
Round out your toolkit with these basics:
- Fine-grit sandpaper (220) – smooths without over-sanding
- Clean cloth or sponge – removes dust and moisture
- Plastic putty knife – applies epoxy without scratching
- Pin or sewing needle – clears debris from the crack
- Compressed air or a straw – blows out fine particles
- Masking tape – creates clean edges on smooth surfaces
- Fork or small weight – holds closing cracks open during application
All items are inexpensive and easy to find at hardware stores or online.
Prepare the Surface Thoroughly
Shut Off Water and Dry the Area
Turn off the water supply valves under the sink. Open the faucet to drain any remaining water from the lines. Wipe the basin dry and let it air-dry completely. Moisture prevents epoxy from bonding, so this step is critical. One documented repair used a 3-week drying period for maximum adhesion. To speed things up, aim a fan or hairdryer at the area, but never apply epoxy to a damp surface.
Clean and Debride the Crack
Use a pin or needle to dig out dirt, soap residue, or old sealant lodged in the crack. Then blow compressed air (or exhale through a straw) to flush out fine particles. Skip water here, since it reintroduces moisture. The goal is a clean, dry channel for the epoxy to penetrate fully.
Sand for Better Adhesion
Lightly sand the area around the crack with 220-grit sandpaper. You want a slightly rough texture that helps the epoxy grip. Do not over-sand, especially on textured or glossy finishes. Wipe away dust with a damp cloth, then dry the surface immediately with a towel. Wait 10 minutes to confirm no moisture lingers before moving on.
Apply Epoxy Correctly
Mix Resin and Hardener
Squeeze equal parts of Part A (resin) and Part B (hardener) onto a clean disposable surface. Stir thoroughly with a popsicle stick or the kit’s mixing tool for at least 1–2 minutes. Streaks mean incomplete mixing, which causes weak curing. Work quickly, since most epoxies set within 5–10 minutes.
Fill the Crack Completely
Use a plastic putty knife to press the epoxy into the crack. Then switch to the squeegee tool to force the mixture deeper, ensuring full penetration. If the crack closes when you release pressure (common in flexible materials), place a fork across the crack to hold it open while the epoxy flows inside. Remove the fork once the crack is filled. You do not need to keep pressure during curing.
Smooth and Finish the Surface
Smooth the epoxy to match the surrounding area as closely as possible. On textured sinks, leave a little texture; the original pattern helps hide the repair. Use masking tape on either side of the crack for clean, straight edges on smooth surfaces. Wipe away excess with a damp cloth before the epoxy sets.
Allow Proper Curing Time
Wait 24 Hours Undisturbed
Do not use the sink for at least 24 hours. The epoxy needs uninterrupted time to cure into a solid, waterproof seal. Wiping, testing, or splashing too early can weaken the bond. Keep children and pets away from the area. Check the manufacturer’s instructions; cold or humid bathrooms may require longer curing.
Avoid Moisture During Cure
Keep the sink dry throughout the curing period. No running water, no splashing, and no damp towels nearby. Humidity slows curing and reduces final strength. Running a dehumidifier or a nearby fan helps maintain airflow without disturbing the repair.
Sand and Refine the Repair
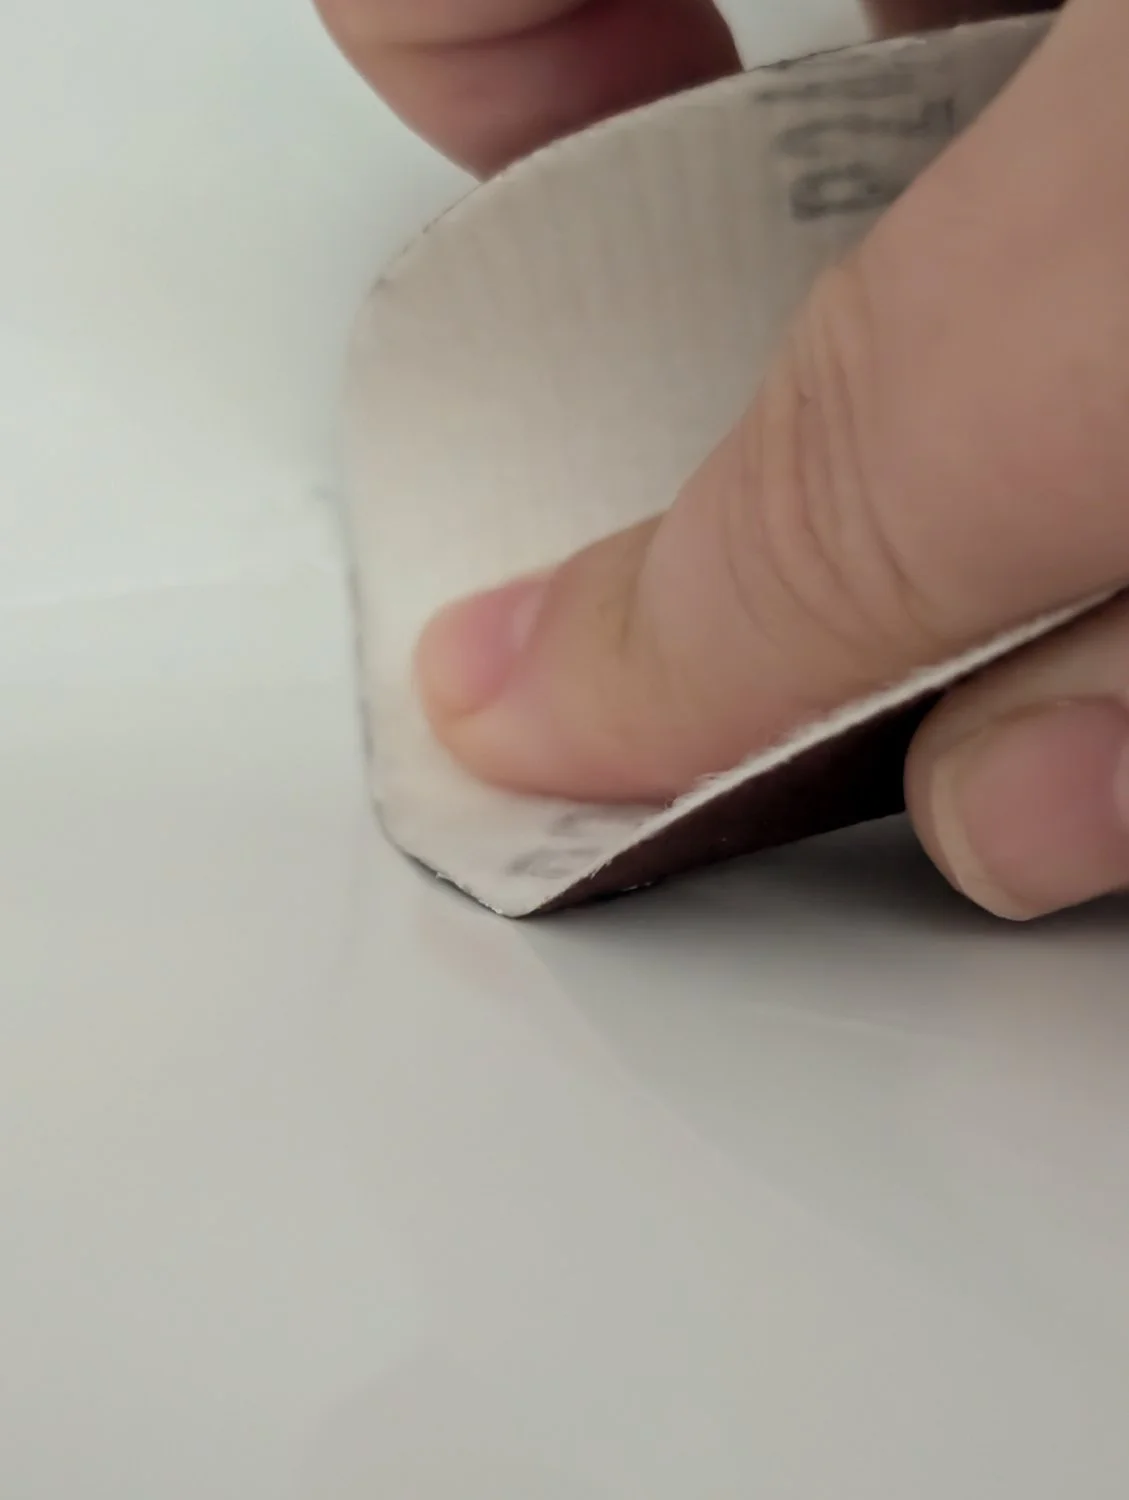
Level with Coarse Sandpaper
After curing, lightly sand high spots with coarse sandpaper to level the epoxy with the sink surface. Use small circular motions and check your progress often. Over-sanding can expose the crack again. On textured finishes, stop once the epoxy is flush; the surrounding texture naturally hides the patch.
Polish with Fine Grit
Switch to fine-grit sandpaper (220 or higher) to smooth the surface. This step blends the repair into the surrounding area. Wipe away dust with a damp cloth and dry thoroughly. For glossy sinks, finish with a wipe of rubbing alcohol to remove residue and restore shine.
Accept Minor Texture Differences
Even skilled repairs may show slight variation under bright light or close inspection. Camera lighting exaggerates visibility, but in everyday use, most repairs are nearly invisible from normal viewing distance. Focus on function first: a watertight seal matters more than cosmetic perfection.
Test and Maintain the Repair
Check for Leaks
Turn the water back on and run it directly over the repaired area. Watch for drips or seepage. Fill and drain the sink several times to confirm a solid seal. If the repair is on a shower floor or tub, step gently on the area to check stability. No leaks and a solid feel mean the repair succeeded.
Inspect Under Pressure
Press lightly near the crack with your finger. If the epoxy flexes or pops out, the bond is incomplete and may need reapplication. A successful repair feels rigid and fully integrated with the original material.
Follow Post-Repair Care
Avoid abrasive cleaners like bleach or scouring powders for at least 7 days. Stick to mild soap and a soft cloth. Inspect the area regularly for movement, discoloration, or new cracking. Catching small issues early prevents bigger repairs later.
Know When to Replace the Sink
Large or Structural Cracks
If the crack is wide, branches into multiple fissures, or runs through a support point (like under the faucet), replacement is the only safe option. Epoxy cannot restore structural strength, and a failed repair here risks sudden leaks and water damage.
Crumbling or Degraded Material
When the base material feels soft, chalky, or delaminated, the sink is beyond repair. This is common in older fiberglass or composite units. No adhesive will bond to deteriorated substrate, so replacement prevents leaks and potential injury.
High-Traffic Areas with Constant Stress
Shower floors and freestanding tub bases endure constant weight and water exposure. Even well-executed repairs may fail in these zones. If the crack is in a high-stress area, consider professional resurfacing or full replacement for long-term reliability.
Final Tips for Long-Lasting Results
Use Kits Designed for Bathroom Surfaces
Stick with repair kits like the Aquatic Repair Kit, which are formulated for acrylic, porcelain, and fiberglass. Generic epoxies may yellow, shrink, or fail under moisture.
Extend Repair Lifespan
A few simple habits keep your repair in top shape:
- Avoid dropping heavy objects into the sink
- Never stand on vanity basins or shower trays
- Fix minor chips early before they turn into cracks
- Reapply sealant around edges annually to block water ingress
Expect Years of Use from a Good Repair
Real-world data shows successful repairs lasting 11+ months of daily use, including full baths and family showers. Proper prep, complete drying, and correct application are the keys to durability. One documented repair saved thousands of dollars by avoiding a full bathroom renovation, proving that a small fix can have a major impact.
Frequently Asked Questions About Cracked Bathroom Sink Repair
Can I fix a cracked bathroom sink without replacing it?
Yes, most hairline cracks can be repaired at home using a two-part epoxy kit. The repair is waterproof and durable when the surface is properly prepped and the epoxy is allowed to cure fully.
What is the best epoxy for a cracked sink?
A two-part epoxy kit designed for wet environments, such as the Aquatic Repair Kit, works best. It bonds to acrylic, porcelain, fiberglass, and ceramic surfaces.
How long does a sink epoxy repair last?
With proper application, repairs can last over 11 months of heavy daily use. Many last much longer when the surface is prepped correctly and harsh cleaners are avoided.
How do I know if my sink crack is too big to repair?
If the crack is wider than 1 inch, branches into multiple fissures, or runs through a load-bearing area, replacement is safer. Soft, crumbling, or delaminated surfaces also cannot hold a repair.
Do I need to turn off the water before repairing the sink?
Yes. Turn off the supply valves under the sink, drain the lines, and let the area dry completely. Moisture prevents epoxy from bonding properly.
When should I call a professional instead of doing a DIY repair?
Call a professional if the crack is structural, the sink material is severely degraded, or the damaged area is in a high-stress location like a shower floor. These situations often require resurfacing or replacement.
Key Takeaways for Fixing Your Cracked Bathroom Sink
Fixing a cracked bathroom sink is a practical, affordable project that most homeowners can tackle in a weekend. Start by confirming the crack is a non-structural hairline type. Prep the surface carefully, mix your epoxy thoroughly, and allow a full 24-hour cure before testing. Avoid abrasive cleaners for at least a week, and inspect the repair periodically for early signs of wear.
For most minor cracks, this method delivers a waterproof, long-lasting repair without the cost of a plumber or renovation. If your sink shows structural damage or severe deterioration, prioritize safety and plan for replacement instead.







