
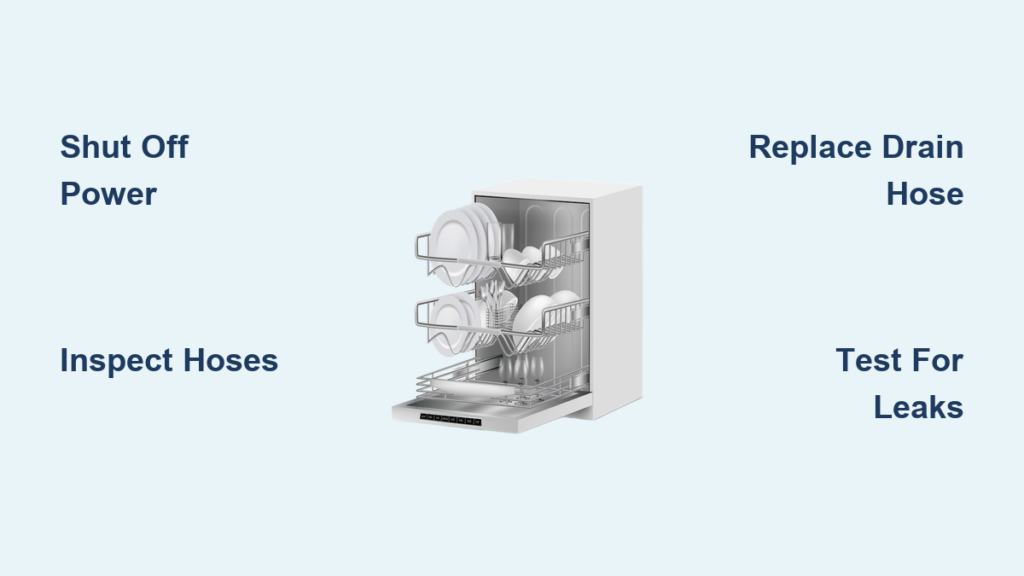
A dishwasher leaking under your sink can turn a quiet evening into a stressful cleanup in minutes. Water pooling in cabinets, warped flooring, and musty odors are all warning signs you shouldn’t ignore. The culprit is almost always a hose or connection point rather than the appliance itself, which means most homeowners can handle the repair without calling a plumber.
This guide walks you through diagnosing under-sink dishwasher leaks, safely disconnecting components, and choosing between a quick patch or a full hose replacement. You’ll learn how to shut off utilities, inspect fittings, install a new hose, and test your repair to make sure the leak stays gone. With the right steps, you can fix this problem in under an hour and prevent it from happening again.
Identify the Source of the Leak
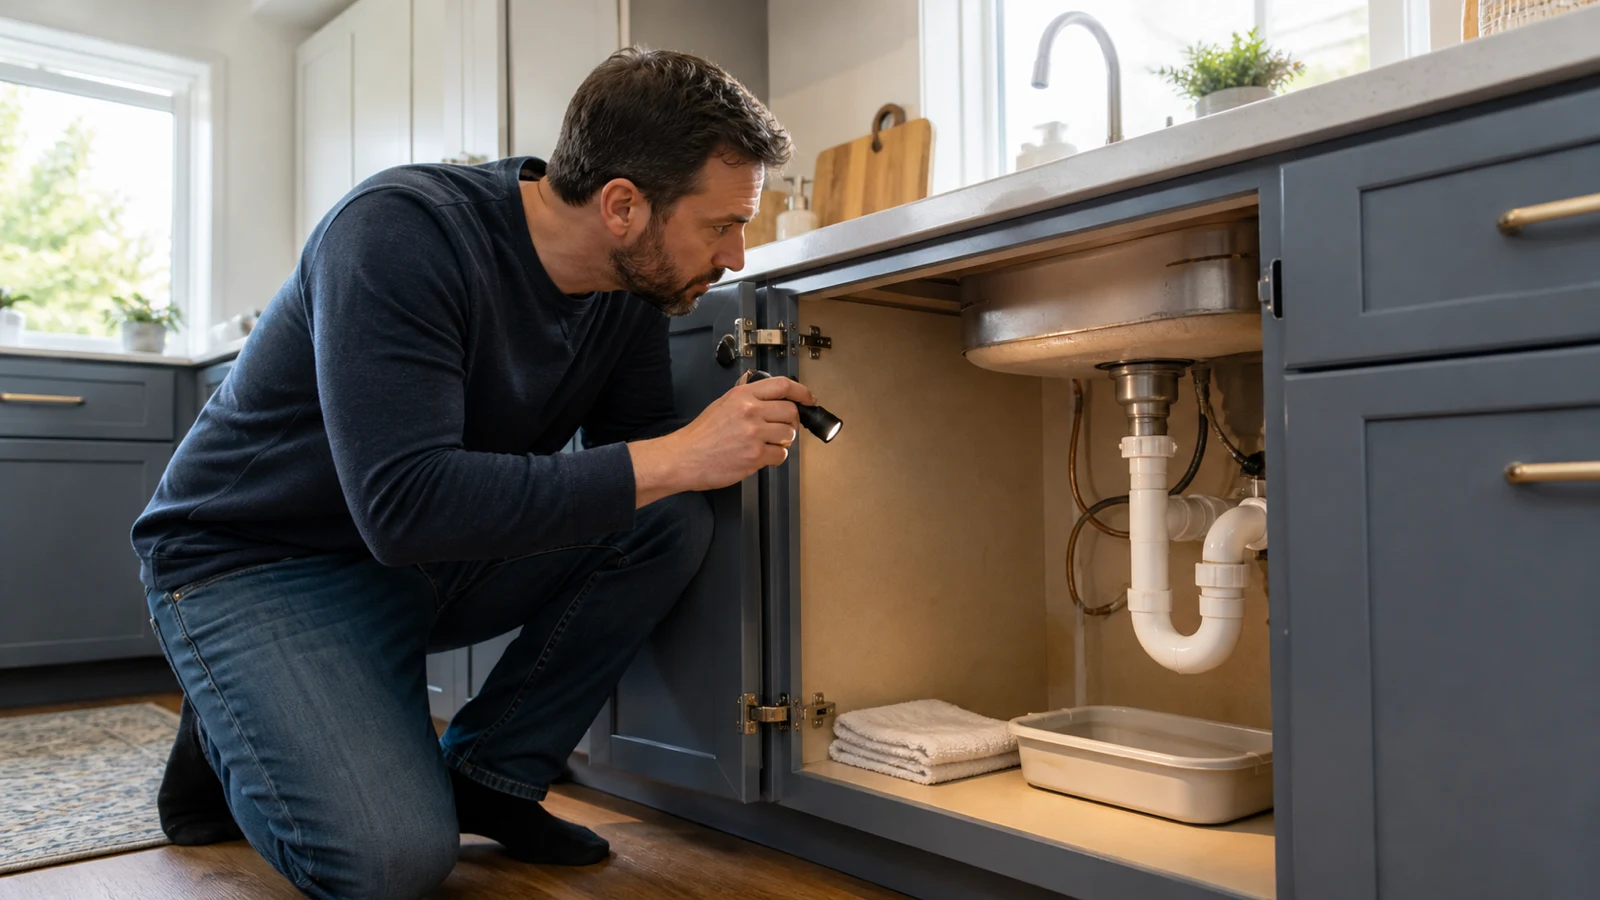
Before reaching for tools, confirm the water is actually coming from the dishwasher’s plumbing. Water can travel along pipes and pool far from the true source.
Check for Water Pooling
Look beneath the sink for standing water, damp insulation, or wet flooring. Use a flashlight to inspect dark corners. If the floor is wet only after a wash cycle, the dishwasher is the likely culprit. If water appears when the unit is idle, the problem may be the shutoff valve or supply line.
Inspect for Dampness and Odors
Run your hand along cabinet walls and around pipes. Dampness, soft wood, or dark stains signal long-term moisture exposure. A musty smell often means mold is already developing. Quick action prevents structural damage and health hazards.
Look for Corrosion and Wear
Examine every hose connection. White chalky residue, rust, or swollen rubber all point to aging parts. Cracks, bulges, or soft spots in hoses are red flags. Even tight-looking clamps can fail if the metal beneath is corroded.
Turn Off Power and Water
Safety comes first. Working on live plumbing with electrical power nearby risks shocks, flooding, and appliance damage.
Shut Off the Dishwasher Power
Find the circuit breaker for the dishwasher and flip it off. If the unit plugs into an outlet under the sink, unplug it directly. Never rely on the unit’s power button as your only disconnect.
Close the Water Supply Valve
Locate the shutoff valve under the sink, typically on the hot water line. Turn it clockwise until it stops. If the valve itself drips or won’t close, you may need to shut off your home’s main water supply temporarily.
Drain Residual Water
Run the dishwasher briefly to clear water from the line. Place towels or a small bucket under the connections to catch drips when you begin disconnecting hoses.
Locate and Inspect the Drain Hose

The drain hose is the most common leak source. It carries wastewater from the dishwasher to the sink drain or garbage disposal.
Find the Connection Points
Trace the hose from the back of the dishwasher to where it exits under the sink. One end connects to the drain port on the unit; the other attaches to either the sink tailpiece or a garbage disposal inlet. Both ends use clamps to hold them in place.
Check for Common Damage
Look closely for:
– Cracks or splits in the rubber
– Soft or mushy sections that bulge under pressure
– Kinks or twists that stress the connection
– Loose clamps that allow the hose to slip
– Mineral buildup that prevents a tight seal
Even a small hole can produce a steady drip. Replace the hose if you see visible damage.
Inspect the Supply Line and Fittings
Less common but still possible, the water supply line can leak at the shutoff valve or where it enters the dishwasher.
Examine the Supply Hose
This line delivers fresh water to the unit. It’s typically a braided stainless steel or rubber tube with 3/8-inch compression fittings. Check for:
– Loose fittings at both ends
– Corrosion or rust on metal parts
– Bulges or fraying along the hose
– Drips around the valve stem
If the supply line is dripping, try tightening the nut with a wrench. If the leak persists, replace the hose entirely.
Test the Shutoff Valve
Turn the valve off and on several times. If it drips when fully closed or feels stiff, it may need replacement. A failing valve causes leaks even when the hose itself is fine.
Disconnect Hoses Safely
You’ll need to remove hoses to inspect fittings or install replacements. Take your time to avoid damaging nearby components.
Gather Required Tools
You only need basic supplies:
– A flathead screwdriver or pliers
– A bucket or several towels
– Gloves to protect your hands
No specialty tools are required for standard dishwasher hoses.
Loosen and Remove Clamps
Use pliers or a screwdriver to open the clamp screw. Slide the clamp back along the hose, away from the joint. Don’t force it; bent clamps won’t reseal properly.
Pull the Hose Free Carefully
Gently twist and pull the hose off the fitting. Expect a small amount of water to spill. Keep a towel ready. Inspect the fitting on the disposal or drain and clean off any debris or old sealant before reconnecting.
Repair Minor Leaks Temporarily
If the damage is small, a patch can buy you time. But temporary fixes are not permanent solutions.
Use a Dishwasher-Safe Repair Kit
Purchase a rubber patch kit rated for plumbing use. Clean and dry the damaged area thoroughly. Apply the patch per the instructions and make sure it bonds fully. Allow it to cure for 24 hours before running the dishwasher.
Apply Silicone Sealant (Short-Term)
For tiny pinholes, a silicone-based plumbing sealant can hold. Clean the spot, apply the sealant, and let it dry completely. This works only on low-pressure sections and should be followed by a full replacement.
Warning: Temporary fixes can fail without warning. Monitor the repair closely and replace the hose as soon as possible.
Replace the Drain Hose (Best Fix)
For recurring or severe leaks, replacing the hose is the most reliable solution.
Choose the Right Replacement
Measure the old hose first; most run 6–8 feet. Check the fitting size, typically 3/8-inch or 1/2-inch. Match it exactly or pick a universal fit. For longer life, upgrade to a flexible stainless steel hose that resists heat, pressure, and bursting.
Install the New Hose
- Slide the clamps onto the new hose before attaching anything.
- Connect one end to the dishwasher’s drain port.
- Tighten the clamp securely with a screwdriver.
- Connect the other end to the sink drain or disposal.
- Create a high loop by routing the hose upward under the sink to prevent backflow.
Avoid kinks or sharp bends, which restrict flow and stress the connections.
Reconnect and Secure All Fittings
After installation, double-check every connection to prevent future leaks.
Tighten Clamps Properly
Clamps should be snug but not over-tightened. Squeeze the screwdriver until you feel firm resistance; too much force can crush the rubber.
Position the Hose Correctly
Route the hose smoothly from the dishwasher to the drain. The high loop, secured to the underside of the countertop, keeps wastewater from siphoning back into the unit. Use a plastic bracket or zip tie to hold it in place.
Verify the Supply Line Connection
Reattach the water supply line if you disconnected it. Hand-tighten first, then give it a quarter-turn with a wrench. Don’t over-tighten; this can crack fittings.
Test for Leaks Thoroughly

Never assume the repair worked. Test carefully before closing up the cabinet.
Turn On Water and Check Connections
Open the shutoff valve slowly and watch all joints for drips. If you see moisture, tighten the clamp or reseat the hose.
Run a Short Cycle
Restore power and run a rinse or quick wash cycle. Stay nearby and check under the sink every few minutes. Pay close attention to clamps and fittings.
Monitor for 5–10 Minutes
If no leaks appear during the test, the repair is likely successful. For full confidence, run a complete cycle later and recheck.
Prevent Future Leaks
A one-time fix is not enough. Proactive maintenance stops leaks before they start.
Inspect Hoses Every 6–12 Months
Pull out the dishwasher slightly and check the hoses twice a year. Look for cracks, soft spots, or loose clamps. Early detection prevents major water damage.
Clean the Drain Line Regularly
Food debris and grease can clog the drain, increasing pressure on hoses. Flush the line monthly with hot water and baking soda or a dishwasher-safe cleaner.
Avoid Overloading the Dishwasher
Overfilling strains internal components and can shift the unit, putting stress on under-sink connections. Load dishes properly and avoid forcing the door shut.
Upgrade to Stainless Steel Hoses
Standard rubber hoses last 3–5 years. Flexible stainless steel hoses resist heat, pressure, and wear, often lasting 10 years or more. They cost more upfront but save money and hassle long-term.
Troubleshoot Common Post-Repair Issues
Even after a fix, problems can linger. Here’s how to handle them.
Leak When the Dishwasher Is Off
If water appears without running the unit:
– Check the water supply valve; it may not be fully closed
– Inspect the inlet valve on the dishwasher for internal leaks
– Verify the drain hose has a proper high loop to stop backflow
Intermittent Dripping
Drips that come and go may be caused by:
– Temperature changes making hoses expand and contract
– Loose clamps that shift under pressure
– Slight misalignment at connection points
Retighten clamps and ensure fittings sit straight.
When to Call a Professional
Most under-sink leaks are DIY-friendly. Call a plumber if:
– The inlet valve or pump is leaking (requires appliance disassembly)
– The drain line is cracked inside the wall
– The shutoff valve is damaged and hard to replace
– Leaks continue after a full hose replacement
Persistent issues may indicate deeper plumbing or appliance failure.
Frequently Asked Questions About Dishwasher Leaking Under Sink
Why is my dishwasher leaking under the sink only sometimes?
Intermittent leaks often result from loose clamps, temperature-related hose expansion, or slight misalignment at fittings. Running the dishwasher creates pressure and heat that expose weak connections. Retightening clamps or reseating the hose usually solves the problem.
Can I use flex seal on a dishwasher drain hose?
Silicone-based plumbing sealants can work as a temporary patch on small pinholes in low-pressure areas. However, these fixes are short-term. For a reliable repair, replace the hose entirely, especially if the damage is more than a tiny hole.
How do I know if my dishwasher hose needs replacing?
Visible cracks, soft spots, bulges, or fraying all signal it’s time for a new hose. Mineral buildup, corrosion around clamps, and recurring leaks after tightening are also strong indicators. Standard rubber hoses typically last 3–5 years.
Is a dishwasher leak covered by homeowners insurance?
It depends on your policy and the cause of the leak. Sudden, accidental leaks may be covered, but damage from gradual wear or neglect usually is not. Document the damage with photos and contact your insurer to confirm your coverage.
How long does it take to replace a dishwasher drain hose?
Most replacements take 30–60 minutes, including shutting off utilities, disconnecting the old hose, installing the new one, and testing for leaks. Add more time if you need to purchase parts or clean corroded fittings.
Do I need a plumber for a leaking dishwasher hose?
Not always. If the leak is at an accessible hose or clamp, most homeowners can handle the repair with basic tools. Call a plumber if the leak involves the inlet valve, internal pump, cracked pipes inside the wall, or a damaged shutoff valve.
Key Takeaways for Fixing a Dishwasher Leaking Under the Sink
Most dishwasher leaks under the sink come from damaged hoses, loose clamps, or worn fittings, all of which are easy to fix with basic tools. Start by shutting off power and water, then inspect every connection point for cracks, corrosion, or mineral buildup. Temporary patches work for minor damage, but replacing the hose is the most reliable long-term solution. After any repair, run a test cycle and monitor for 5–10 minutes to confirm the leak is gone. Inspect hoses every 6–12 months and consider upgrading to stainless steel for lasting peace of mind. Take action now, and you can stop the leak before it causes serious water damage.







