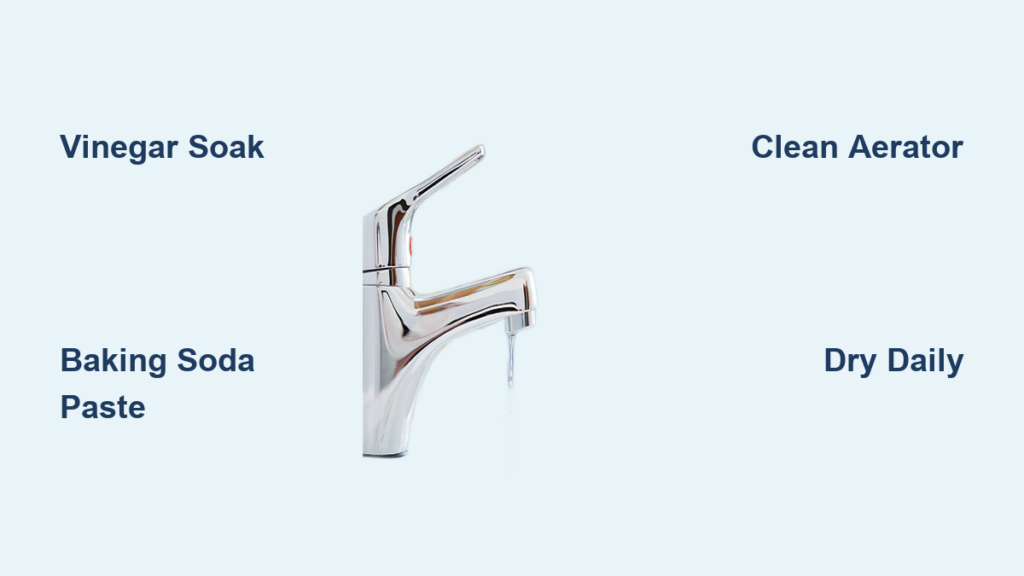
Grime around your faucet isn’t just an eyesore. Faucet handles harbor up to 229,000 germs per square inch, making them among the germiest surfaces in your home. Soap scum, hard water limescale, toothpaste splatter, and mineral deposits build up daily around the base, spout, and handles. Left unchecked, this grime dulls finishes, clogs aerators, and shortens your faucet’s lifespan. This guide shows you how to clean grime around the faucet safely, using the right methods for chrome, brushed nickel, and matte black finishes without causing damage.
You’ll learn to identify grime types, choose safe cleaning supplies, apply finish-specific techniques, disinfect high-touch areas, and prevent future buildup with simple daily habits.
Identify What Type of Grime You’re Dealing With
Different grime types require different cleaning approaches. Knowing what you’re fighting saves time and prevents damage.
Hard Water Limescale vs. Soap Scum
Hard water deposits appear as chalky white or gray crust near the base or spout. They form when tap water evaporates, leaving behind calcium and magnesium minerals. Soap scum looks like a slimy or powdery film from soap, toothpaste, and lotions. It often appears gray or dull, especially on black faucets. Fingerprint oils show as shiny smudges from frequent touching. Mineral rings create hard-to-remove circles around the spout or handle base.
Knowing the type ensures you use the right cleaner. Vinegar works for limescale, mild soap for scum, and disinfectants for germs.
Check Your Faucet Finish First
Using the wrong method can ruin your faucet’s coating permanently. Polished chrome is shiny and reflective with good scratch resistance. Brushed nickel has a textured, satin finish that hides fingerprints well. Matte black is non-reflective and modern but easily damaged by harsh chemicals. Each requires specific care. What works for chrome may strip black finishes completely.
Safe Cleaning Supplies and Tools
Using the right tools prevents damage and delivers better results.
Must-Have Tools
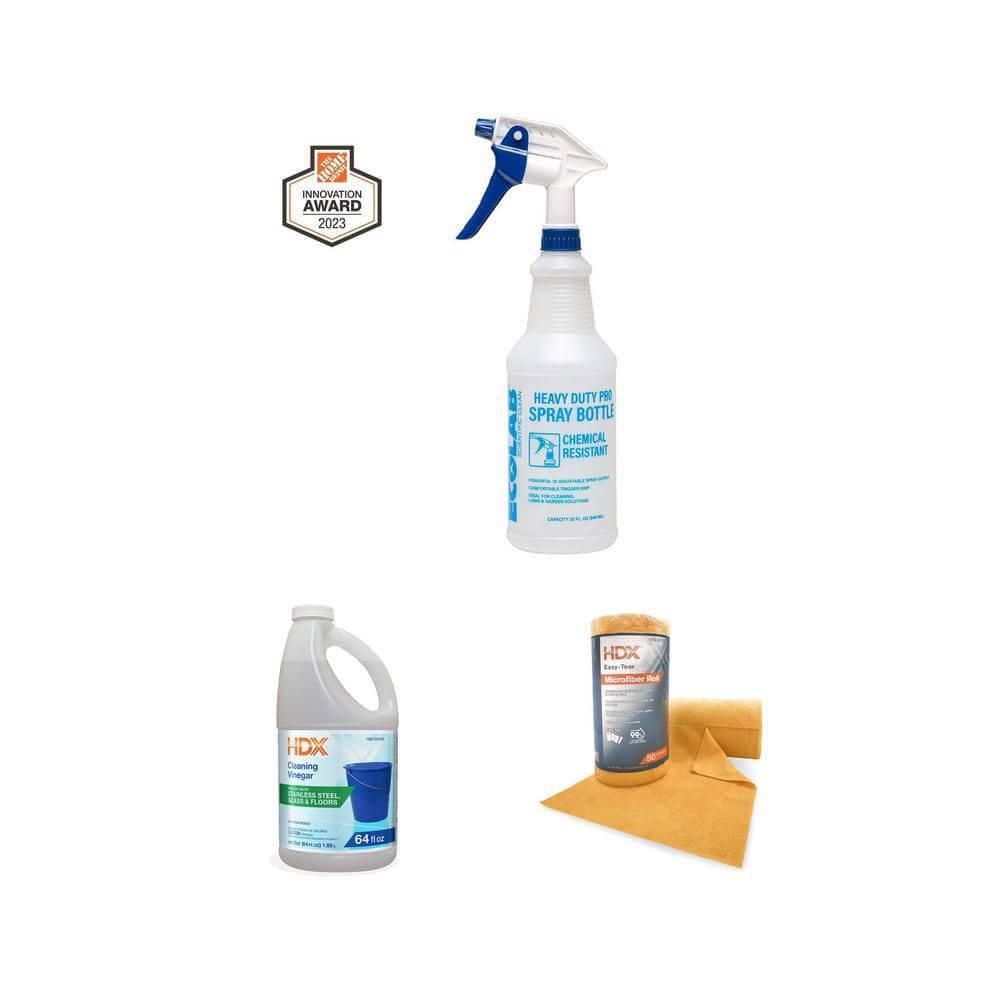
Microfiber cloths are essential. Use one for cleaning and one dry for buffing. Never use terry cloth or paper towels because they scratch surfaces. A soft synthetic sponge works for light scrubbing, but only use the non-abrasive side. Avoid green scrub pads entirely. You’ll need two spray bottles. One holds soapy water and the other holds distilled water for rinsing. For vinegar soaks on spouts, grab a plastic bag and rubber band.
Approved Cleaning Solutions
| Solution | Best For | Dilution |
|---|---|---|
| Dish soap + warm water | Daily cleaning | Few drops per cup |
| White vinegar + water | Limescale removal | 1:1 tough, 1:3 gentle |
| Distilled water | Final rinse | Undiluted |
| Lysol Disinfecting Wipes | Germ control | Ready to use |
Avoid bleach, ammonia, CLR, Lime-A-Way, and baking soda paste. These damage protective coatings on all finishes.
How to Clean Chrome Faucets
Polished chrome is durable but shows water spots and fingerprints easily. Regular maintenance keeps it shining.
Daily Maintenance Routine
Wipe your chrome faucet with a dry microfiber cloth after each use. This simple habit prevents mineral buildup and smears from forming. It takes only 10 seconds but saves hours of deep cleaning later.
Weekly Deep Clean Steps
Spray the faucet with dish soap and warm water solution. Let it sit for 5 to 10 minutes to loosen grime. Wipe the entire faucet including the base and crevices. For limescale buildup, apply one part vinegar to three parts water with a soft cloth. Let it sit for 5 minutes, then wipe gently. Do not scrub. Rinse thoroughly with distilled water to prevent new spots from forming. Buff dry with a clean microfiber cloth using circular motions for extra shine.
Care for Brushed Nickel Finishes
Brushed nickel hides smudges well but is sensitive to acids and abrasives. Gentle handling preserves its satin texture.
Gentle Cleaning Steps
Dampen a microfiber cloth with warm water only. Wipe the surface to remove loose debris. For buildup, add a single drop of dishwasher detergent to the cloth. Gently wipe the entire faucet without scrubbing. Rinse with a clean damp cloth. Dry immediately with a lint-free microfiber towel.
Removing Tough Mineral Stains
Soak a cloth in hot water. Lay it over stained areas for 10 minutes. Gently wipe the area without using vinegar or alcohol. These products strip the finish and cause discoloration.
Optional Protection
Apply a manufacturer-approved wax every 3 to 6 months. This restores luster and helps repel water and grime. Check your faucet manufacturer’s recommendations before applying any product.
How to Clean Grime Around Matte Black Faucet
Matte black faucets add modern style but require careful cleaning. The wrong approach causes permanent damage.
Why Matte Black Needs Special Care
Matte black finishes are often powder-coated or PVD-treated. Scratches, dulling, or peeling can void your 1-year finish warranty, even if the product has 5-year overall coverage. This makes proper cleaning technique critical.
Daily Cleaning Protocol
Mix a few drops of Dawn dish soap with warm distilled water in a spray bottle. Lightly mist the faucet. Wipe with a soft microfiber cloth using firm, even pressure. Rinse with distilled water from a second spray bottle. Dry immediately. Never air dry matte black fixtures because water spots show prominently.
Tackling Mineral Buildup
Mix one part white vinegar with one part water. Spray or dab onto affected areas. Let it sit for 5 to 10 minutes. Do not rub. Wipe gently with a microfiber cloth. Rinse with distilled water and dry immediately.
Removing Soap Scum
Spray with soapy water or diluted vinegar. Wait 5 minutes. Wipe in circular motions with a microfiber cloth. Rinse and dry thoroughly.
Remove Stubborn Limescale Buildup
Hard water stains won’t budge with simple wiping. Targeted soaking methods dissolve the deposits.
Vinegar Soak for Faucet Spouts
Fill a plastic bag with 50/50 white vinegar and warm water. Place over the spout, ensuring the crusty area is submerged. Secure with a rubber band. Soak for 1 to 3 hours depending on severity. Remove the bag and wipe away loosened deposits. Run water through the faucet for 1 minute to flush the aerator. Wipe exterior with distilled water and dry.
This method works on chrome and some nickel finishes. Test first on matte black.
Dabbing Method for Base and Handles
Soak a microfiber cloth in one-to-one vinegar-water solution. Lay it over stained areas. Let sit for 15 to 30 minutes. Gently wipe without scrubbing. Rinse with distilled water and dry.
Limit vinegar exposure on any finish. Never leave undiluted vinegar on for over 30 minutes.
Erase Soap Scum Fast
Soap scum builds up in high-contact zones including handles, base, and crevices.
Effective Cleaning Steps
Spray with diluted vinegar or soapy water. Let sit for 5 to 10 minutes to break down residue. Wipe with microfiber cloth using firm, circular motions. Do not press hard. Focus on handle crevices and base edges. Rinse with distilled water. Dry completely.
For thick buildup, repeat the process or use a soft toothbrush with nylon bristles only.
Disinfect Faucet Handles Regularly
Handles harbor germs from raw food, bathroom use, and sick family members. Regular disinfection keeps your faucet hygienic.
Safe Disinfection Methods
Lysol Disinfecting Wipes work well for daily use. Wipe the handle thoroughly. Let the surface stay wet for 10 minutes per CDC guidelines. No rinse required afterward.
Lysol Disinfectant Spray also works. Spray until the surface is visibly wet. Wait 10 minutes to kill germs. Wipe dry with a clean cloth.
Kitchen Faucet Disinfection
Use Lysol Kitchen Pro Antibacterial Cleaner for kitchen faucets. Spray until wet. It kills germs in just 2 minutes. This product is safe for food-contact areas.
Always clean before disinfecting. Dirt and grease block disinfectants from working properly.
Cleaners to Avoid
Using the wrong product ruins your faucet permanently.
Never Use These on Any Finish
Steel wool and scouring pads cause micro-scratches that trap more grime. Baking soda paste is mildly abrasive and damages matte and black finishes. Bleach and ammonia corrode metal and strip protective coatings. Rubbing alcohol dulls matte black over time. CLR and Lime-A-Way are too acidic and remove protective layers. Oven cleaner is extremely corrosive and should never be used near faucets.
Remember that natural does not mean safe. Vinegar is acidic and always needs dilution.
Prevent Grime with Daily Habits
The best cleaning strategy stops buildup before it starts.
Daily Wipe-Down Routine
After each use, grab a dry microfiber cloth. Wipe the entire faucet, especially the handle and base. This takes 10 seconds and prevents water spots and germ spread. It’s the biggest win for preventing limescale and soap scum from hardening.
Weekly Maintenance Schedule
Spray with soapy water first. Wipe all surfaces thoroughly. Treat any stains with diluted vinegar. Rinse with distilled water. Dry completely with a microfiber cloth.
Room-Specific Cleaning Tips
Different rooms expose faucets to unique grime types.
Bathroom Faucets
Main enemies are toothpaste, soap, and hard water. Clean weekly. Disinfect handles 2 to 3 times per week. Use distilled water rinse to prevent spots on black fixtures.
Kitchen Faucets
Main enemies are grease, food residue, and hand-washing grime. Clean daily if you cook frequently. Use Lysol Kitchen Pro for fast disinfection. Check the aerator monthly and soak in vinegar if water flow slows.
Final Thoughts on Cleaning Grime Around Faucets
Cleaning grime around the faucet doesn’t require harsh chemicals or heavy scrubbing. With the right tools, a few minutes each week, and finish-specific care, you can keep fixtures spotless, germ-free, and looking new. Always identify your grime type first, choose the correct cleaning method for your finish, and disinfect handles regularly. Using distilled water for rinsing and drying immediately after cleaning are the secrets to preventing new spots. Test any new cleaner on a hidden area first. Follow manufacturer guidelines when available. Your consistent care routine can make the difference between a faucet that lasts 10 years and one that fades in 2.
Frequently Asked Questions About Cleaning Grime Around Faucets
How do I remove hard water stains from my faucet?
Mix equal parts white vinegar and warm water. Apply to the stained area with a cloth and let sit for 15 to 30 minutes. Wipe gently and rinse with distilled water. For stubborn spout buildup, use the plastic bag soak method for 1 to 3 hours.
Can I use vinegar on matte black faucets?
Yes, but only in diluted form. Mix one part vinegar with one part water. Apply and let sit for 5 to 10 minutes only. Never use undiluted vinegar or leave it on longer than 30 minutes. CLR and Lime-A-Way should never be used on matte black.
How often should I clean my faucet?
Wipe the faucet dry after each use for daily maintenance. Deep clean weekly with soapy water and address any stains with diluted vinegar. Disinfect handles 2 to 3 times weekly, especially in busy households.
What is the best way to clean grime around faucet handles?
Spray with soapy water or diluted vinegar. Let sit for 5 to 10 minutes. Wipe with a microfiber cloth using firm, circular motions. Focus on crevices around the handle base. Rinse with distilled water and dry thoroughly.
Why does my faucet still have spots after cleaning?
You’re likely using tap water for rinsing. Tap water contains minerals that leave new spots when it evaporates. Always rinse with distilled water and dry immediately after cleaning.
How do I disinfect my faucet without damaging the finish?
Use Lysol Disinfecting Wipes or Lysol Disinfectant Spray. Clean the faucet first to remove dirt and grease. Apply the disinfectant and let it sit for the recommended time. No rinsing needed. Avoid bleach and ammonia-based products.