
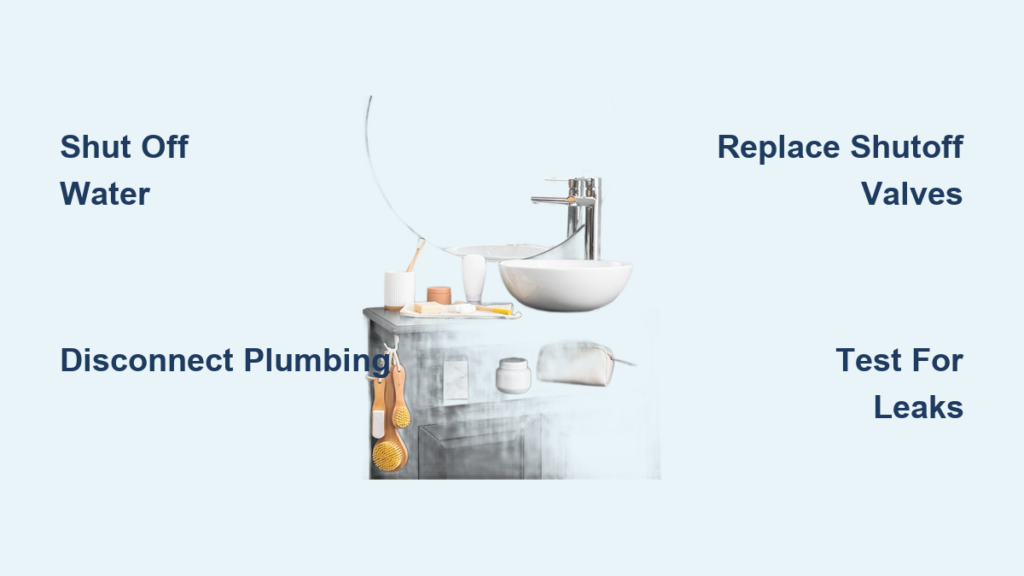
Swapping out an old vanity and sink instantly refreshes a tired bathroom. The project also fixes hidden water damage, adds storage, and gives you a chance to upgrade aging shutoff valves. Most homeowners can finish this job over a weekend with basic tools and careful planning.
This guide covers every step you need, from shutting off the water to testing for leaks. You will learn how to remove the old unit, prepare the space, set the new vanity, and reconnect plumbing with confidence.
Shut Off Water Supply and Drain the System
Stopping the water flow is the critical first move. Skip this step and you risk a flooded bathroom.
Locate and Test Under-Sink Valves
Look beneath the sink for two small handles on the water pipes. Turn both clockwise until they stop. Then open the faucet. If no water flows, your valves are working. If water still trickles out, the valves are faulty and you need another option.
Switch to the Main Shutoff When Needed
Faulty under-sink valves are common in homes over 20 years old. Head to your main water shutoff, usually near the water heater or where the line enters the house. Turn it off completely, then open the bathroom faucet again. Let any pressure escape through a faucet on a higher floor to speed drainage.
Wait for Pipes to Fully Drain
Give the system 5 to 10 minutes to empty before you touch any connections. Residual water in the lines can soak your floor or contaminate new fittings. Place a bucket under the P-trap to catch drips.
Disconnect the Plumbing Lines
With the water off and drained, you can safely undo the connections under the sink.
Remove the P-Trap
The P-trap is the U-shaped pipe under the sink drain. Place a bucket directly under it, then loosen the two slip nuts at either end using adjustable pliers. Water and debris will spill out. Set the trap aside to reuse or replace.
Unscrew the Supply Hoses
Flexible braided lines connect the faucet tailpieces to the shutoff valves. Use one wrench to hold the valve steady and another to loosen the nut on the hose. Cap the open valve outlets with threaded plugs if you won’t install the new vanity right away.
Look for Hidden Fasteners
Before pulling the vanity out, check behind it for anchor screws, nails, or caulk holding it to the wall or floor. Cut through any silicone seal with a utility knife.
Cut Caulk and Remove the Old Vanity
Once plumbing is free, the old vanity comes out with careful prying and unscrewing.
Slice Through Caulk and Adhesive
Run a utility knife along the seam where the countertop meets the wall. Repeat along the sink rim and at the base where the cabinet touches the floor. This breaks the adhesive bond and prevents wall damage.
Lift Off the Countertop and Sink
Insert a pry bar gently under the countertop edge. Lift slowly with steady pressure. If it resists, look inside the cabinet for hidden screws or brackets holding the top down. Once loose, carry the entire top assembly away from the wall.
Unscrew and Pull Out the Base
Remove the screws securing the cabinet to wall studs, usually two to four along the top edge. Pull the base forward carefully. If the back panel is nailed or glued, a reciprocating saw can cut through framing nails as a last resort.
Inspect for Hidden Damage
With the old vanity out, scan the wall and floor for mold, soft drywall, water stains, or warped subfloor. Repair any damage before installing the new unit. Note where the plumbing exits the wall so you can align the new vanity correctly.
Upgrade Old Shutoff Valves
If your existing valves are over 20 years old, replace them now while everything is exposed.
Why New Valves Matter
Old valves fail exactly when you need them most. A corroded handle that won’t turn can turn a small leak into a disaster. Fresh compression valves give you reliable shutoff for decades and matter even more in condos or multi-family buildings.
Install Compression Shutoff Valves
- Cut the copper supply line just above the old valve with a pipe cutter.
- Slide a brass ferrule onto the clean pipe end.
- Apply pipe joint compound to the ferrule.
- Slide a new 5/8-inch compression valve onto the pipe.
- Tighten the compression nut with two wrenches, one holding the valve body, one turning the nut.
- Stop when snug, then add just a quarter turn more.
Do not over-tighten. Cracked ferrules and stripped valve bodies come from excessive force.
Fit and Level the New Vanity

A level vanity sits flush against the wall and keeps countertops even.
Measure Twice, Mark Once
Measure the width of your alcove and compare it to the new vanity. Leave about 1/8 inch of clearance on each side. For a 42-inch vanity, you want a 42¼-inch opening.
Trim the Wall Molding
Wider vanities often require adjusting baseboards or door trim. Cut the trim cleanly with an oscillating multi-tool, slide the vanity into place, then reattach the cut piece to hide any gap.
Shim for a Perfectly Level Base
Set the vanity in position and check it with a spirit level in both directions. Slide plastic shims under the base until the cabinet is level side-to-side and front-to-back. Also confirm the unit is plumb, meaning perfectly vertical. Drive screws through the back rail into wall studs to lock it in place.
Reconnect Drain and Water Lines
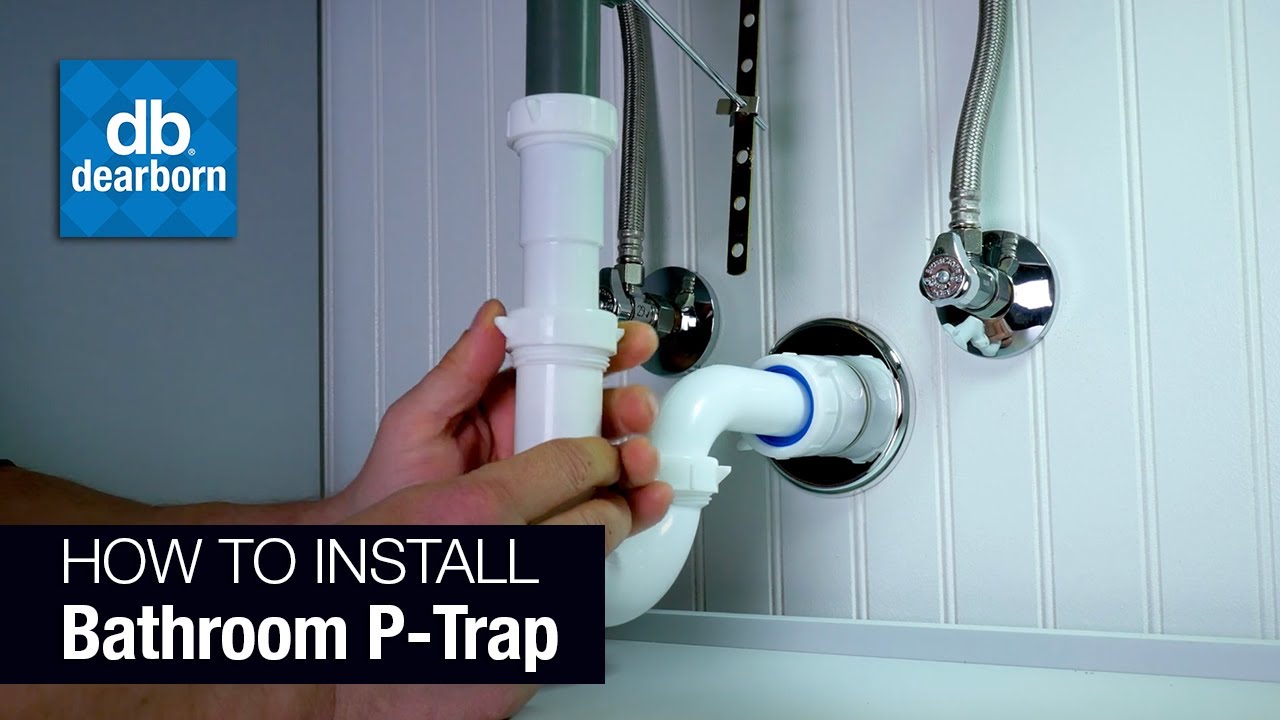
With the vanity secured, you can rebuild the plumbing connections.
Attach the P-Trap Correctly
Connect the P-trap between the sink tailpiece and the wall drain. Make sure the trap slopes slightly downward toward the drain so water flows freely. Hand-tighten the slip nuts first, then give each one a quarter turn with pliers.
Hook Up the Faucet Supply Lines
Attach flexible supply hoses from the faucet tailpieces to the new shutoff valves. Hold each valve steady with one wrench while tightening the hose nut with another. Aim for snug rather than forced.
Set and Seal the Sink
Drop the sink into the countertop cutout. Secure it from underneath with mounting clips. Run a bead of mildew-resistant plumber’s caulk around the rim before setting the sink to block water seepage.
Restore Water and Test for Leaks
Time to bring the system back online and check your work.
Open the Valves Slowly
Turn on the main shutoff first, then crack open the under-sink valves gradually. This prevents water hammer, a loud banging caused by sudden pressure surges in the pipes.
Inspect Every Connection Point
Look closely at the P-trap joints, supply line nuts, valve bodies, and faucet base. A small drip may stop once pressure stabilizes. Tighten anything that continues to seep, but never force fittings, since plastic threads crack easily.
Flush Air from the Lines
Open both hot and cold taps and let water run for about 30 seconds. A burst of sputtering air is normal at first. Confirm steady flow and check that the P-trap drains without backing up.
Secure, Caulk, and Finish the Job
The last touches protect your work and give the bathroom a polished look.
Anchor the Vanity to the Wall
Drive at least two screws through the back of the cabinet into wall studs. This prevents tipping, especially with stone or heavy countertops.
Seal the Countertop Edge
Apply a smooth bead of mildew-resistant silicone caulk along the seam where the countertop meets the wall. Smooth it with a damp finger for a clean line. This keeps moisture out and stops mold at the joint.
Reinstall Trim and Clean Up
Reattach the trimmed baseboard pieces. Peel protective film from new hardware. Wipe down the sink, faucet, and cabinet. Recycle or dispose of the old vanity responsibly.
Frequently Asked Questions About Replacing a Bathroom Vanity
How long does it take to replace a bathroom vanity and sink?
Most homeowners finish the job in 4 to 8 hours, not counting drying time for caulk. Plan for a full weekend so you can work without rushing and handle surprises like stuck fasteners.
Do I need a plumber to replace a vanity?
You can DIY this project if you have basic plumbing skills and working shutoff valves. Hire a licensed plumber if you live in a condo, need to relocate plumbing, or discover mold or water damage during removal.
What tools do I need to replace a bathroom vanity?
You will need a utility knife, pry bar, adjustable wrench, pipe cutter, two wrenches for compression fittings, a spirit level, shims, and a bucket. A reciprocating saw and oscillating multi-tool help with stubborn frames and trim work.
Should I replace old shutoff valves when installing a new vanity?
Yes. If your home is over 20 years old, replacing the shutoff valves during this project is a smart, low-cost upgrade that prevents future emergencies. Compression valves are reliable and easy to install.
What should I do if the new vanity doesn’t fit?
Measure your space carefully before buying. If a wider vanity crowds the room, return it for a smaller size. Most vanities can be shimmed slightly to accommodate uneven walls, but major size mismatches require a different model.
How do I prevent leaks after installing a new vanity?
Hand-tighten all slip nuts first, then add only a quarter turn with pliers. Restore water slowly and check every connection while the system is under pressure. Avoid over-tightening, since cracked plastic fittings cause more leaks than loose ones.
Key Takeaways for a Successful Vanity Replacement
Replace a bathroom vanity and sink by working in a clear order: shut off water, disconnect plumbing, remove the old unit, upgrade valves, set the new vanity level, and reconnect everything with proper torque. Test for leaks before you celebrate. Always inspect for hidden water damage once the old unit is out, since mold and rot only get worse if ignored.
Your next step is to measure your bathroom, choose a vanity that fits with 1/8 inch clearance, and gather your tools before turning a single wrench. A little preparation turns a potentially messy project into a clean weekend upgrade you can feel good about.







