
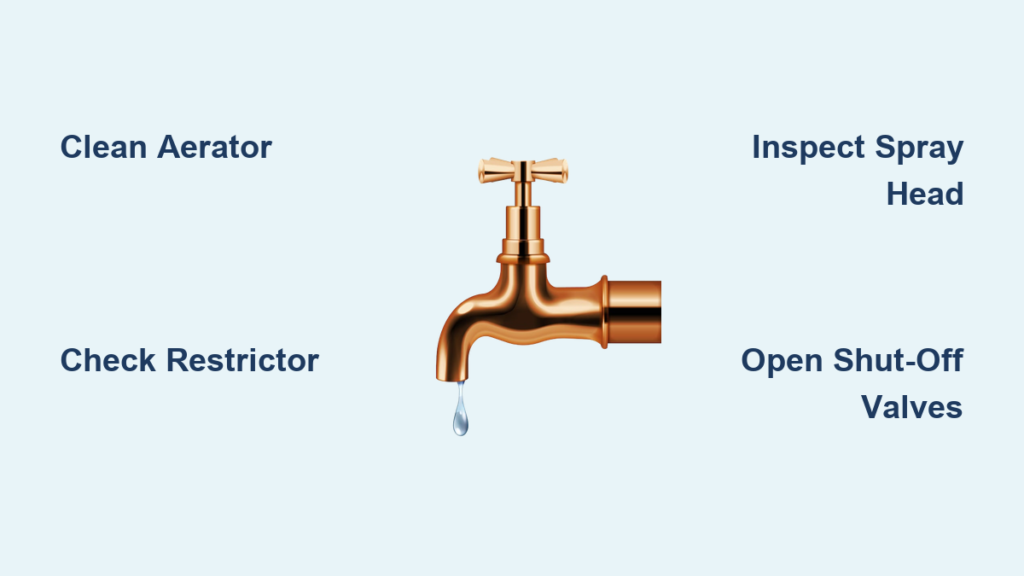
Is your kitchen or bathroom faucet delivering a weak, sputtering stream? You’re not alone. Millions of homeowners face reduced water flow due to clogged components, outdated fixtures, or simple maintenance neglect. The good news: in most cases, low water pressure from a single faucet is fixable in under 30 minutes with basic tools and no plumbing expertise.
The root cause usually is not your home’s main water supply. Instead, it is localized, often at the aerator, flow restrictor, or spray head. Modern faucets are engineered for efficiency, typically capped at 1.5 gallons per minute to meet EPA WaterSense standards. But when mineral buildup, sediment, or mechanical issues interfere, even a well-designed faucet can underperform.
Clean the Faucet Aerator
The aerator is the number one culprit behind weak water flow. Located at the tip of the spout, this small screw-on component mixes air into the water to reduce splashing and improve rinsing. But its fine mesh screens easily trap sand, sediment, and mineral deposits, especially in homes with hard water.
Remove and Disassemble the Aerator
Unscrew the aerator by hand. If it is stuck, wrap a cloth around it and use pliers gently to avoid scratching chrome or nickel finishes. Place all parts on a clean towel in the order you remove them, including the washer, mesh screens, flow straightener, and any flow restrictor disc. Inspect each part visually for white crusty buildup from lime or calcium, rust, or tiny debris.
Soak in Vinegar to Dissolve Minerals
Submerge all parts in white vinegar for 30 to 60 minutes. For heavy scale buildup, leave them soaking overnight. Vinegar dissolves calcium and lime naturally without harsh chemicals.
Scrub and Reassemble
Use an old toothbrush to scrub each screen thoroughly. Clear any clogged holes with a pin or paper clip. Rinse all parts with clean water, then reassemble in the correct order and screw the aerator back onto the faucet.
Pro Tip: Clean aerators every three to six months in hard water areas. This simple habit prevents 90 percent of flow issues.
Check the Flow Restrictor
Many faucets include a plastic or rubber flow restrictor inside the aerator housing or behind the cartridge. Designed to limit output to 1.0 to 1.5 gallons per minute, it helps conserve water, but it can become clogged or overly restrictive.
Locate the Restrictor Disc
The restrictor is found between mesh screens in the aerator assembly. It appears as a small white or gray disc with tiny perforations.
Clean or Replace It
Soak the restrictor in vinegar alongside the other aerator parts. If cleaning does not improve flow, consider replacing it with a higher-flow model, such as one rated at 2.0 gallons per minute. Avoid full removal unless local codes allow it, because this may increase splashing, void warranties, or violate plumbing regulations.
Special Case: Tankless Water Heaters
Tankless units require minimum flow of 0.5 to 0.8 gallons per minute to ignite. If your heater will not activate, test flow with the aerator removed. Install a 2.0 to 2.2 gallons per minute aerator to ensure reliable ignition while maintaining efficiency.
Inspect the Spray Head and Hose

For pull-down or pull-out kitchen faucets, low flow often stems from the spray head or hose rather than the main spout.
Remove and Soak the Spray Head
Unscrew the spray head from the hose. Soak it in vinegar for 30 minutes. Use a toothbrush to clean the nozzle openings, then flush with water to clear any remaining debris.
Test Flow Without the Spray Head
With the spray head detached, briefly turn on the faucet. If water gushes out, the hose or spray head is blocked.
Check for Kinks or Pinched Hoses
Pull out the spray head fully and inspect the hose under the sink for twists, bends, or rubbing against cabinet walls. Straighten gently or replace if damaged.
Open Shut-Off Valves Fully
Under-sink hot and cold shut-off valves are often left partially closed after repairs, installations, or faucet replacements, causing reduced pressure.
Turn Valves Counterclockwise Until Stopped
Ensure both hot and cold valves are fully open. Do not rely on handle position; turn until resistance is felt. Even a slightly closed valve can cut flow by 50 percent.
Warning: Never force a valve. If it is stiff or leaking, replace it to avoid future failure.
Flush Supply Lines and Diverter Valve
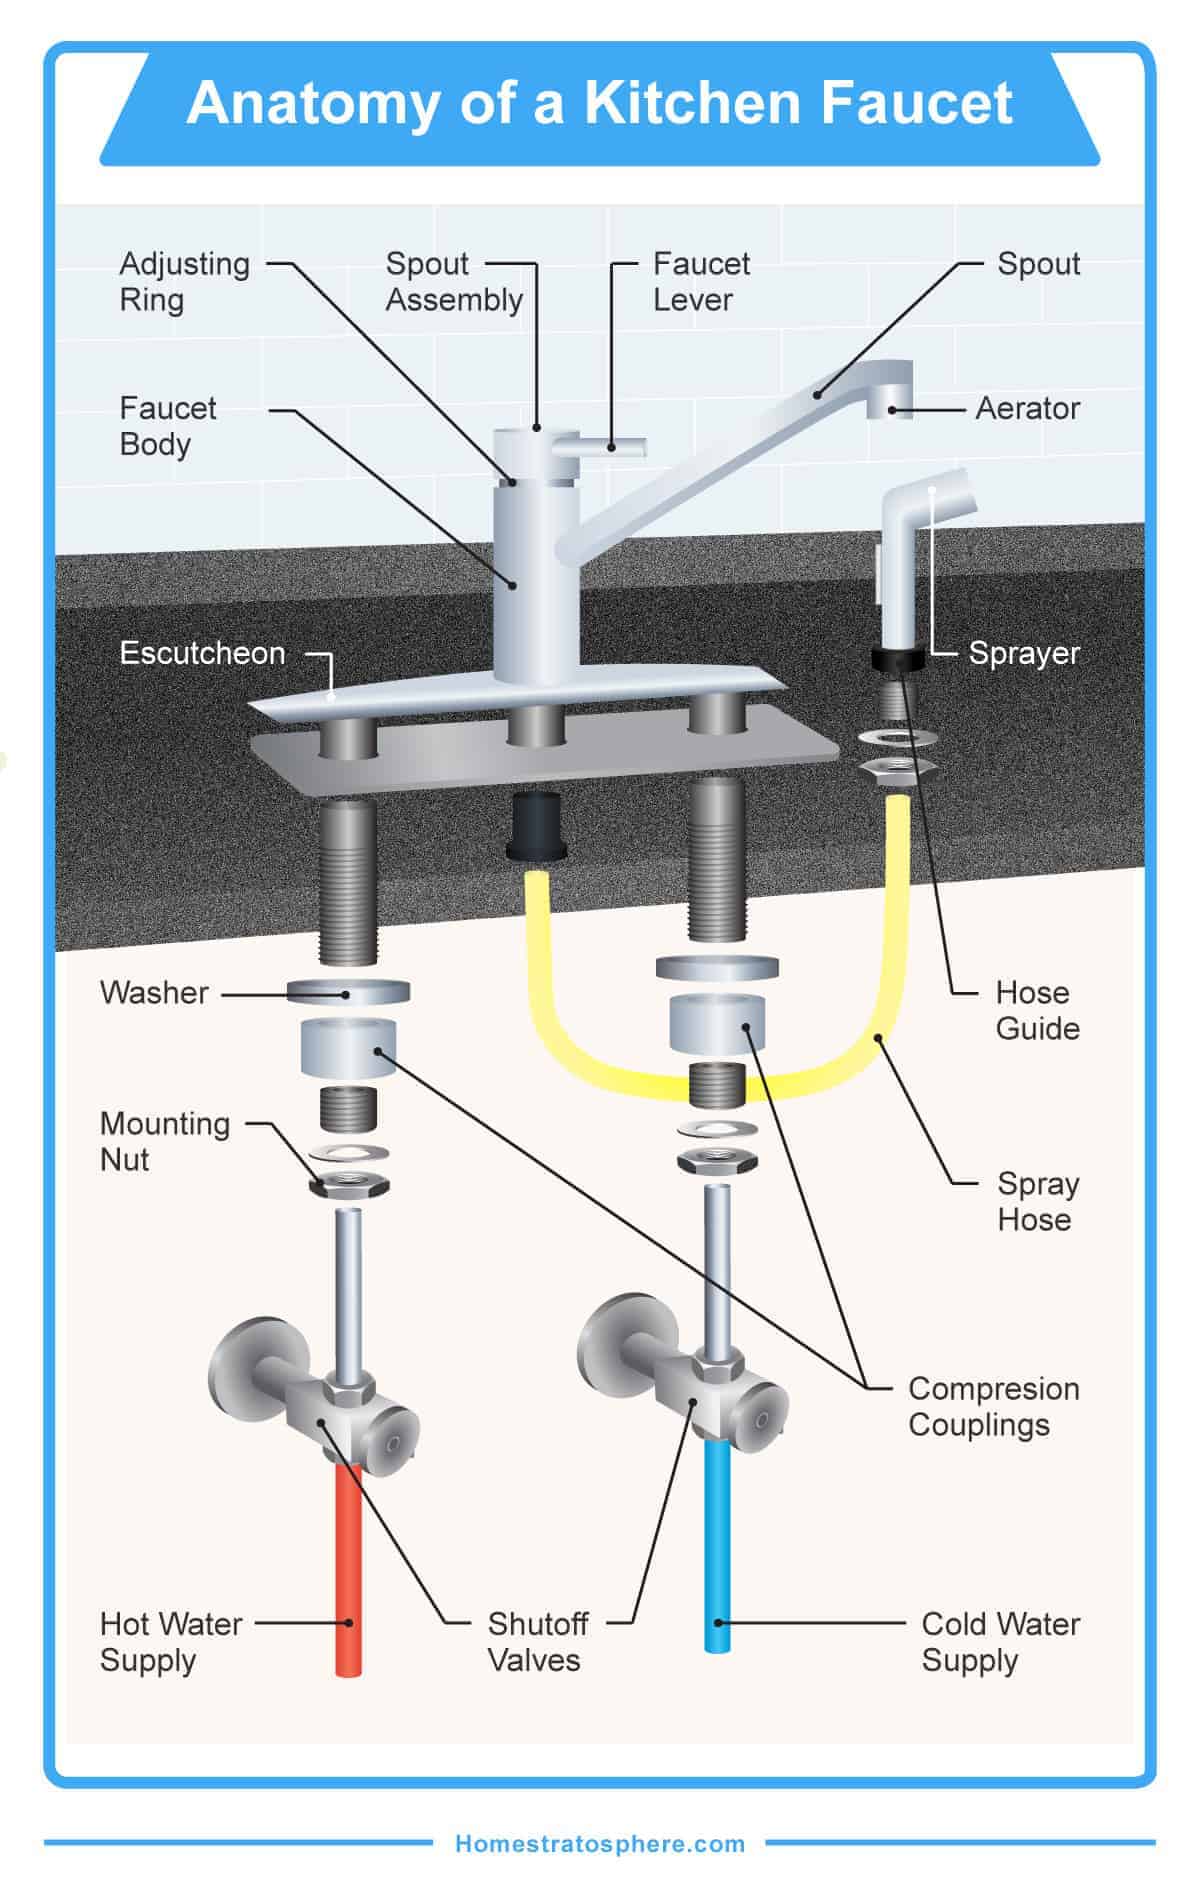
Sediment can accumulate in flexible supply lines or the diverter valve in sprayer models, restricting water before it reaches the faucet.
Flush the Lines
Shut off water at the valves. Disconnect supply lines from the faucet using a wrench. Hold the ends over a bucket and briefly turn on water to flush debris. Reconnect and test flow.
Clean the Diverter Valve
This component directs water between the spout and spray head in pull-out sprayers. Remove it according to manufacturer instructions, soak in vinegar, and replace if cracked or worn.
Replace or Upgrade the Cartridge
The faucet cartridge controls water flow and temperature mixing. Over time, mineral buildup or wear can restrict flow, especially in older or budget models.
Remove and Inspect the Cartridge
Shut off water supply. Remove the handle and trim to access the cartridge. Pull it out carefully and look for crusty deposits, cracked seals, or corroded surfaces.
Clean or Replace
Soak the cartridge in vinegar for stubborn buildup. Replace with an OEM or high-quality brass or ceramic cartridge. Reassemble and test.
Expert Note: Ceramic cartridges last longer and resist scaling better than plastic ones.
Install a High-Flow Aerator
If conservation is not a priority and local code allows, upgrade to a high-flow aerator for stronger output.
Choose the Right GPM
Bathroom sinks work well with 1.0 to 1.5 gallons per minute. Kitchen sinks benefit from 2.0 to 2.2 gallons per minute. High-demand tasks may require 2.2 gallons per minute or more.
Match Thread Size and Finish
Common sizes include M24×1 and 55/64″-27. Bring your old aerator to the hardware store for an exact match. Select a finish such as chrome or brushed nickel to match your faucet.
Bonus: Some high-efficiency aerators deliver 2.0 gallons per minute with air injection, giving a powerful feel while still saving water.
Evaluate and Replace the Faucet
If all else fails, the faucet itself may be the problem, especially if it is old, low-end, or poorly designed.
Signs It Is Time to Upgrade
Consider replacement if you experience persistent low flow after cleaning, rust, leaks, stiff handles, outdated internal components, or lack tool-free access for maintenance.
Choose a High-Performance Model
Look for faucets with advanced aerator design for strong, splash-free streams, durable brass or ceramic cartridges, easy-clean spray heads, and optimized flow channels resistant to clogging.
Pro Tip: Invest in a model with quick-release aerator and tool-free hose access for long-term ease.
Diagnose System-Wide Low Pressure
If multiple fixtures such as the shower, toilet, or other sinks also have weak flow, the issue is not localized.
Perform a Timed Fill Test
Use a one-gallon container. Time how long it takes to fill. At 1.5 gallons per minute, it should take 40 seconds. At 2.2 gallons per minute, it should take 27 seconds. If significantly slower, suspect system-wide issues.
Check Main Water Pressure
Attach a pressure gauge to an outdoor spigot. Normal range is 40 to 80 psi. Below 40 psi suggests possible clogged main line, failing pressure-reducing valve, municipal supply issues, or well pump problems.
When to Call a Plumber
DIY fixes work for most single-faucet issues. But call a licensed plumber if whole-house pressure is low, leaks or water stains appear, pipe corrosion is visible, main line obstruction is suspected, the pressure-reducing valve or well system needs testing, or multiple DIY attempts fail.
A professional can diagnose hidden issues safely and ensure repairs meet code.
Prevent Future Flow Problems
Prevention beats repair. Keep your faucet flowing strong with these habits.
Clean Aerator Every Three to Six Months
This is especially important in hard water areas. Use vinegar soak to stop scale from hardening.
Rinse Spray Head After Greasy Use
Flush after washing dishes with food residue. This prevents grease and particles from clogging nozzles.
Inspect Hoses and Valves Annually
Look for kinks, wear, or leaks. Ensure the diverter operates smoothly.
Address Weak Flow Early
Do not wait for complete blockage. Early cleaning takes minutes, not hours.
Frequently Asked Questions About Increasing Faucet Water Flow
Why does my faucet have low water flow only when using hot water?
Low flow during hot water use often indicates mineral buildup in the cartridge or water heater sediment. The water heater adds resistance, making restrictions more noticeable. Clean the aerator first, then inspect the cartridge if the problem persists.
Can I remove the flow restrictor to increase water pressure?
You can remove it, but it may increase splashing, raise water bills, void your faucet warranty, or violate local plumbing codes. Instead, clean the restrictor or replace it with a higher-flow model that meets code requirements.
How often should I clean my faucet aerator?
Clean the aerator every three to six months. In hard water areas, clean it every three months. New construction homes may need more frequent cleaning because debris often enters plumbing during installation.
Does a tankless water heater affect faucet water flow?
Yes. Tankless water heaters require a minimum flow rate of 0.5 to 0.8 gallons per minute to activate. If your aerator is too restrictive, the heater will not ignite. Use a 2.0 to 2.2 gallons per minute aerator to ensure reliable operation.
Why does only one faucet in my house have low water pressure?
When only one faucet is affected, the problem is localized to that fixture. The aerator, flow restrictor, spray head, hose, or cartridge is likely clogged or faulty. Check other fixtures to confirm the issue is isolated.
What water pressure is normal for a home faucet?
Normal household water pressure ranges from 40 to 80 psi. Most faucets are designed to deliver 1.5 gallons per minute or less for water conservation. If your pressure is significantly below expectations, check for localized restrictions first.
Key Takeaways for Increasing Faucet Water Flow
Most faucet flow issues stem from small, accessible parts, not major plumbing faults. Start with the aerator, which is the number one cause of reduced water flow. Clean it with vinegar, scrub the screens, and reassemble properly. This single step resolves the majority of low-pressure problems.
If cleaning the aerator does not fix the issue, work through the other solutions systematically. Check the flow restrictor, inspect the spray head and hose for blockages, ensure shut-off valves are fully open, and test the cartridge. Replace any worn or clogged components with quality brass or ceramic parts.
Regular maintenance prevents 90 percent of flow problems. Clean your aerator every three to six months, rinse the spray head after heavy use, and inspect hoses and valves annually. Address weak flow early before complete blockage occurs. With proper care, even a low-flow faucet can deliver powerful, reliable performance for years.







