
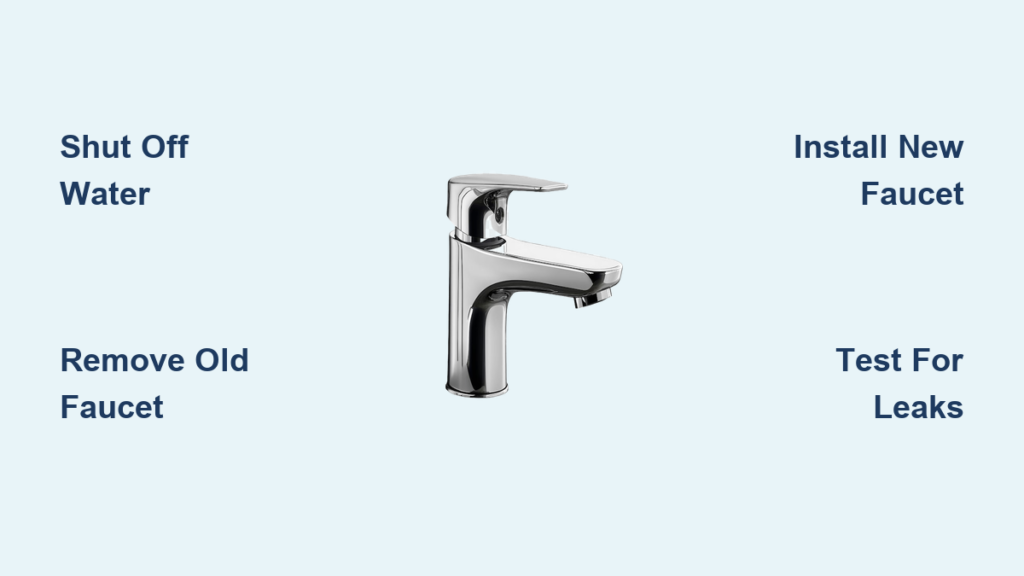
Replacing a bathroom vanity faucet is one of the most impactful DIY upgrades you can make, improving both function and style without requiring a major renovation. Whether your current faucet is leaking, outdated, or simply not performing well, swapping it out yourself saves between $350 and $500 in professional labor costs and takes less than two hours for most homeowners. The process involves shutting off water, removing the old fixture, installing the new faucet, reconnecting supply lines, and testing for leaks.
This guide walks you through every step, from choosing the correct replacement to final leak testing. You’ll learn how to avoid common mistakes, ensure compatibility with your sink, and achieve a professional-quality result without calling a plumber.
Choose the Right Faucet for Your Sink Configuration

Before buying a new faucet, check your sink’s existing hole setup. Installing a mismatched model may require drilling new holes, which risks cracking porcelain, ceramic, or stone surfaces.
Faucet Types and Hole Configurations
Most bathroom vanities come pre-drilled for specific faucet styles. Choose the type that matches your existing configuration.
• Single-hole: One central hole (1 to 1.5 inches in diameter). Ideal for compact or modern sinks.
• Center-set: Three closely spaced holes (typically 4 inches apart). Common in older bathrooms.
• Widespread: Three widely separated holes (8 inches or more apart). Offers design flexibility.
• Mini-widespread: Similar to widespread but with 8-inch center-to-center spacing between handles and spout.
Verify Clearance and Deck Fit
Measure the distance between the faucet base and backsplash. Most standard faucets need at least 2 inches of clearance, but some models extend up to 7 inches. Ensure the new faucet won’t hit the wall or mirror when operated. Also verify that the mounting deck is wide enough to accommodate the base or escutcheon plate, especially with solid surface, granite, or quartz countertops that often have narrower edges.
Gather Tools and Materials for Faucet Replacement

You do not need advanced plumbing skills. Basic hand tools and common supplies are sufficient for a successful installation.
Essential Tools
• Adjustable wrench: For supply line and valve connections.
• Basin wrench: Critical for tightening mounting nuts under the sink where space is tight.
• Channellock pliers: Grip stubborn jam nuts or pivot rods.
• Screwdriver (Phillips or flat-head): Adjust pop-up linkages and clips.
• Flashlight or headlamp: See clearly in dark cabinet spaces.
• Plastic scraper: Remove old putty or caulk without scratching the sink.
Materials Included in a New Faucet Kit
Most quality faucets come with everything needed. Check that your kit includes the faucet body and handles, flexible supply lines (color-coded: red for hot, blue for cold), rubber gaskets and washers, mounting nuts and lock washers, deck plates if applicable, and pop-up drain components.
Additional Supplies to Buy Separately
Even if your kit includes parts, consider purchasing these separately for better reliability.
• New flexible braided stainless steel supply lines (more durable than generic ones)
• Teflon plumber’s tape for threaded metal fittings (2 to 3 wraps clockwise)
• Plumber’s putty for metal, porcelain, or plastic sinks
• Clear silicone sealant for granite, marble, or quartz countertops
• Catch bucket and towels for cleanup
Turn Off Water and Prepare the Work Area
Locate the shut-off valves under the sink. Turn both clockwise until snug. Do not over-tighten, as this can damage internal seals.
Verify Water Is Off
Most modern valves are quarter-turn types. A 90-degree rotation stops flow. Always test that water is off by opening the faucet. If water still runs, shut off the main water line.
Drain Residual Water
Open both hot and cold handles fully to release pressure and drain leftover water from the pipes. Let it run until completely dry.
Label and Protect
Use tape to label supply lines “H” and “C” to avoid confusion during reconnection. Place a bucket under the P-trap to catch drips. Lay towels inside the cabinet to absorb spills. Take a clear photo of the plumbing layout for reference during reassembly.
Remove the Old Vanity Faucet
Use an adjustable wrench to loosen the nuts connecting the supply lines to the shut-off valves. Hold the valve body steady with a second wrench to prevent twisting. Expect a small amount of water to drain.
Loosen Mounting Nuts
Under the sink, locate the mounting nuts securing the faucet to the countertop. Use a basin wrench to loosen them. If the faucet is sealed with caulk or putty, gently rock it side-to-side from above to break the seal before lifting.
Remove Pop-Up Drain Mechanism
If your sink has a lift-rod drain, loosen the clevis screw connecting the lift rod to the pivot rod. Remove the pivot rod from the drain tailpiece using pliers. Pull the lift rod up and out of the faucet body. Detach any retaining clips or brackets.
Clean the Sink Deck
Lift out the old faucet. Scrape away gasket residue, putty, or silicone using a plastic scraper. Wipe the area with a damp cloth. Use mineral spirits sparingly for stubborn residue. Inspect for cracks or damage that could compromise the new seal.
Install the New Faucet
Check that all included parts are present before mounting. Place the large rubber gasket over the faucet base. Confirm side gaskets are positioned correctly (hot on the left, cold on the right).
Position and Secure the Faucet
Align the faucet with the sink holes and lower it gently into place. From below, thread on the mounting nuts. Hand-tighten first, then use a basin wrench to snug them evenly. Alternate between sides to prevent tilting. Hold the faucet steady from above with a second wrench to avoid twisting.
Connect Supply Lines
Attach the blue (cold) line to the cold shut-off valve and the red (hot) line to the hot valve. Apply Teflon tape to all threaded metal connections (2 to 3 wraps clockwise). Hand-tighten first, then give a gentle snug with a wrench. Avoid kinking the lines.
Reassemble the Pop-Up Mechanism
Insert the pivot rod through the hole in the drain tailpiece. Slide the lift rod into the faucet body from above. Connect the lift rod strap to the lift rod and secure with the thumbscrew. Attach the clevis strap to the pivot rod using the spring clip. Adjust the clevis screw so the stopper opens and closes smoothly.
Test Drain Function
Manually move the lift rod to ensure the stopper seals tightly when closed and lifts fully when open. Adjust the clevis or pivot rod position if the stopper binds or does not seal. The overflow hole must align with the sink’s overflow channel.
Test for Leaks and Final Inspection

Slowly open both hot and cold shut-off valves. Watch for leaks at the valves and supply line connections.
Flush the System
Remove the aerator from the spout. Open the faucet fully and let water run for at least 60 seconds to flush out debris. Reinstall the aerator after flushing.
Conduct a Leak Test
Dry all connections with a paper towel. Place fresh paper towels under supply line joints, mounting nuts, and P-trap connections. Wait 5 minutes, then check for moisture. Repeat after 30 minutes and several hours. For absolute confidence, leave towels overnight.
Functional Performance Check
Run hot and cold water separately to confirm correct handle operation. Fill the sink and drain it, checking for proper water pressure, smooth handle movement, fast drainage, and a tight seal from the stopper.
Avoid Common Installation Mistakes
Several errors frequently cause problems. Prevent them with careful attention.
• Not turning off water completely: Always double-check valves and open the faucet to confirm no flow before proceeding.
• Over-tightening connections: This cracks sinks and strips threads. Hand-tighten first, then only a quarter to half turn with a tool.
• Skipping Teflon tape: Apply 2 to 3 wraps clockwise on all male threaded connections.
• Mislabeling hot and cold lines: Label during removal or follow standard convention (left equals hot).
• Reusing old supply lines: Replace with new braided stainless steel lines for better reliability.
• Using wrong sealant on stone: Use silicone, not plumber’s putty, on granite or quartz countertops.
Maintain Your New Faucet for Long-Term Performance
High-quality faucets last 10 to 15 years with regular care. Budget models may fail in 5 to 7 years due to cartridge wear or corrosion.
Maintenance Tips
Clean the aerator every 6 months to maintain flow. Wipe down the faucet daily to prevent hard water stains. Soak in white vinegar for 30 minutes if mineral buildup occurs. Replace cartridges if handles become stiff or leak internally.
Warranty Protection
Most reputable brands offer 5 to 10 year limited warranties covering leaks from defects, cartridge failure, and finish corrosion. Register your faucet online to activate full coverage. Many manufacturers provide free replacement parts or units upon request.
Frequently Asked Questions About Replacing a Vanity Faucet
How long does it take to replace a vanity faucet?
For first-time installers, the process takes approximately 2 hours. Experienced DIYers typically complete the job in 45 minutes to 90 minutes.
Can I replace my faucet without a plumber?
Yes. Replacing a vanity faucet is a straightforward DIY project that requires only basic hand tools. Following the step-by-step process carefully yields professional-quality results without professional labor costs.
What tools do I need to replace a bathroom faucet?
You need an adjustable wrench, basin wrench, channellock pliers, screwdriver, flashlight, and plastic scraper. These tools handle all aspects of removal, installation, and cleanup.
Should I replace the supply lines when replacing my faucet?
Yes. Replacing old supply lines, even if new ones are included in the kit, prevents future leaks. Braided stainless steel lines offer superior durability compared to aging or generic alternatives.
How do I know if my sink is compatible with a new faucet?
Check your sink’s hole configuration (single-hole, center-set, widespread, or mini-widespread). Match the new faucet type to your existing holes. Use a deck plate to cover extra holes if needed.
What should I do if my new faucet leaks after installation?
If a leak appears, gently retighten the affected fitting without over-tightening. Replace damaged washers or supply lines if necessary. Reapply Teflon tape to threads if leaks persist at threaded connections.
Key Takeaways for Successfully Replacing Your Vanity Faucet
Replacing your vanity faucet delivers immediate visual upgrade and improved functionality. The project saves $350 to $500 in professional labor costs while giving you transferable plumbing skills for future repairs. Choosing the correct faucet type that matches your sink configuration prevents fit issues and costly modifications. Following proper preparation steps, including turning off water, labeling lines, and protecting the workspace, ensures a smooth installation process. Thorough leak testing after completion, including overnight observation with paper towels, confirms a watertight seal. With proper maintenance, your new faucet provides 10 to 15 years of reliable service.







