
Replacing a kitchen faucet is one of the fastest and most affordable ways to upgrade your sink’s functionality and transform your kitchen’s appearance. Whether you’re fixing a stubborn leak, upgrading to a modern pull-down model, or simply refreshing your kitchen’s style, knowing how to replace a kitchen faucet properly ensures a leak-free, professional-quality result. Most DIYers complete the job in under an hour with basic tools and no prior plumbing experience. This guide walks you through every step, from shutting off the water supply to testing your new faucet, using proven techniques that help you avoid common mistakes and achieve lasting results.
Match Your New Faucet to Your Sink Configuration
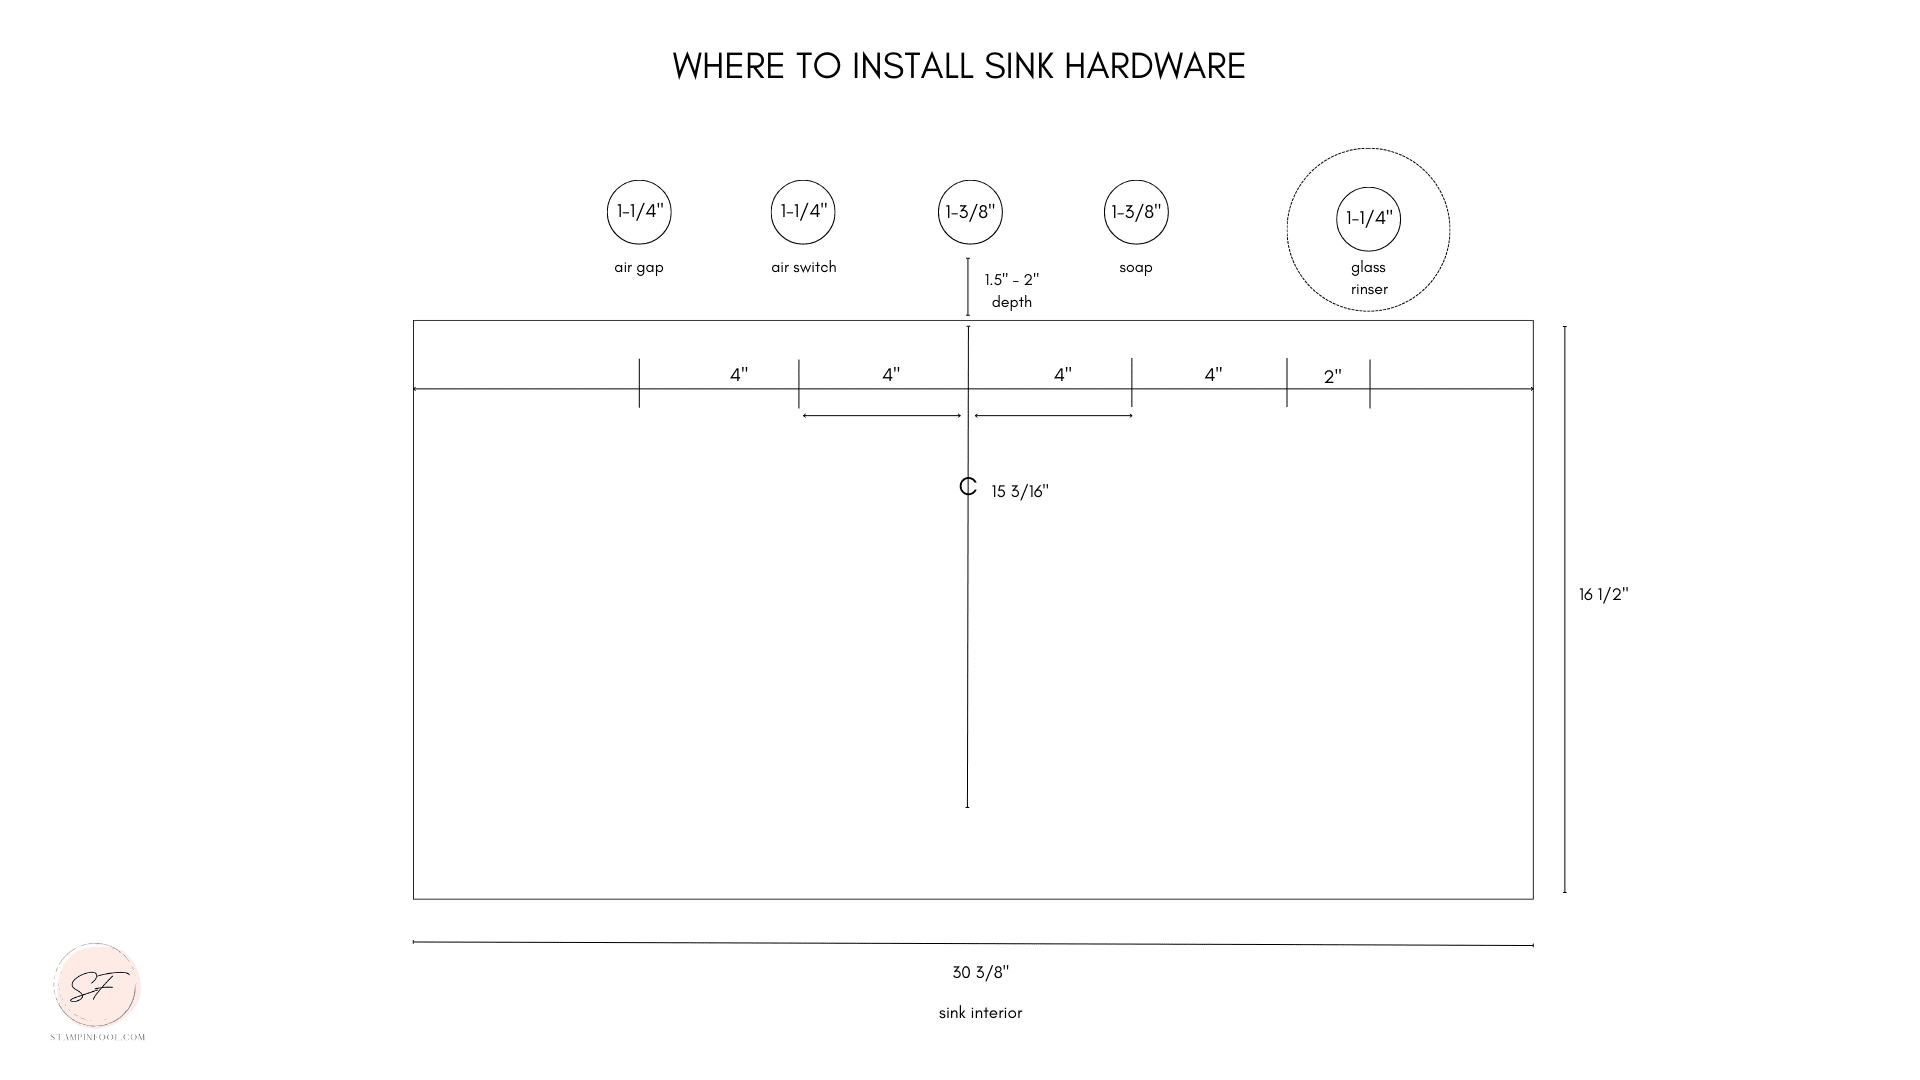
Before purchasing a replacement faucet, you must confirm it fits your existing sink setup. The number and layout of mounting holes determine compatibility, and choosing incorrectly leads to gaps, leaks, or a faucet that simply won’t mount.
Check Your Sink’s Mounting Hole Count
Most kitchen sinks feature one, three, or four mounting holes. Single-hole sinks accept single-hole faucets or three-hole models when paired with an escutcheon deck plate. Three-hole sinks work with widespread or centerset faucets and can also support single-hole configurations. Four-hole sinks typically accommodate faucets with soap dispensers or side sprayers.
Verify Pull-Down and Spray Model Requirements
If you’re installing a pull-down or pull-out sprayer faucet, ensure your sink has a dedicated hole for the sprayer if not using a hose-through-spout design. Check that there’s adequate under-sink clearance for the spray hose and counterweight mechanism. Verify the spout reach extends far enough over the sink bowl to allow full spray coverage.
Cover Unused Holes Properly
Use an integrated or separate deck plate to cover any unused holes. Many faucets include these plates, or you can purchase decorative caps separately. Never force a three-hole faucet onto a single-hole sink without a proper plate, as gaps create water traps and look unprofessional.
Gather the Right Tools and Supplies

Having all necessary tools ready before starting prevents frustration and keeps the project moving efficiently. Here’s what you need for a smooth installation.
Essential Tools for Kitchen Faucet Replacement
• Adjustable wrench for supply line connections
• Basin wrench for tight spaces under the sink
• Flashlight or work light to improve visibility
• Towel and bucket to catch drips and protect surfaces
• Long Phillips screwdriver for mounting screws in deep cabinets
• Putty knife to remove old sealant and debris
Recommended Additions
• Work gloves to protect hands from sharp edges
• Penetrating oil like WD-40 to loosen rusted nuts
• Heavy-duty cleaning pad for the mounting surface
• Sawhorses or portable stand to raise the sink for easier access
Materials You’ll Need
• New faucet with included gaskets and mounting hardware
• Flexible braided stainless steel supply lines
• Plumber’s tape for threaded connections only
• Silicone sealant for sealing deck plates
• Plumber’s putty only if specified by the manufacturer
Shut Off Water and Prepare the Work Area
Skipping proper preparation leads to floods, water damage, or electrical hazards. Take these essential steps before touching your old faucet.
Turn Off Water Supply Safely
Locate the hot and cold shut-off valves beneath your sink. Turn both valves clockwise until they are fully closed. Open the faucet to drain residual water and relieve pressure. Keep a bucket and towel nearby, as some drips are inevitable.
Disconnect Electrical Devices
If a garbage disposal is wired under your sink, turn off the power at the circuit breaker before starting. Unplug or disconnect the wiring to prevent accidental activation during your work.
Optimize Your Working Conditions
Clear the cabinet contents completely for better access. Label your supply lines with tape if the color coding is unclear. Take photos of the old setup before disassembly for reference during reassembly. Use a flashlight to illuminate the underside of the sink throughout the process.
Remove Your Old Faucet Safely
Disassembly goes smoothly when you work methodically and have a helper assist with holding the faucet during removal.
Disconnect Supply Lines
Use an adjustable wrench to loosen the compression nuts connecting the supply lines to the shut-off valves. Turn nuts counterclockwise to disconnect both hot and cold lines. Expect a small amount of water in the lines. Inspect old lines for kinks, bulges, or corrosion and replace them if damaged.
Remove Mounting Hardware
Locate the mounting nuts securing the faucet beneath the sink. Use a basin wrench to reach and remove these nuts, as standard wrenches often won’t fit in the tight space. If nuts are stuck from rust, spray with penetrating oil and wait five to ten minutes before attempting again. Have someone hold the faucet from above to prevent it from falling during this step.
Extract the Faucet and Clean the Surface
Lift the old faucet straight up and out of the mounting holes. Remove any sprayer base, soap dispenser, or escutcheon plate. Clean the sink deck thoroughly by scraping off old plumber’s putty or sealant with a putty knife. Wipe with a damp cloth and avoid chlorine or ammonia on stone countertops.
Prep for New Faucet Installation
Proper preparation ensures your new faucet installs smoothly and creates a leak-free seal.
Install the Escutcheon Plate
For single-hole faucets on multi-hole sinks, place the deck plate over the sink deck. Apply a thin bead of silicone sealant to the gasket or underside if recommended by the manufacturer. Press firmly into place and align properly. Let the sealant set for five to ten minutes before mounting the faucet.
Pre-Assemble Faucet Components
Follow the manufacturer’s instructions to attach the pull-down spray hose and install the counterweight or hose guide. Connect any quick-connect fittings and ensure all gaskets and washers are seated correctly. For touchless faucets, install the batteries now if they’re accessible from below.
Mount the New Faucet
Secure mounting prevents wobbling and creates the foundation for a leak-free installation.
Position the Faucet Correctly
Insert the tailpieces and supply lines through the sink hole or deck plate. Set the faucet upright on the sink with correct front-to-back and left-to-right orientation. The spout should face forward, and handles must be easy to reach.
Secure from Below
Slide the mounting bracket over the tailpieces and thread on the retaining nuts. Tighten by hand first, then use a wrench for a final quarter to half turn. Do not over-tighten, as this cracks porcelain or composite sinks. Use a long screwdriver if screws are needed for extra support. Have a helper hold the faucet steady during tightening.
Connect Water Supply Lines

Proper connections prevent the most common post-installation leaks.
Attach to Shut-Off Valves
Most faucets come with pre-attached supply lines. The red line connects to the hot water valve, and the blue line connects to the cold water valve. Hand-tighten the compression nuts, then use a wrench to snug them quarter to half turn past hand-tight. Ensure gaskets inside the fittings remain seated properly.
Connect Pull-Down Spray Hose
Push the Quick Connect fitting onto the outlet tube until you hear a distinct click. Gently tug to confirm it’s secure. Route the hose alongside the main supply lines and attach the counterweight so it hangs freely, which prevents poor retraction.
Test for Leaks and Flush the System
Never skip testing, as this is where you catch issues before they cause water damage.
Check for Leaks
Slowly open both hot and cold shut-off valves. Inspect every connection point for drips, seepage, or misting. Check the faucet base, supply line nuts, and spray hose fittings. Address even small leaks immediately, as they cause damage over time.
Flush the System
Remove the aerator or spray head. Turn on both hot and cold water fully and let it run for thirty to sixty seconds to flush debris and air. Turn off the water and reinstall the aerator or spray head.
Final Checks and System Restoration
Finish the project strong with these final steps.
Reconnect Electrical Devices
Reconnect garbage disposal power at the circuit breaker. Test operation to ensure no interference from your plumbing work.
Clean and Inspect
Wipe down the new faucet and remove fingerprints, packaging film, and debris. Confirm all tools and parts are removed from the cabinet.
Monitor for 24 Hours
Re-inspect connections the next day, as some leaks appear after pressure stabilizes. Check every six to twelve months for loose hardware or worn supply lines.
Follow Manufacturer Instructions
Every faucet model is different, and manufacturer guidelines override general advice.
Use Correct Sealants
Apply plumber’s putty only if specified by the manufacturer, typically for soap dispensers. Use silicone sealant for deck plates on non-porous surfaces. Never apply sealant on compression or quick-connect fittings, as these rely on rubber gaskets.
Register Your Faucet for Warranty
Most quality faucets offer limited lifetime warranties on finish and function. Register online and keep the manual for at least thirty days.
Troubleshoot Common Installation Issues
Even experienced DIYers face hiccups. Here’s how to fix the most frequent problems.
Faucet Wobbles After Installation
Loose mounting nuts or a misaligned bracket cause wobbling. Re-tighten the hardware and ensure the bracket sits flush against the sink deck.
Leak at Faucet Base
A damaged gasket or overtightened mounting causes base leaks. Disassemble, inspect the gasket for damage, reseat it, and reassemble gently without over-torquing.
Low Water Pressure
Debris in the aerator or supply line restricts flow. Remove and clean the aerator, then flush the lines again thoroughly.
Sprayer Won’t Retract
A missing or tangled counterweight prevents proper retraction. Re-route the hose and confirm the weight hangs freely and unobstructed.
Handle Feels Stiff or Sticky
The cartridge isn’t seated properly in the valve body. Disassemble and reseat the cartridge according to your manual.
Maintain Your Faucet Long-Term
A little routine care extends your faucet’s lifespan significantly.
Routine Maintenance Schedule
Clean the aerator every three to six months by soaking it in vinegar to remove mineral buildup. Inspect supply lines annually for wear, bulging, or corrosion. Replace cartridges every five to ten years depending on your water hardness. Use non-abrasive cleaners and avoid vinegar on stone countertops unless sealed.
Frequently Asked Questions About Replacing Kitchen Faucets
How long does it take to replace a kitchen faucet?
Most DIYers complete the job in thirty to sixty minutes. First-time installers may need up to ninety minutes. Professional plumbers typically finish in twenty to forty minutes.
Do I need to replace the supply lines when installing a new faucet?
Yes, replacing supply lines is strongly recommended. Old lines often show wear, kinks, or corrosion, and the included braided stainless steel lines provide a secure, leak-free connection.
Can I install a three-hole faucet on a single-hole sink?
Yes, use an escutcheon deck plate to cover the unused holes. This creates a clean, professional look and fills the gap properly.
What should I do if my faucet still leaks after installation?
Check that all gaskets are seated correctly and not damaged. Verify connections are snug but not over-tightened. Reapply plumber’s tape to threaded connections if needed. Disassemble and inspect for cross-threaded fittings.
Do I need plumber’s putty or silicone sealant?
Use plumber’s putty only if the manufacturer specifies it, typically for soap dispensers or certain deck plates. Silicone sealant works better for deck plates on non-porous surfaces. Never use either on compression fittings that rely on rubber gaskets.
Key Takeaways for Replacing Your Kitchen Faucet
Replacing a kitchen faucet is a rewarding DIY project that transforms your sink’s functionality and boosts your kitchen’s style. The most critical steps are matching your faucet to your sink configuration, using the right tools like a basin wrench, and taking time to properly test for leaks before finishing. Always follow your manufacturer’s specific instructions, avoid over-tightening mounting nuts, and replace old supply lines for the best results. With careful preparation and attention to detail, you’ll achieve professional-quality results in under an hour without hiring a plumber.







