
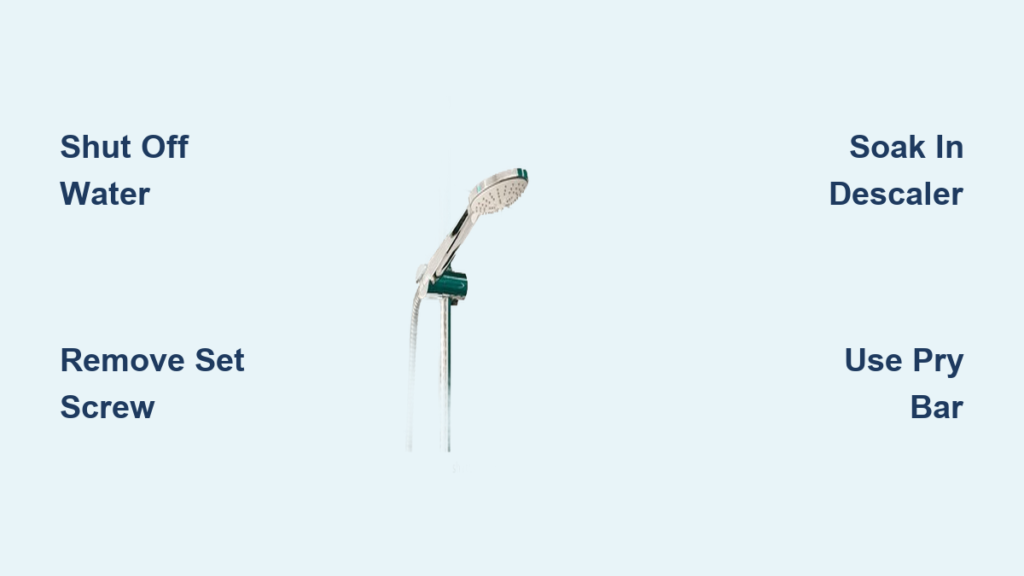
A stiff, corroded shower handle won’t budge. You’ve turned off the water, removed the set screw, and still nothing. Thousands of homeowners face this same frustration when trying to remove a shower faucet, especially after years of mineral buildup. Whether you’re upgrading your bathroom, replacing a leaky cartridge, or prepping for a full renovation, knowing how to safely remove your shower faucet is essential. This guide walks you through every step with precise tools, proven techniques, and real-world solutions for stuck parts.
Shut Off Water and Drain Lines Before Removal
Before touching any hardware, you must stop water flow to prevent flooding. This step is non-negotiable for any plumbing project.
Turn Off Water Supply
Locate the shutoff valves behind an access panel or near the bathroom. Many homes have individual hot and cold shutoffs. If not available, turn off the main water supply. For homes with well systems, also switch off the pump. Turn all valves clockwise until tight. Verify the water is off by turning the shower handle. No water should come out.
Relieve System Pressure
Open nearby faucets like the sink or toilet to release trapped pressure. This prevents sudden water bursts during disassembly. Place a bucket under the tub spout. Briefly turn the shower on to drain residual water from the lines. This minimizes mess and protects your workspace.
Identify Your Shower Faucet Type
Knowing your faucet model determines your disassembly steps and tool needs. Take time to identify before proceeding.
Single vs. Double Handle Systems
Single-handle faucets control temperature and flow with one lever. These are common in Moen, Delta, and Kohler models. Double-handle faucets have separate hot and cold knobs and are often found in older homes. Three-handle systems include a diverter in the middle to switch between tub and shower. Check for brand markings under the handle cap for letters like “MOE” for Moen or Delta.
Recognize Hidden Set Screws
Most modern handles use a set screw under a decorative cap. Pry off the cap with a flat-head screwdriver. Red indicates hot and blue indicates cold. Some brands hide screws on the side or base of the handle. Moen often uses a 3/32″ Allen wrench under the cap. If no screw is visible, the handle may be snap-fit. Gently pry with a plastic tool to avoid scratches.
Remove the Shower Handle Step by Step
This is usually the first physical step and often the hardest part of the entire process. Patience is key here.
Pry Off the Decorative Cap
Slide a flat-head screwdriver or putty knife under the cap’s edge. Gently twist to pop it off. Save the cap because it’s reusable. Underneath, you’ll see a hex set screw. Use the correct Allen wrench to remove it completely. Typical sizes are 1/8″, 5/64″, or 3/32″.
Pull the Handle Off
Once the screw is out, grasp the handle and pull straight off. It should slide off the valve stem. If it doesn’t move, mineral buildup is likely binding it. WD-40 won’t help here because lime and calcium need stronger treatment.
Free a Stuck Handle with Chemical Treatments
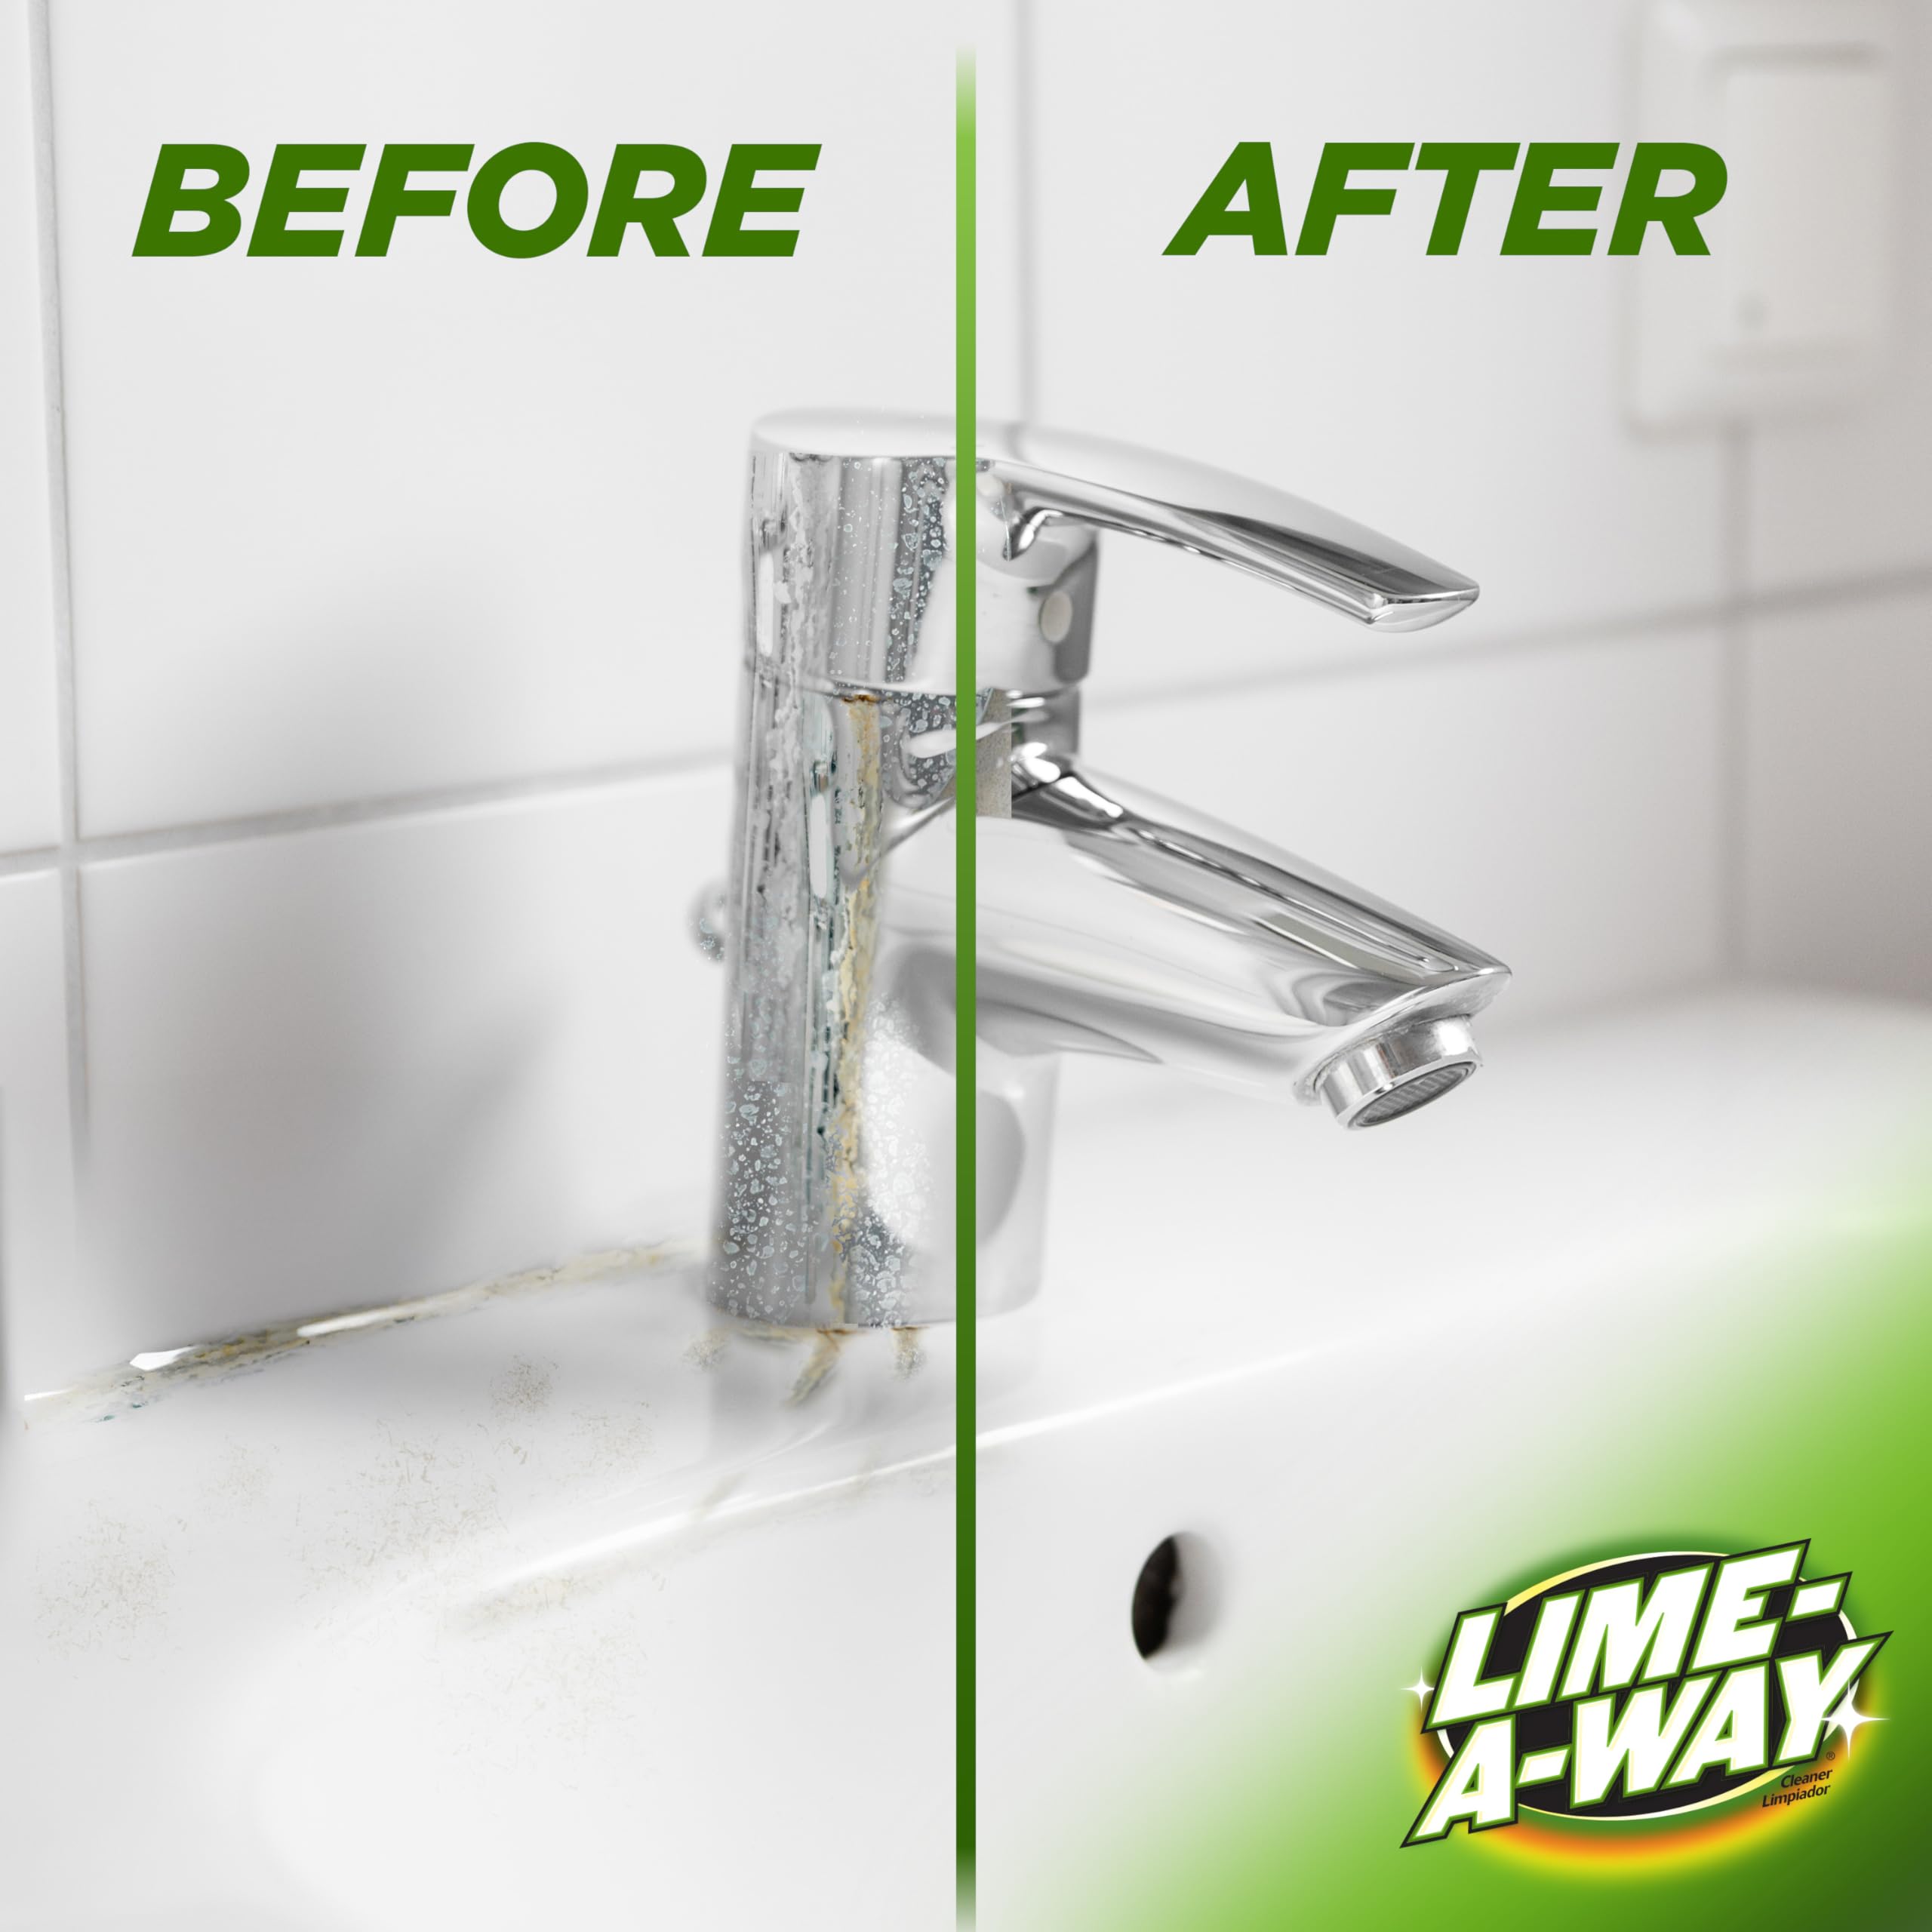
Mineral deposits from hard water are the top cause of seized handles. Chemical treatment is often necessary before mechanical methods.
Apply Lime and Calcium Remover
Use CLR, Lime-A-Way, or vinegar-based descaler. Pour or spray into the set screw hole and around the handle base. Let it soak for 2 to 3 hours or overnight for severe cases. Reapply if needed. PB Blaster won’t help according to plumbing forum experts. You need something like Lime-A-Way specifically designed for mineral deposits.
Use a Protective 2×4 for Leverage
If the handle still won’t budge, protect your tile and trim. Place a 2×4 wood block across the shower surround. Use a wonder bar or pry bar against the wood to evenly lever the handle. Rotate the 2×4 and pry points around the handle to prevent cracking tile. Pry on various sides until it comes loose.
Cut Off a Seized Handle (Last Resort)
When chemicals and prying fail, cutting may be your only option. This approach destroys the handle but saves the valve.
Use a Dremel to Split the Handle
Fit a Dremel rotary tool with a cutting wheel. Cut a longitudinal slit along the handle’s outer edge. Avoid cutting into the valve stem. The goal is to weaken the handle’s structure without damaging internal plumbing.
Peel Back the Handle with Pliers
Once split, grip one edge with needle-nose pliers and peel it open like a can. This exposes the brass adapter or cartridge hub without damaging internal pipes. Many DIYers have used this method successfully when all else failed.
Remove the Trim Plate and Access the Valve
With the handle gone, the escutcheon comes next. This step reveals the internal components.
Unscrew the Mounting Screws
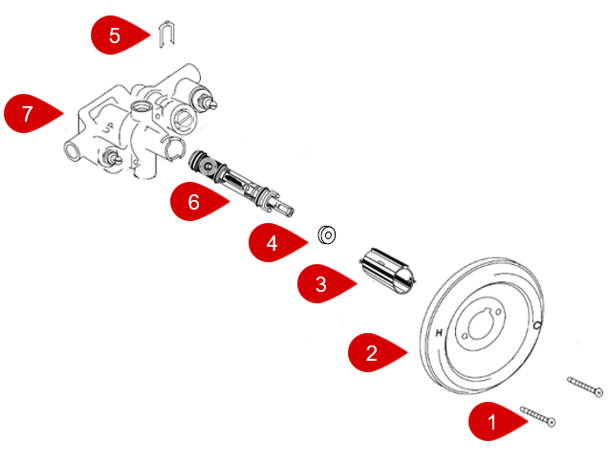
Use a flat-head or Phillips screwdriver to remove the two screws holding the trim plate. These are usually behind the handle or on the sides. Remove both screws completely and set them aside.
Pull Off the Escutcheon
Gently pull the plate away from the wall. It may have a foam gasket but is rarely sealed with silicone. Set aside carefully because many plates are reusable with new trim kits. On Moen systems, the escutcheon is purely cosmetic and doesn’t affect valve operation.
Extract the Cartridge or Full Valve
This step determines if you’re doing a trim-only upgrade or full valve replacement. Know your goal before proceeding.
Remove the Retaining Clip
After pulling the escutcheon, you’ll see a metal clip or sleeve nut holding the cartridge. Use pliers to remove the clip. Some models allow finger removal. Pull the clip straight out to avoid bending.
Pull Out the Cartridge
Grasp the cartridge and pull straight out. If stuck, rock it gently to break mineral bonds. Inspect for cracks, wear, or debris. Replace if damaged. Some cartridges have a sleeve that must be unscrewed first. Check manufacturer guides if available.
Replace the Entire Valve If Needed
If the valve leaks behind the wall, full replacement is necessary. Use a 29/32″ to 31/32″ socket wrench called a valve removal tool. Seat it fully to avoid slippage. Turn counterclockwise slowly. Brass is soft and forcing it can crack the valve or damage wall pipes. Apply penetrating oil for corrosion and wait 15 minutes before trying again.
Remove Tub Spout, Showerhead, and Drain
These components come off next and each has specific removal requirements.
Free a Set-Screw Spout
Look under the spout for a set screw. It may be hidden under a decorative plug. Use an Allen wrench to loosen it. Then pull the spout straight off the copper pipe. If stuck, apply penetrating oil first.
Unscrew a Threaded Spout
Wrap an adjustable wrench in cloth to protect the finish. Grip the spout base and turn counterclockwise to unscrew. If stuck, use a heat gun to expand the metal slightly. Switching from slip-on to threaded spout requires soldering a male adapter.
Remove the Showerhead and Arm
Hold the shower arm steady with one hand. Use a wrench on the showerhead connection. Wrap wrench jaws in rubber if the finish is delicate. Turn counterclockwise to remove. After removing the head, loosen the shower arm where it threads into the wall elbow. Use a long screwdriver through the arm for leverage. Turn counterclockwise.
Take Off the Drain and Overflow
Remove the center screw with a Phillips screwdriver. Lift off the overflow cover and clean hair and gunk from behind. For the tub drain, insert a dumbbell wrench or cross-shaped drain key into the drain’s cross fitting. Turn counterclockwise. Use penetrating oil for corroded drains.
Test for Leaks After Reassembly
After removal or reassembly, verify everything works properly before finishing the project.
Turn Water Back On Slowly
Open the main valve gradually. Sudden pressure can burst weak joints. Monitor all connections as you restore water flow.
Check for Leaks
Inspect the valve body, tub spout, shower arm, and drain. Tighten connections if needed but never overtighten. Test the handle to ensure it moves smoothly. Allow 24 hours for silicone to cure before filling the tub.
Know When to Call a Professional Plumber
Some situations need expert help rather than DIY approaches.
Signs You Need a Plumber
Water still flows after shutoff indicates valve issues. Pipes move when you pull the handle signals loose plumbing behind the wall. Valve leaking behind the wall requires professional repair. Uncertainty about soldering or wall repair means stop and call a licensed plumber. Forced removal can lead to costly water damage.
Prevent Future Removal Issues
Keep your faucet easy to service with regular maintenance and care.
Maintenance Tips for Shower Faucets
Clean handles monthly with vinegar or mild descaler to prevent mineral buildup. Lubricate annually with silicone-based grease on moving parts. Replace cartridges at the first sign of drip or stiffness. Label shutoff valves clearly so anyone can shut off water in an emergency. Take photos during disassembly for invaluable reassembly reference.
Final Thoughts on Removing Your Shower Faucet
Removing a shower faucet doesn’t have to be a nightmare. With the right tools, patience, and this guide, you can tackle it confidently whether you’re just refreshing the look or prepping for a full bathroom overhaul. The key is taking time to identify your faucet type, using the correct tools, and never forcing stuck components. Chemical treatments for mineral buildup are often the difference between success and disaster. For trim-only upgrades, most homeowners can complete the job in an afternoon. For full valve replacement, consider calling a pro.
Frequently Asked Questions About Removing a Shower Faucet
What tools do I need to remove a shower faucet?
You’ll need an Allen wrench set, flat-head screwdriver, Phillips screwdriver, adjustable wrench, penetrating oil, lime remover, and a bucket. A valve removal tool is needed for full valve extraction.
Why won’t my shower handle come off after removing the set screw?
Mineral buildup from hard water is likely the culprit. Apply CLR or Lime-A-Way to the area and let it soak for several hours. WD-40 won’t work on calcium deposits.
Can I replace just the shower trim without replacing the valve?
Yes, most manufacturers sell trim kits that work with existing rough-in valves. Verify model compatibility before purchasing.
How do I remove a stuck tub spout?
Apply penetrating oil around the base and wait 15 minutes. Use an adjustable wrench wrapped in cloth to turn counterclockwise. A heat gun can help expand metal for stubborn cases.
Should I use silicone or plumber’s putty for the drain?
Use silicone caulk for modern tub drains because it resists mold and lasts longer. Plumber’s putty works for older installations but can dry out over time.
How long does it take to remove a shower faucet?
A straightforward trim-only removal takes 1 to 2 hours. Full valve replacement can take half a day or longer, especially if tile removal is required.







