

A dripping faucet sprayer isn’t just annoying. It can waste gallons of water, drive up your utility bill, and signal deeper plumbing problems. The good news is that most sprayer leaks are fixable with basic tools and a few replacement parts. Whether you’re dealing with a steady drip from the nozzle, a leak at the handle base, or water seeping under the sink, this guide will walk you through diagnosing and fixing the issue quickly. You’ll learn exactly where the leak is coming from, what parts to replace, and how to avoid common repair mistakes without calling a plumber.
Let’s break down the process step by step, starting with identifying the source of the leak.
Identify the Leak Source
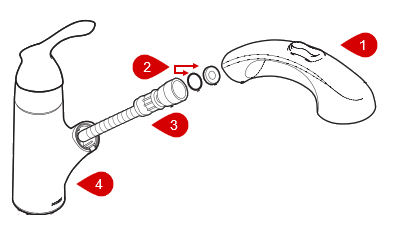
Pinpointing where the leak originates determines your repair path. A sprayer system has multiple failure points, and testing each section saves time while preventing unnecessary part replacements.
Check for Sprayer Head Leaks
If water drips from the nozzle when the sprayer is off, or sprays from the trigger area when pressed, the sprayer head is likely the culprit. Remove the head and inspect for cracks in the plastic housing, loose or missing chicken-teeth washer inside the nozzle, a worn fat washer beneath the trigger mechanism, or corrosion blocking internal seals.
Leaks that worsen when you press the trigger usually mean internal seals have failed. Even if the head looks intact, internal washers degrade over time, especially in hard water areas.
Inspect Under-Sink Connections
Shine a flashlight under the sink while someone runs the sprayer. Look for moisture at the hose-to-faucet connection, drips near the tee connector or diverter housing, or wetness around the crimp sleeve. A leak at the crimp sleeve means the hose is compromised and must be replaced since this joint cannot be repaired.
Fraying, kinks, or soft spots on the hose also signal replacement is needed.
Test the Diverter Valve
The diverter redirects water from the spout to the sprayer. If water leaks from the main spout when using the sprayer, or the spray is weak or pulsating, the diverter is likely failing. To test this, remove the sprayer head, turn on the faucet, and observe the flow from the open hose end. Strong flow means the diverter is working and the problem lies in the sprayer head or hose. Weak or no flow indicates the diverter is clogged or worn and needs replacement.
Shut Off Water Supply
Before disassembling anything, shut off the water supply to prevent flooding under your sink.
Close Under-Sink Valves
Locate the hot and cold shutoff valves under the sink. Turn both clockwise until tight. If your sink lacks individual valves, shut off the main water supply to the house.
Relieve Pressure
Open the faucet handle and press the sprayer trigger to drain residual water. This prevents spills during disassembly. Place a bucket or towel under connections to catch any remaining drips.
Remove Sprayer Head and Hose
Now that the system is depressurized, begin disassembly to access the faulty components.
Detach the Sprayer Head
Unscrew the sprayer head from the hose by turning counterclockwise. Remove the rubber washer just below the threads. Use a flathead screwdriver or knife to pry out the C-clip securing the slide nut. Slide off the retaining hardware and set it aside.
Inspect the O-rings at the base of the head. If cracked, flattened, or missing, replacement is necessary.
Disconnect the Hose Under Sink
Locate the stem connection where the hose attaches to the faucet or diverter. Use pliers or a basin wrench to loosen the retaining nut. If the nut is stuck, apply penetrating oil, wait five to ten minutes, then retry. Disconnect the hose and pull it through the sink opening.
Check the threads and washers at both ends. Replace any damaged or missing seals.
Replace Key Seals and Washers
Most leaks stem from degraded seals. Replacing them is fast, cheap, and effective for restoring a watertight seal.
Install a New O-Ring
O-rings seal the sprayer head to the hose, and a failed O-ring causes dripping at the base. Remove the old O-ring with a dental pick or screwdriver. Choose a replacement matching one-half inch ID, five-eighths inch OD, one-sixteenth inch thickness, which is the common size. Apply plumber’s grease to the new O-ring for longer life. Seat it fully in the groove, ensuring it is not twisted, then reassemble the sprayer head.
Add the Fat Washer
The fat washer is critical for EZ Connect systems and many trigger-style sprayers. If missing, the sprayer will leak from the handle when pressed. Slide the new fat washer, about three-fourths inch diameter, onto the hose before reattaching the head. Ensure it seats properly beneath the slide nut. Reinstall the C-clip to lock everything in place.
Apply Teflon Tape on Threads
Threaded joints between the hose and faucet are common leak points. Teflon tape creates a watertight seal on these connections.
Wrap Male Threads Correctly
Remove any old tape or debris from male threads. Wrap two to five layers of Teflon tape clockwise to prevent unraveling. Cover threads completely but avoid excess buildup. Reconnect the fitting and hand-tighten first, then snug with a wrench, but do not overtighten.
Replace Sprayer Head or Hose
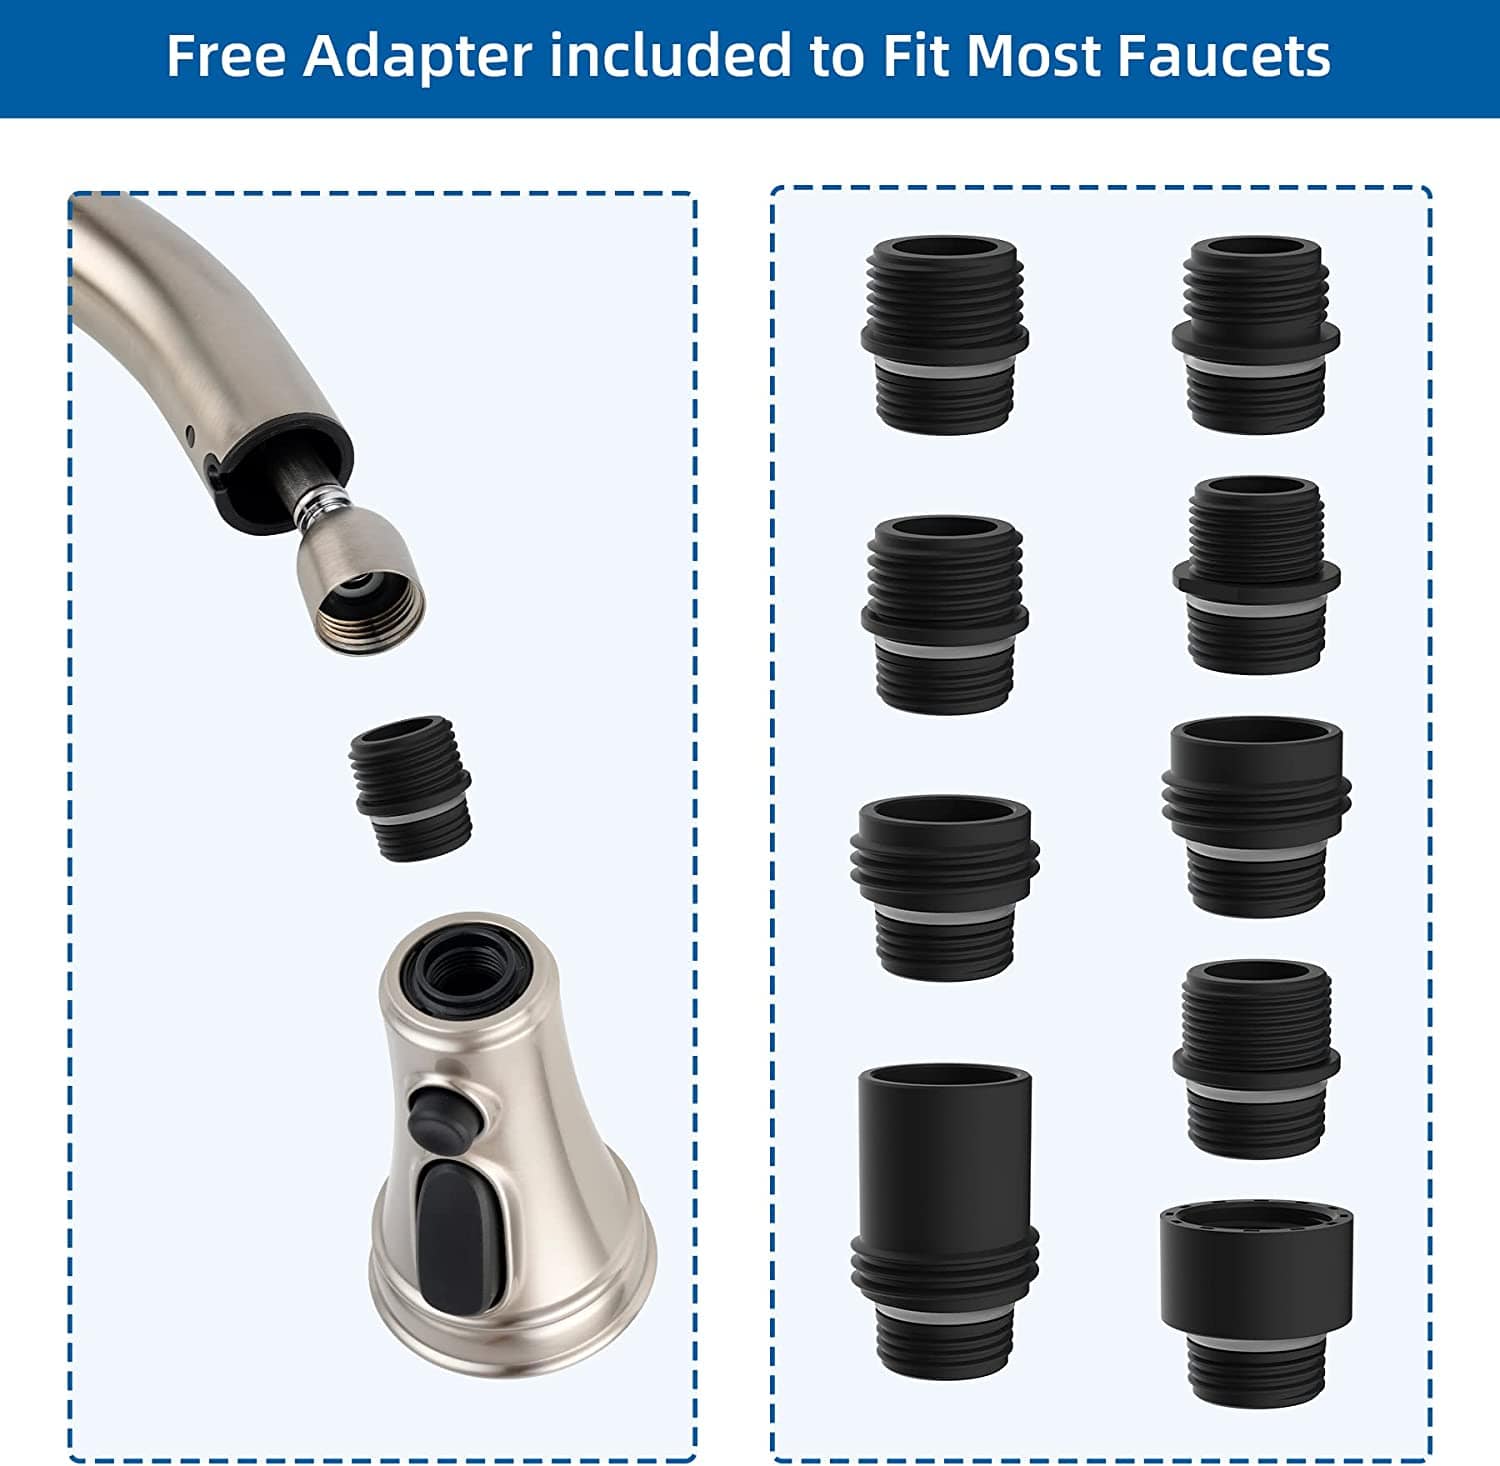
If seals do not fix the leak, replace the entire component that is causing the problem.
Install a New Sprayer Head
Most sprayer failures, about ninety percent, come from the head itself. Slide the new head onto the hose. Add the rubber washer and screw it on. Reattach the C-clip using pliers if needed. Hand-tighten, then give a slight turn with pliers, but never over-torque plastic parts.
Swap Out Damaged Hose
Replace the hose if it is frayed, kinked, or cracked, if the crimp sleeve is leaking, or if it is over ten to fifteen years old. Match the new hose to your faucet in length, typically forty-eight to sixty inches, diameter, typically one-fourth inch, and connector type. Feed the new hose through the sink opening. Connect to the faucet stem with Teflon tape and hand-tighten. Use a basin wrench to secure the nut under the sink. Attach the new sprayer head with all washers and C-clip.
Fix Diverter Valve Issues
If water leaks from the spout when using the sprayer, the diverter valve is failing and needs attention.
Replace the Diverter Cartridge
Shut off water and relieve pressure. Remove the faucet spout, which is often held by a setscrew under the handle. Pull out the old diverter cartridge. Insert the exact replacement model, checking manufacturer diagrams online. Reattach the spout and restore water.
Handle EZ Connect Systems
Modern faucets, those made after 2010, use EZ Connect, a push-fit plastic collar instead of threads.
Use Compatible Parts Only
Do not use threaded sprayer heads on EZ Connect systems. Order a specific EZ Connect-compatible sprayer kit. These kits usually include a new sprayer head, fat washer, retaining clip, and installation instructions.
Reassemble and Test the System
Now that repairs are complete, reassemble carefully and test to ensure the leak is fixed.
Reconnect All Components
Reattach the hose to the faucet and sprayer head. Hand-tighten all connections first. Finish with a quarter-turn using pliers, but avoid overtightening. Apply plumber’s grease to O-rings and washers during reassembly.
Restore Water and Test
Turn water supply back on slowly to avoid pressure spikes. Open the faucet and sprayer to flush air from the line. Run the sprayer continuously for three to five minutes. Pull the hose through its full range to check for kinks or stress leaks.
Inspect for Leaks
Check for no dripping from the nozzle or trigger, no moisture at under-sink connections, no water from the main spout during sprayer use, and a steady, non-pulsating spray pattern. If leaks persist, recheck O-rings, diverter, and connection tightness.
When to Replace the Entire Faucet
Some situations require full replacement rather than repair.
Hose Crimp Is Leaking
This joint is factory-crimped and non-repairable. If wet, the entire hose or faucet must be replaced.
No Compatible Parts Available
Older or discontinued models may lack replacement hoses or diverters. In these cases, upgrading to a new faucet makes more sense than searching for obsolete parts.
Widespread Corrosion or Damage
If multiple components are failing, upgrading to a modern pull-down or pull-out faucet with longer warranty and better parts support makes financial sense.
Prevent Future Leaks
Avoid repeat repairs with simple maintenance practices.
Perform Annual Inspections
Once a year, check the hose for kinks or soft spots, the spray head for cracks, and under-sink connections for moisture. Replace hoses every ten to fifteen years, even if they look fine.
Use Plumber’s Grease
Apply plumber’s grease to O-rings and washers during every reassembly. This prevents drying, improves sealing, and extends component life.
Avoid Kinking the Hose
Do not over-stretch or sharply bend the hose. Store it gently in the countertop holder to prevent damage.
Clean Nozzle and Aerator
Soak the nozzle and aerator in white vinegar monthly to remove mineral deposits. This prevents clogs that strain seals and reduce water flow.
Key Takeaways for Fixing Your Leaking Faucet Sprayer
Fixing a leaking faucet sprayer is usually a quick, low-cost job. Start by checking the sprayer head and O-rings, as these fix most leaks. If problems persist, inspect the hose, connections, and diverter. With the right tools and parts, you can stop the drip in under an hour and extend your faucet’s life for years.
Always keep spare washers, O-rings, and C-clips on hand. A missing fifty-cent seal should not force a two-hundred-dollar faucet replacement. Annual maintenance and proper storage of the hose will prevent most future leaks and keep your kitchen sprayer working smoothly for a decade or more.
Frequently Asked Questions About Fixing a Leaking Faucet Sprayer
Why does my faucet sprayer leak from the handle when I press the trigger?
This is usually caused by a missing or worn fat washer inside the sprayer head. The fat washer seals the trigger mechanism, and when it degrades or is omitted during installation, water escapes through the handle area when pressed.
Can I use Teflon tape as a permanent fix for sprayer leaks?
Teflon tape is a temporary fix that typically lasts weeks to months. It works well for minor leaks at threaded joints but should be combined with washer or O-ring replacement for lasting results.
How do I know if my diverter valve is failing?
If water continues to flow from the main spout when using the sprayer, or if the spray is weak, pulsating, or intermittent, the diverter valve is likely failing. You can test by removing the sprayer head and checking flow from the open hose end.
What is an EZ Connect system and how does it affect repairs?
EZ Connect is a push-fit plastic connector used on faucets made after 2010. It is not interchangeable with older threaded systems. You must use EZ Connect-compatible sprayer heads and parts to avoid immediate leaks.
How often should I replace my sprayer hose?
Sprayer hoses typically last ten to fifteen years. Replace them if you notice fraying, kinking, cracks, or leaks at the crimp sleeve. Even without visible damage, consider replacement at the fifteen-year mark to prevent sudden failures.







