
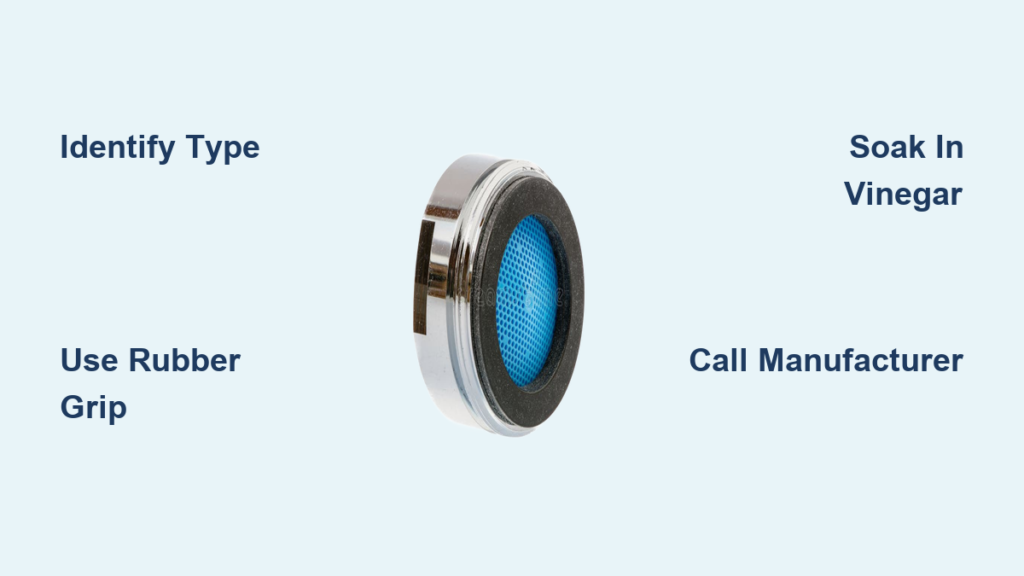
You turn on the kitchen sink, and instead of a smooth stream, you get a weak, sputtering trickle. The culprit is almost certainly a clogged or stuck faucet aerator. Over time, mineral buildup from hard water, corrosion, and over-tightening can fuse the aerator to the spout, making it nearly impossible to remove by hand. But before you call a plumber or risk damaging your fixture, there is a better way.
This guide reveals proven methods to remove even the most stubborn aerators without ruining your faucet. From simple rubber grippers to advanced destructive techniques, you will learn exactly what tools to use, which chemicals dissolve limescale safely, and when to contact the manufacturer for free replacement parts.
Identify Your Aerator Type
Before applying any force or chemicals, you need to determine what kind of aerator you are dealing with. Using the wrong removal method can damage the spout or make the problem worse.
Check for External Threading
If you can see visible threads on the outside of the faucet tip, you have a standard external aerator. These are the easiest to remove, usually coming loose with hand twisting or light tool assistance.
Look for a Recessed Design
No visible threading means the aerator may be recessed, sitting flush or below the spout surface. These require a special service key or cartridge tool. This design is common in modern Delta, Caché, and Moen faucets.
Confirm Internal Cartridge Style
Some models hide the aerator completely inside the spout. If you see a small center hole with internal grooves, it is likely a cartridge-style unit. Only a four-in-one key will work here.
Pro Tip: Many high-end faucets have invisible aerators. Just because you cannot see one does not mean it is not there.
Try Non-Destructive Removal First
Always start with the gentlest methods. Most stuck aerators will loosen with minimal effort if you use the right approach.
Use a Rubber Jar Opener
Wrap a rubber grip pad or cut-up jar opener around the aerator. The high friction allows strong grip without scratching chrome or nickel finishes.
• Twist counterclockwise by hand
• Works best on smooth or corroded surfaces where pliers would slip
Why it works: Rubber conforms to irregular shapes and prevents slippage, making it ideal for delicate fixtures.
Apply Protected Pliers
If hand twisting fails, use plastic or rubber-tipped pliers.
• Clamp evenly around the aerator body
• Apply slow, steady pressure
• Rotate counterclockwise
Warning: Long-handled pliers generate excessive torque. Use only if necessary and never fully tighten, as the risk of spout damage is high.
Use an Aerator Wrench
Star-shaped or socket-style aerator removal wrenches fit over notched edges.
• Slide onto the aerator
• Turn counterclockwise with hand or adjustable wrench
• Prevents marring and maximizes grip
Best for: Hex-edged or ribbed aerators common in bathroom sinks.
Insert a Cartridge Key
For recessed or internal models, insert a four-in-one cartridge key into the spout.
• Push until it clicks into internal grooves
• Pull straight out if snap-in style, or turn counterclockwise if threaded
User Success: One homeowner freed a 10-year-old Delta aerator using this tool after vinegar soaks failed.
Try the Manufacturer’s Removal Key
Delta, Moen, and Kohler often include a plastic service key with their faucets.
• Fully insert it into the aerator
• Turn counterclockwise with firm pressure
• Do not force it; if it binds, stop and try another method
Reality Check: Even the correct key may fail after years of mineral fusion. Do not assume the aerator is broken; it is simply stuck.
Soak With Vinegar or CLR

When twisting fails, chemical dissolution breaks down limescale and corrosion that bond the aerator in place.
Use the Bag Soak Method
Mineral buildup from hard water cements aerators to the spout. Vinegar dissolves calcium, while CLR tackles rust and lime faster.
Steps:
- Mix equal parts white vinegar and water, or CLR with hot water
- Pour into a small plastic bag or balloon
- Place over the spout, submerging the aerator
- Seal with rubber band or duct tape
- Soak for 30 minutes to overnight
- Remove, dry, and try loosening again
Effectiveness: This method is confirmed successful by multiple users dealing with recurring calcium issues.
Caution: Avoid on nickel-plated or polymer-coated finishes, as acid can etch the surface.
Limitation: Does not work well on downward-angled faucets where liquid drains away.
Spray Penetrating Oil
WD-40 and similar oils penetrate micro-gaps between threads.
Steps:
- Spray liberally around the aerator-spout seam
- Wait 5 to 10 minutes, or up to 30 minutes for severe cases
- Reapply if needed
- Attempt removal
Pro Tip: Combine with heat from a hairdryer. Metal expands slightly, helping the oil seep deeper into the threads.
User Feedback: Results are mixed. Some report success on corroded brass, while others find it ineffective on pure limescale.
Improvise When Tools Fail
No specialized tool? Use household items to create leverage and engage the aerator internals.
Use Scissors as a Key
Fine-pointed scissors can engage internal fins.
• Open slightly and insert tips into the aerator screen
• Rotate counterclockwise like a wrench
• Works best on models with large central openings
User Success: One person uses this method every 3 to 4 months due to hard water in their area.
Jam in a Paring Knife
For plastic-bodied aerators, use a sharp, tapered paring knife.
• Force the tip into the plastic center
• Twist counterclockwise to break it free
Why it works: The blade cuts a temporary groove, creating a grip point where none existed.
Caution: Risk of scratching the finish. Only use this on replaceable units.
Use a Metal Pick or Awl
Insert a pointed tool into the plastic core.
• Pry gently to dislodge from the inner wall
• Once loose, grab with needle-nose pliers and unscrew
User Experience: A Delta owner used a pick to free the grey plastic threaded section, enabling full removal.
Destructive Removal: Last Resort
When all else fails, destroying the aerator is the only way to save the faucet. This should be your final option.
Critical Step: Close the drain plug before starting. Internal parts can fall into the drain or get flushed out when water runs.
Drill and Use a Screwdriver
Steps:
- Use a 3 to 5 mm drill bit to bore one or two holes into the plastic center
- Insert a flathead screwdriver into the hole
- Apply counterclockwise torque to unscrew
User Confirmation: This method was successfully used on a Delta faucet. Threads remained undamaged, and the aerator was removed cleanly.
Try the Dual-Screw Method
Caché support recommends this technique for irreparable units.
Steps:
- Drill two small pilot holes on opposite sides of the screen
- Screw in two short machine screws about half a centimeter deep
- Use an adjustable wrench to grip both heads and turn counterclockwise
Outcome: The aerator is destroyed, but it is now removable.
Requirement: Have a replacement ready before starting this process.
Cut With a Knife After Drilling
For maximum leverage, drill a hole first, then insert a paring knife.
• The pre-drilled hole allows deeper blade penetration
• Twist to break apart the core
User Success: This freed a unit after other methods failed. The user engaged the white plastic portion without harming faucet threads.
Note: Left-hand drill bits were tested but did not back out the aerator automatically.
Disassemble Internals for Recessed Models
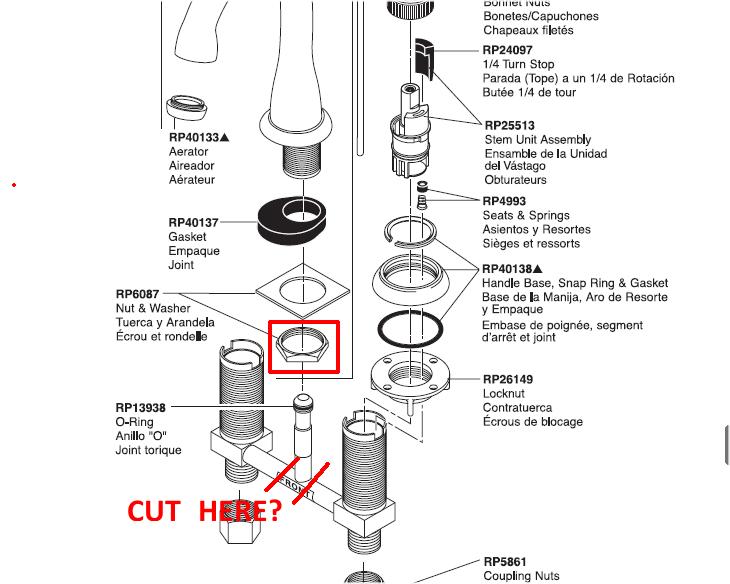
When the outer housing will not budge, sometimes removing internal components first allows the rest to come loose.
Break the Plastic Core
Use needle-nose pliers or a pick to crush or pull out the inner plastic piece.
• Focus on the grey threaded insert, as it often holds the unit in place
• Once removed, the outer shell may loosen
Flush Remaining Parts
After disassembly, turn on the faucet. Any small internal pieces like washers or flow regulators will be washed out.
Critical Tip: Always close the drain first. Losing parts down the pipe is a common mistake.
User Experience: One person cleared a second Delta faucet this way after the knife method failed. Once the grey insert was gone, the rest fell out.
Clean or Replace the Aerator
Now that it is off, decide whether to reuse or replace the aerator.
Clean With Vinegar Soak
If the aerator is undamaged, you can reuse it.
• Disassemble all parts including screen, washer, and flow regulator
• Soak in white distilled vinegar for several hours, or overnight for heavy buildup
• Scrub with an old toothbrush
• Rinse thoroughly before reinstallation
Replace If Damaged
Discard and replace if you notice any of these issues.
• Cracks or warping present
• Threads are stripped
• Flow remains restricted after cleaning
• Internal components are broken
Cost Note: Replacement aerators cost $5 to $15. Many manufacturers send them free.
Reinstall Properly to Prevent Future Issues
A poorly reinstalled aerator will seize again, possibly worse than before.
Apply Waterproof Grease
Coat the threads with plumber’s grease or wax.
• Prevents corrosion and mineral bonding
• Makes future removal easy
Expert Opinion: “Manufacturers should use forever-lasting waterproof grease from the start.”
Do Not Over-Tighten
Hand-tighten only, then give a quarter turn more with pliers if needed.
• Excessive force deforms threads and traps minerals
• Goal is to create a seal without crushing the components
Use the Correct Aerator
Match the replacement to your specific model.
• Check manufacturer specs
• Use OEM or compatible units, as off-brand aerators may not fit properly
Contact the Manufacturer for Free Parts
Before breaking out the drill, call the brand. You may be pleasantly surprised.
Delta Offers Lifetime Support
• Lifetime warranty on parts and finish
• Sends free aerators, cartridges, and tools, even without proof of purchase
• Users report receiving parts in 3 to 5 days
User Story: One person got free parts despite buying the house secondhand.
Moen and Kohler Do the Same
• Both offer lifetime parts warranties
• Ship expensive components like $100-plus cartridges at no cost
• Replacement aerators and tools available upon request
Pro Tip: Call the manufacturer directly. Retail staff often cannot access replacement programs.
Prevent Future Sticking
Avoid repeating this hassle every few years with regular maintenance.
Clean Every 3 to 6 Months
• Remove and soak in vinegar
• Inspect for early mineral buildup
• Re-grease threads
Store the Removal Key
Keep the original tool in a labeled envelope with other home maintenance supplies.
Pre-Buy a Replacement
Have a spare on hand, especially for proprietary models that may not be locally available.
Never Skip Grease
Every reinstallation should include waterproof lubricant on the threads.
Final Action Plan: Step-by-Step Summary
- Identify the Type — Is it external, recessed, or cartridge? Use visuals or manufacturer guides.
- Start Gentle — Try rubber gripper, protected pliers, or aerator wrench.
- Soak It — Use vinegar or CLR bag method for 30 minutes to overnight.
- Apply Penetrant — Spray WD-40, wait, then retry.
- Use the Right Key — Insert cartridge key or brand-specific tool. Request free tools from manufacturer if missing.
- Improvise — Use scissors, pick, or knife to engage internals.
- Go Destructive If Needed — Pre-buy replacement, close drain, then drill, screw, or cut.
- Disassemble Internals — Remove plastic core, flush parts, clear blockage.
- Clean or Replace — Soak in vinegar or install new unit.
- Reinstall Smart — Grease threads, hand-tighten, avoid over-torque.
- Call the Manufacturer — Get free parts. Delta, Moen, and Kohler all offer them.
Frequently Asked Questions About Removing a Stuck Faucet Aerator
Why is my faucet aerator stuck and won’t budge?
The most common cause is mineral buildup from hard water. Calcium and magnesium deposits accumulate in the threads, effectively cementing the aerator in place. Corrosion, lack of lubrication, and over-tightening during installation also contribute to this problem.
Can I use vinegar to remove a stuck aerator?
Yes, vinegar is effective. The bag soak method works well for dissolving limescale. Mix equal parts white vinegar and water, secure it to the spout with a rubber band, and let it soak for 30 minutes to overnight. However, avoid this method on nickel-plated or polymer-coated finishes, as the acid can damage these surfaces.
What is the easiest way to remove a stuck aerator without tools?
Start with a rubber jar opener or grip pad wrapped around the aerator. The friction allows you to twist counterclockwise by hand without scratching the finish. If that fails, try soaking in vinegar first to dissolve mineral deposits before attempting removal again.
Should I call the manufacturer for a stuck aerator?
Yes, you should. Delta, Moen, and Kohler all offer lifetime warranties on parts. They often provide free replacement aerators, cartridges, and even removal tools. You typically do not need proof of original purchase. This should be your first step before attempting destructive methods.
How do I remove a recessed aerator without damaging the faucet?
Recessed aerators require a special key. Insert a four-in-one cartridge key or the brand-specific service key into the spout until it engages internal grooves, then pull or turn counterclockwise. If the key fails, try the vinegar soak method first before resorting to drilling.
Can I reuse a cleaned aerator, or should I replace it?
You can reuse it if it is undamaged. Soak in vinegar, scrub with a toothbrush, and rinse thoroughly. Replace if you see cracks, warping, stripped threads, or if flow remains restricted after cleaning. Replacement aerators are inexpensive, and many manufacturers provide them free.
Key Takeaways for Removing Your Stuck Faucet Aerator
A stuck aerator is not a plumbing emergency. It is a maintenance challenge with a clear progression of solutions. Start with gentle methods like rubber grippers and vinegar soaks before moving to more aggressive techniques. Always identify your aerator type first, as recessed and cartridge models require specific tools. The manufacturer is often your best resource for free replacement parts and keys, so contact Delta, Moen, or Kohler before destroying a stuck unit. Once removed, prevent future problems by cleaning every three to six months, applying waterproof grease to threads, and avoiding over-tightening during reinstallation. With patience and the right approach, even a decade-fused aerator can be removed safely, restoring your faucet to full flow.







