
A faucet that won’t shut off can turn a minor inconvenience into a serious plumbing problem. Wasting water, inflating utility bills, and potentially damaging cabinets and floors over time are real consequences of ignoring this issue. Whether you notice a slow drip or a steady stream running from your faucet, the root cause usually lies in worn or damaged internal components like washers, cartridges, or valve seats.
The good news? Most faucet shutoff problems can be fixed with basic tools, a few replacement parts, and some hands-on troubleshooting. This guide walks you through every step to fix a faucet that won’t shut off, covering all common faucet types, their failure points, and proven repair methods.
Shut Off Water Supply Before Starting Repair
Before touching any part of the faucet, you must turn off the water supply to avoid flooding your kitchen or bathroom.
Locate Under-Sink Shut-Off Valves
Look beneath your sink for two valves connected to the water supply lines. The hot water valve is typically on the left, and the cold water valve is on the right. Turn both valves clockwise until they are tight, then open the faucet to drain remaining water and relieve pressure.
Use Main Supply If No Under-Sink Valves Exist
If you don’t find shut-off valves under your sink, you’ll need to turn off the main water supply to your entire home. Locate the main valve near your water meter or where the main line enters your house. Turn it clockwise, then open several faucets throughout your home to release remaining pressure.
Warning: Never disassemble a faucet while the water supply is still on. Always confirm water is off before proceeding with any repair work.
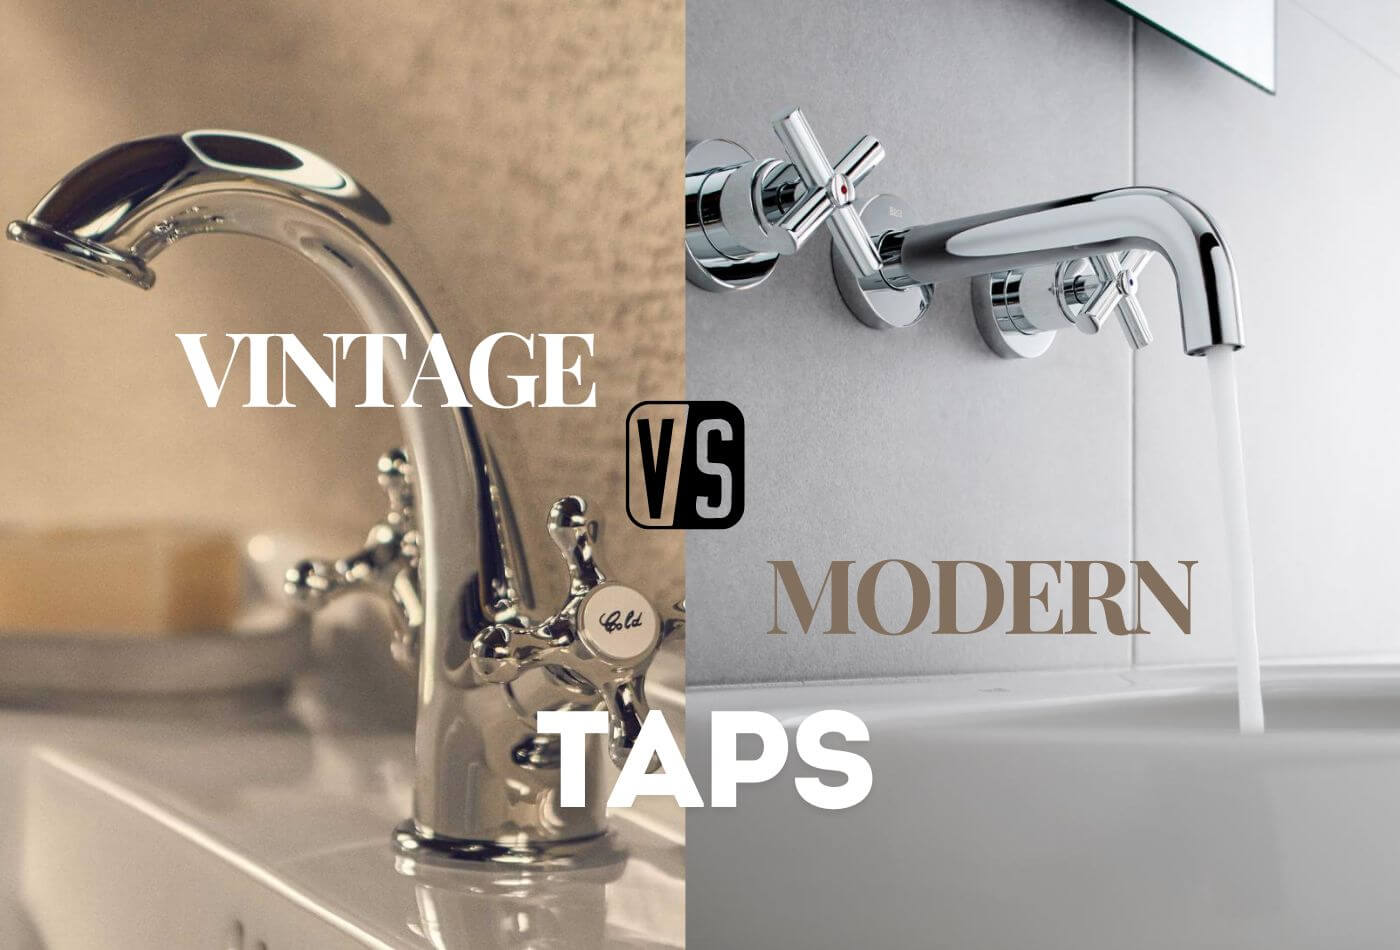
Identify Your Faucet Type to Choose the Right Repair Method

Knowing your faucet type is essential because it determines which parts need replacing and how to access them.
Compression Faucets (Two-Handle)
These are found in older homes and use rubber washers pressed against a valve seat to stop water flow. You’ll recognize them by their two separate handles for hot and cold water. The most common failure sign is dripping or running after turning the handle to the off position.
Cartridge Faucets (Single-Handle)
Modern sinks commonly use these single-handle faucets. A replaceable cartridge controls both water flow and temperature through internal channels. When these faucets fail, the entire cartridge must be replaced rather than repaired.
Ball Faucets (Single-Handle With Round Cap)
Ball faucets have a distinctive rounded cap and use a hollow ball with slots that rotates to control flow and temperature. These are prone to worn springs and seals over time.
Disc Faucets (Ceramic Disc)
These modern faucets use ceramic discs that slide over each other to open and close water passages. They are reliable but can fail if the discs become cracked or dirty.
Pro Tip: Remove the handle and take a photo of the internal mechanism before heading to the hardware store. This helps you find accurate replacement parts.
Fix a Two-Handle Compression Faucet That Won’t Shut Off
Compression faucets are the most common type that won’t shut off completely. Most issues occur on the hot water side due to heat degradation affecting the rubber components.
Remove the Handle
Pry off the decorative cap on the handle using a flat-head screwdriver. Unscrew the Phillips screw located underneath, then pull the handle straight off the stem.
Extract the Valve Stem
Use an adjustable wrench to loosen the retaining nut above the valve body. Carefully lift out the valve stem, keeping track of its orientation for reassembly.
Replace the Washer and Valve Seat
At the bottom of the stem, remove the old rubber washer and inspect it for cracks, shrinking, or deformation. Replace with an identical washer that matches the original size and thickness. Next, inspect the valve seat inside the faucet body. If it appears pitted, corroded, or uneven, use a seat wrench to remove it and install a new brass valve seat.
Reassemble and Test
Reinstall the stem and tighten the retaining nut just beyond hand-tight to avoid cracking brass components. Reattach the handle and secure the screw. Turn the water supply back on and test the faucet for complete shutoff.
Common Mistake: Installing the wrong washer size. Always bring the old part to the store for comparison before purchasing a replacement.
Repair a Single-Handle Cartridge Faucet
Single-handle faucets often fail due to a worn cartridge, even when the handle feels normal. Cartridges cannot be repaired internally and must be replaced as a complete unit.
Remove the Handle
Look for a set screw under a decorative cap or cover. Use an Allen wrench or screwdriver to remove it. For hidden-screw models, rotate the handle base counter-clockwise to unscrew it from the stem.
Access the Cartridge
Remove the retaining clip or nut (often brass) that holds the cartridge in place. Pull the cartridge straight out using pliers if it sticks. Note the orientation of tabs and slots so you can reinstall the replacement correctly.
Replace the Cartridge
Take the old cartridge to a hardware store and match it by brand, shape, alignment, and number of tabs or slots. Insert the new cartridge fully into place, ensuring it seats properly. Reinstall the retaining clip and handle, then turn the water supply back on.
Critical Rule: Never attempt to repair a cartridge internally. Always replace the entire cartridge as a unit.
Test for Full Shutoff
Operate the faucet through its full range of motion. Confirm that water stops completely when the handle is in the off position.
Fix a Loose or Slipping Handle That Won’t Turn Off the Water
If the handle turns but the faucet keeps running, the connection between the handle and the internal valve may be broken.
Tighten the Handle Screw
Remove the handle to access the internal screw. Use a screwdriver to tighten it securely, then reattach the handle and test.
Adjust the Gear Mechanism
If the handle doesn’t align in the off position, slightly rotate the internal gear or stem before retightening. This ensures the handle shuts off at the correct angle.
Emergency Manual Shutoff Method
Use an adjustable wrench on the square stem (exposed after removing the handle). Turn clockwise to close the valve manually until you can perform a permanent repair.
Clean Mineral Buildup From Faucet Components
Hard water causes limescale deposits that prevent full closure of internal components.
Soak Parts in Vinegar
Remove the cartridge, stem, or valve body and submerge in white vinegar for 30 minutes to one hour. Scrub with a soft brush, then rinse thoroughly before reassembly.
Descale the Faucet Body
Use a pipe cleaner or small brush to scrub inside the valve opening. Flush with clean water to remove all debris.
Pro Tip: Install a water softener if you live in a hard water area to extend faucet life and prevent future mineral buildup issues.
Replace a Corroded Valve Seat

A damaged valve seat will ruin new washers quickly because it prevents proper sealing.
Use a Seat Wrench
Insert a seat wrench into the valve opening and turn counter-clockwise to remove the old seat. Screw in a new brass seat clockwise, ensuring it sits flush and tight.
Use a Repair Kit
Delta and other brands sell repair kits that include washers, springs, and seats with instructions for proper installation.
Troubleshoot Post-Repair Problems
Even after a successful repair, problems can sometimes reappear.
Faucet Makes Loud Noise After Repair
Loud noises like foghorn sounds are usually caused by partially closed shut-off valves. Turn the valves fully open and wait overnight. Most noises resolve on their own.
Faucet Starts Running Again
Possible causes include improper cartridge seating, residual mineral deposits, or a defective replacement part. Disassemble and recheck alignment, cleanliness, and part quality.
When to Replace the Entire Faucet
Some faucets aren’t worth repairing, especially if they’re old or heavily corroded.
Replace If
The faucet is 40 or more years old and parts are no longer available. There’s visible corrosion in the spout or base. You’ve replaced parts twice and the issue keeps returning.
Benefits of Full Replacement
Modern faucets are more efficient and easier to maintain. New options include pull-down sprayers, touchless operation, and water-saving aerators. Many come with lifetime warranties on internal components.
Note: A new faucet typically costs $100 to $300 and can be installed in under an hour with basic tools.
Prevent Future Faucet Failures
Regular maintenance prevents most shutoff issues.
Inspect Annually
Check for dripping, stiffness, or incomplete shutoff. Replace washers or cartridges before they fail completely.
Clean Components Regularly
Soak removable parts in vinegar every 6 to 12 months. Flush the faucet body with clean water to remove sediment.
Avoid Over-Tightening Handles
Forceful turning damages washers and stems. Turn slowly and stop when resistance is felt.
Lubricate Moving Parts
Apply a small amount of plumber’s grease or WD-40 to stems and cartridges. Wipe off excess to prevent attracting dirt.
Call a Plumber If You’re Unsure
DIY repairs work for most cases, but some situations require professional help.
Seek Professional Help When
You cannot identify the faucet type or locate replacement parts. Water keeps flowing after multiple repairs. The handle spins freely with no resistance. Pipes or faucet body show cracks or leaks. You’re uncomfortable working with plumbing.
Expert Note: A licensed plumber can diagnose complex issues, source rare parts, and ensure leak-free reassembly.
Frequently Asked Questions About Fixing a Faucet That Won’t Shut Off
Why does my faucet keep running even after I replace the washer?
The valve seat may be corroded or pitted. Even with a new washer, a damaged seat prevents proper sealing. Inspect the valve seat and replace it if necessary.
How do I know if I need a new cartridge or just a washer?
For single-handle faucets, cartridge failure is the most common cause. Cartridges cannot be repaired and must be replaced as a unit. If your faucet drips or runs despite replacing washers, the cartridge is likely worn.
Can I fix a faucet that won’t shut off without turning off the water?
No. Always shut off the water supply before disassembling a faucet. Working under pressure can cause flooding and make repairs dangerous.
How much does it cost to fix a faucet that won’t shut off?
Replacement parts typically cost $5 to $30 for washers and seats, or $20 to $80 for cartridges. A full faucet replacement runs $100 to $300. DIY repairs are significantly cheaper than hiring a plumber.
What causes a faucet to stop shutting off suddenly?
The most common causes are worn rubber washers, failed cartridges, mineral buildup preventing full closure, or loose handle connections. Age and hard water accelerate component wear.
Key Takeaways for Fixing a Faucet That Won’t Shut Off
Fixing a faucet that won’t shut off follows a straightforward process. First, always shut off the water supply under the sink or at the main valve before starting any work. Second, identify your faucet type to select the correct repair method. Third, replace worn washers, cartridges, or valve seats as needed, and clean mineral buildup with vinegar. Finally, reassemble carefully and test for complete shutoff.
Regular maintenance extends faucet life significantly. Inspect your faucet annually, clean components every 6 to 12 months, and avoid over-tightening handles. If repairs fail repeatedly or the faucet is very old, consider full replacement. A new faucet with modern features and a lifetime warranty may be the more practical long-term solution.


