
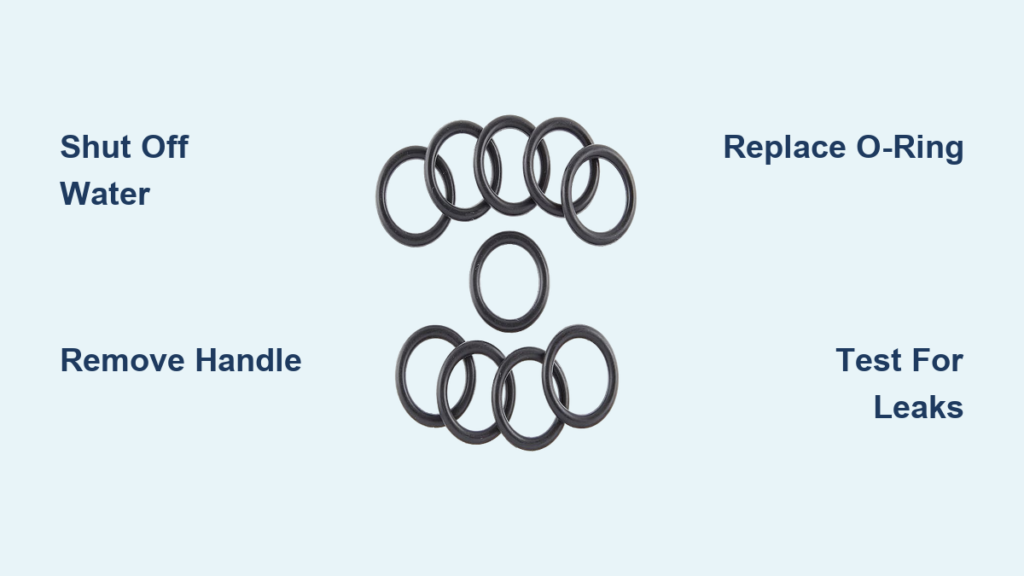
A dripping faucet wastes water and drives up your utility bill. One of the most common causes is a worn faucet O-ring, the small rubber seal located at the base of the spout or handle that prevents water from escaping around moving parts. Over time, exposure to water, heat, and minerals causes these seals to crack, flatten, or dry out, leading to persistent drips or seepage.
The good news: replacing a faucet O-ring is a simple, low-cost fix you can complete in under an hour with basic tools. Whether you own a Kohler, Delta, Moen, or unbranded model, this repair applies to most single-handle and two-handle faucets. In this guide, you’ll learn how to safely shut off water, disassemble your faucet, identify and replace faulty O-rings, reassemble everything correctly, and test for leaks.
Shut Off Water Supply Before Starting
Before touching any tools, you must stop water flow to prevent flooding your cabinet.
Locate the hot and cold shut-off valves beneath your sink. Turn both valves clockwise until tight to close them. If your valves are stiff, corroded, or leaking, shut off the main water supply to your house instead.
Open the faucet and let water run briefly to release residual pressure and drain leftover water from the lines. Plug the drain with a cloth or stopper to catch small screws that might fall during disassembly.
Place a towel or small bucket under the valves. Corroded shut-offs may drip during disassembly, and catching water early prevents cabinet damage.
Remove the Faucet Handle to Access O-Rings
Handle removal gives you access to the internal components where O-rings are located.
Pry off the decorative cap on top of the handle using a flat-head screwdriver. Look for caps marked with “H/C,” a brand logo, or red and blue indicators. Work gently to avoid scratching the finish.
Under the cap, locate the set screw. This is usually an Allen (hex) or Phillips-style screw. Use the correct tool to remove it completely, then pull the handle straight up. Some resistance is normal due to mineral buildup on older faucets.
For two-handle faucets, remove the screw cover, loosen the handle screw, and lift the handle off the valve stem. For unknown models, inspect closely for hidden caps or seams indicating removable parts.
Disassemble the Faucet to Reach the O-Ring
How you access the O-ring depends on your faucet design.
For single-lever kitchen faucets with spout-base leaks, locate the coupling nut at the base where the spout meets the sink. Wrap a rag around an adjustable wrench or use a strap wrench to protect the finish. Turn counter-clockwise to loosen and remove the nut, then lift the spout straight up.
If the spout sticks due to mineral buildup, soak the base with white vinegar for 10 to 15 minutes to dissolve deposits. Some models have a trim ring or escutcheon that must be pried off first.
For cartridge-based faucets like Delta and Kohler, locate the retaining collar around the cartridge after handle removal. Unscrew it counter-clockwise using a wrench, then pull the cartridge straight out. Use needle-nose pliers if the cartridge sticks.
Remove and Inspect the Old O-Ring
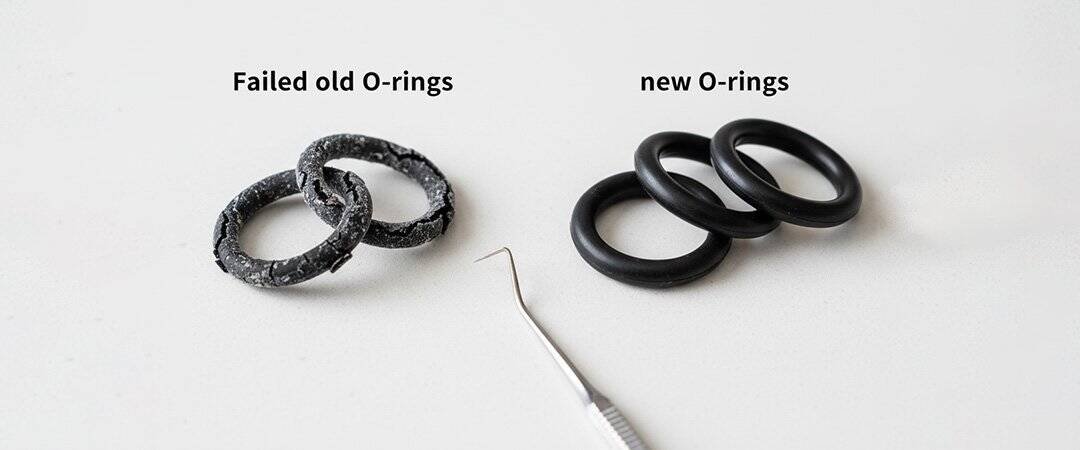
With the spout or cartridge removed, inspect the lower shaft for O-rings seated in shallow grooves.
Look for one to four O-rings depending on your faucet model. They are typically black (nitrile), white (silicone), or brown (EPDM). Check for visible signs of wear including cracks, splits, flattening, brittleness, or discoloration.
Use needle-nose pliers, tweezers, or a flat-head screwdriver tip to carefully lift each O-ring out of its groove. Avoid scratching the metal surface, as burrs can damage new seals.
Not all leaks come from O-rings. Some cartridges rely on internal seals or rubber seats. Confirm the leak source before proceeding with replacement.
Install the New O-Ring Correctly
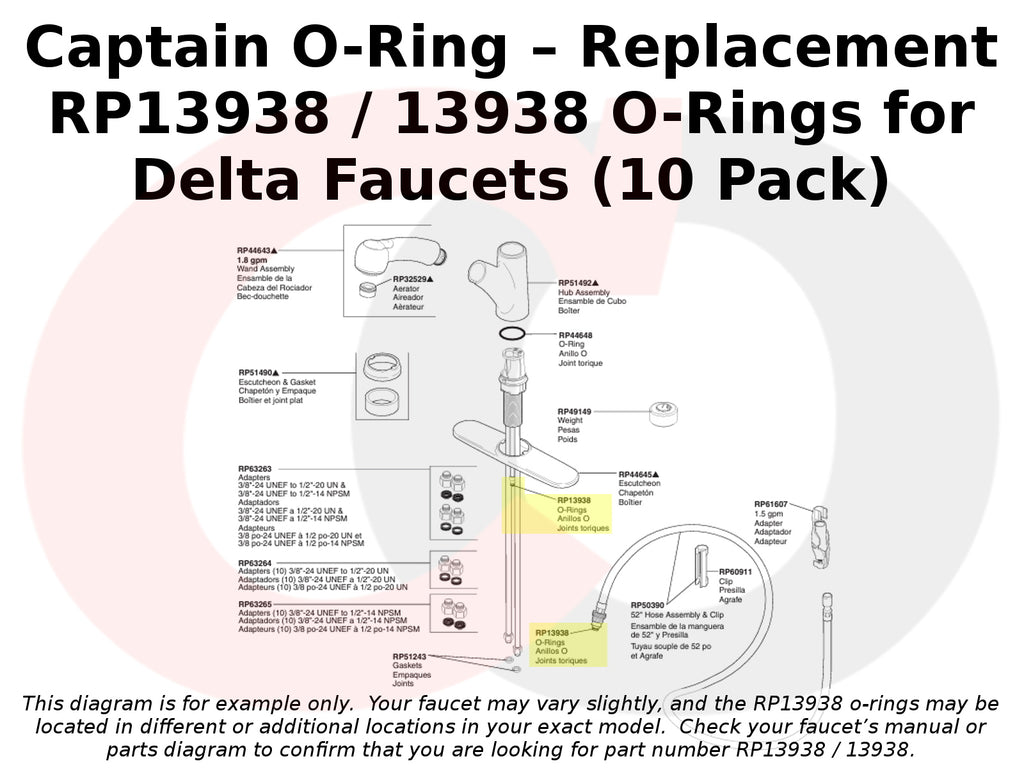
Proper installation ensures a watertight seal that lasts for years.
Clean the O-ring groove thoroughly with a damp cloth or toothbrush. For heavy buildup, use white vinegar or mild descaler, then dry completely.
Apply a thin layer of silicone-based plumber’s grease to the shaft or cartridge stem. This eases installation and prevents premature wear. Never use Vaseline, WD-40, or motor oil, as petroleum products degrade rubber.
Select replacement O-rings that match exactly in inner diameter (ID), outer diameter (OD), cross-sectional thickness (CS), and material. Stretch the new O-ring gently and seat it fully into the groove. Ensure it lies flat without twisting or pinching.
Buy a universal O-ring kit (50 to 100 pieces) or bring the old ring to the hardware store for direct comparison. Having exact matches prevents future leaks.
Reassemble Your Faucet
Reverse the disassembly process carefully to complete your repair.
Slide the spout back onto the riser tube, aligning front and back if needed. Hand-tighten the coupling nut, then snug it with a rag-wrapped wrench. Do not overtighten, as this can crack the sink deck or distort the O-ring.
For cartridge reinstallation, align tabs or notches and push the cartridge in straight. Reinstall the retaining collar by hand, then tighten slightly with a wrench.
Reattach the handle by sliding it back on and securing it with the set screw. Tighten just enough to hold firmly, then snap the decorative cap back into place.
For Moen high-arc spouts, unscrew the collar below the spout to remove it, and replace the split white nylon washer if cracked.
Test for Leaks After Repair
The final step confirms your fix works properly.
Slowly turn on the hot and cold shut-off valves. Open the faucet and run both hot and cold water for 30 to 60 seconds.
Inspect key areas for leaks including the base of the spout, handle connection, and spout collar. Move the handle multiple times to ensure it turns smoothly without stiffness or grinding.
If leaking persists, recheck O-ring seating and size. Clean any debris from the groove, verify the coupling nut is properly tightened, and confirm cartridge alignment.
Choose the Correct O-Ring Size
Getting dimensions right is critical for a proper seal.
Use a digital caliper to measure the inner diameter (ID), cross-section (CS), and calculate outer diameter (OD) using the formula: OD equals ID plus two times CS. Most faucet O-rings range from 1/4 inch to 1/2 inch ID and 1/16 inch to 3/32 inch CS.
Most faucet O-rings follow AS568 standards (for example, AS568-112). Check packaging or online listings for compatibility.
If you lack a caliper, compare your old ring side-by-side with new ones at the hardware store. Bringing the old O-ring ensures accurate matching.
Use Proper Lubrication for Long-Lasting Results
The right lubricant makes installation easier and extends O-ring life.
Apply silicone-based plumber’s grease only. Recommended products include Oatey Ultra Grease, Permatex Plumber’s Grease, and Oatey Ultra Shield. These are potable-water-safe and non-petroleum.
Avoid petroleum products entirely. Vaseline, WD-40, and motor oil degrade rubber seals and cause premature failure.
Proper lubrication reduces friction, prevents squeaking, and creates a better seal. Apply a small dab directly onto each installed O-ring before reassembly.
Fix Brand-Specific Faucet Issues
Different brands have unique designs requiring special attention.
Kohler faucets often use proprietary cartridges with internal O-rings. Check Kohler.com for model-specific guides and use genuine replacement parts with silicone grease only.
Delta faucets have O-rings at the base of the cartridge. Also replace valve seats and springs every three to five years. The wider end of the seat faces downward, and the thicker end of the spring goes in first. Use forceps to fully seat the valve.
Moen faucets commonly experience O-ring failure in swivel spouts. Find the model number on the base or underside and use Moen’s website to access exploded diagrams.
For unknown models, look for part numbers on the cartridge. Take photos and measurements to match online, or consider full cartridge replacement if the O-ring fix fails.
Prevent Future Leaks with Maintenance
Regular care extends your faucet’s life and prevents recurring problems.
Replace all O-rings at once, even if only one looks damaged. This saves time later and ensures consistent sealing throughout.
Clean and lubricate O-rings annually during routine maintenance. Use vinegar to remove scale buildup and reapply silicone grease.
Inspect faucets every one to three years, especially in hard water areas where mineral deposits accelerate wear.
Store spare parts including extra O-rings by size, silicone grease, and your model number with installation date. This speeds future repairs.
O-rings typically last three to seven years depending on usage and water quality.
Troubleshoot Common Problems After Replacement
Sometimes issues persist after repair. Here is how to address them.
If leaking continues after replacement, check for wrong O-ring size, pinched or twisted rings, debris in the groove, or loose coupling nuts. Disassemble, recheck fit, clean, and reseat everything.
Spout wobbling indicates a worn spout sleeve or missing split nylon washer. Replace the washer and ensure full seating.
Handle stiffness results from over-tightened collar or dry O-ring. Loosen slightly and add silicone grease.
If the cartridge won’t come out, soak with vinegar to dissolve mineral buildup. Use pliers or a cartridge puller tool for stubborn cases.
Leaks only when the faucet runs indicate spout O-ring failure or debris in the seat. Replace the O-ring and clean mating surfaces.
Key Takeaways for Replacing Faucet O-Rings

Replacing a faucet O-ring is a straightforward DIY repair that saves money and prevents water waste. The process involves shutting off water, removing the handle and spout or cartridge, swapping the worn O-ring for a correctly sized replacement, and reassembling everything with silicone grease for smooth operation.
Always measure your old O-ring precisely or bring it to the store for comparison. Use only silicone-based plumber’s grease, never petroleum products. Take photos during disassembly to aid reassembly, and consider replacing valve seats and springs on faucets over five years old.
If leaks persist after proper O-ring replacement, check cartridge alignment, verify all components are seated correctly, and inspect for additional worn parts. With careful attention to sizing, lubrication, and assembly, your faucet should remain drip-free for years.
Frequently Asked Questions About Replacing Faucet O-Rings
How do I know if my faucet needs an O-ring replacement?
Signs include dripping from the base of the spout or handle, water seeping around moving parts, reduced water pressure, or visible cracks and flattening when you inspect the O-ring. A wobbling spout also indicates worn O-rings.
Can I replace the O-ring on any faucet type?
Most single-handle and two-handle faucets use O-rings, including kitchen, bathroom, and utility faucets. The procedure applies to Kohler, Delta, Moen, and most unbranded models. Cartridge-based and ball-style faucets all have O-rings that can be replaced.
What happens if I use the wrong size O-ring?
An O-ring that is too small won’t seal properly and will leak. One that is too large may twist, pinch, or protrude from the groove, causing premature failure. Always match inner diameter, outer diameter, cross-section, and material.
How often should faucet O-rings be replaced?
O-rings typically last three to seven years depending on water quality and usage. Inspect them every one to three years, especially in hard water areas. Replacing them proactively during other faucet repairs prevents unexpected leaks.
Do I need to call a plumber for O-ring replacement?
No. This is a simple DIY repair requiring basic tools and minimal experience. Most homeowners can complete it in 20 to 60 minutes. Professional service costs 150 to 400 dollars, while O-rings and grease cost only 2 to 15 dollars.







