
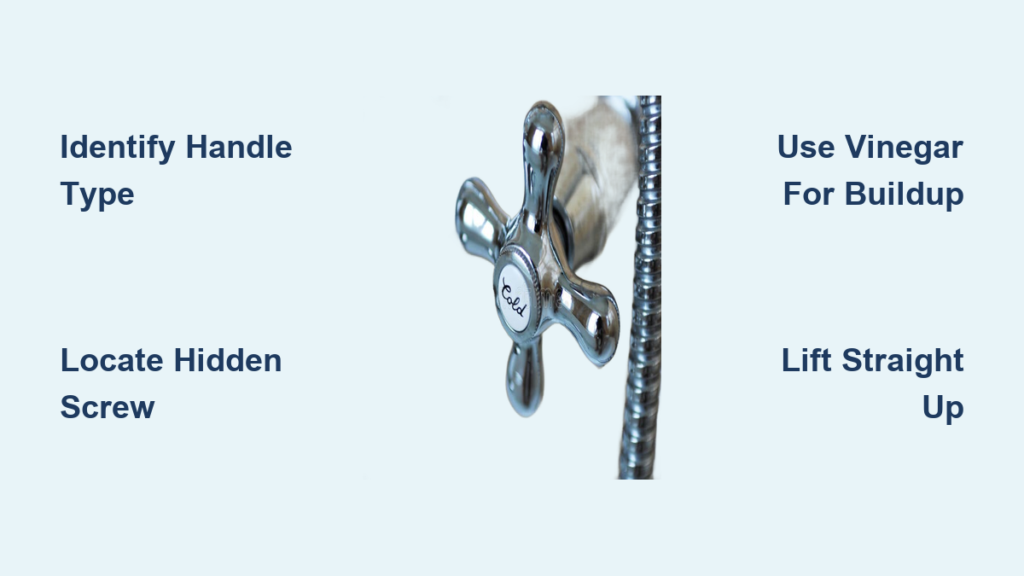
A dripping, stiff, or wobbly bathroom faucet handle can disrupt your morning routine and waste water. Whether you are fixing a leak, replacing worn parts, or upgrading to a new fixture, knowing how to remove a bathroom faucet handle is the essential first step. The process takes just minutes for standard faucets, though hard water buildup can extend this to 30 minutes or more.
This guide walks you through every technique for removing bathroom faucet handles safely, from identifying hidden screws to freeing stuck handles caused by mineral deposits. You will learn which tools to use, how to protect your finish, and exactly what to do when the handle refuses to budge.
Identify Your Faucet Handle Type
Before grabbing tools, determine your handle design. The removal method depends entirely on the fastening system, which varies by brand and style.
Knob, Lever, and Joystick Handles
- Knob-style: Round, dome-shaped handles common on older two-handle faucets. Usually held by a top screw beneath a pop-off cap.
- Lever handle: Long, curved or straight levers found on modern single or two-handle models. Typically secured with a side or back-set Allen screw.
- Joystick-style: Tall, cylindrical handles with minimal visible hardware. Often uses a hidden set screw or twist-off mechanism.
Pro Tip: Shine a flashlight at a low angle across the handle surface. Shadows reveal tiny holes, seams, or screw indentations you might otherwise miss.
Locate the Hidden Fastener

Most faucet handles conceal their fasteners. Look in these three common spots.
Top Decorative Cap
Found on knob and some single-handle faucets. The cap hides a Phillips or flathead screw.
How to remove:
1. Slide a thin flathead screwdriver under the edge.
2. Gently pry upward while rotating around the cap to lift evenly.
3. Avoid metal tools on chrome. Use a plastic prying tool if available.
Side or Back Set Screw
Common on lever handles. A small hex hole appears on the side or underside.
Common Allen key sizes:
– 3/32″ (2.4 mm) for most Moen and Delta models
– 1/8″ (3.2 mm) for standard brands
– 2.5 mm, 3 mm, 5 mm for Danze, Pfister, and European brands
– T15 or T20 Torx for specialty manufacturers
Warning: Forcing a loose-fitting key strips the screw. Test fit before turning.
Twist-Off or Clip-Release Designs
Some Delta and newer single-handle faucets have no visible screws.
- Twist-off: Grip firmly and twist clockwise or counterclockwise until it detaches.
- Clip-release: After removing the top cap and screw, check for a metal or plastic retaining clip. Remove it before lifting the handle.
Prepare Before You Begin
Skipping preparation leads to lost parts and scratched finishes. Do this first.
Cover the Drain
Place a rag, towel, or drain cover over the sink opening. Screws, caps, and clips are small and sink fast.
Protect the Finish
Wrap painter’s tape around the base of the handle and trim. Chrome, brushed nickel, and matte black finishes scratch easily from tool slips.
Gather Essential Tools
Have these ready:
– Flathead screwdriver (thin blade)
– Phillips #1 or #2 screwdriver
– Allen keys (3/32″, 1/8″, 3 mm, 5 mm)
– Torx bits (T15, T20)
– Flashlight
– Microfiber cloth
– White vinegar (for mineral buildup)
– Penetrating oil (e.g., WD-40 Rust Penetrant)
Remove the Handle: Step-by-Step
Standard Cap-and-Screw Method
Used on most two-handle faucets (Delta, Kohler, American Standard).
Steps:
1. Pry off the top decorative cap with a flathead.
2. Underneath, locate the Phillips screw.
3. Use the correct-sized driver and turn counterclockwise to loosen.
4. Remove the screw and set it aside with the cap.
5. Lift the handle straight up. Do not twist.
If stuck: Soak the base with white vinegar for 20 to 30 minutes to dissolve mineral deposits. Try again with gentle wiggling.
Side Set-Screw Removal
Common in single-lever and modern faucets.
Steps:
1. Find the hex hole on the handle side or back.
2. Insert the correct-size Allen key fully.
3. Turn counterclockwise until the screw loosens.
4. Pull the handle straight off the stem.
Caution: Never pry against the escutcheon plate. Use hand pressure only. For stubborn handles, use a handle puller.
Specialty Faucet Types
Widespread Faucets
Feature separate spout and handles with decorative skirts.
How to remove:
1. Lift or twist the trim collar counterclockwise to remove.
2. This exposes the fastener underneath.
3. Remove the screw or set screw, then lift the handle.
Single-Handle Cartridge Faucets
May have a retaining clip under the cap.
Steps:
1. Remove cap and screw.
2. Check for a metal or plastic clip around the stem.
3. Remove the clip before lifting the handle.
Hidden Screw or Twist-Off (Delta Models)
No tools needed. Just hand force.
How to remove:
1. Grip the handle firmly.
2. Apply gentle twisting pressure (clockwise or counterclockwise).
3. It should pop off, exposing the cartridge.
Troubleshoot Stuck Handles

Even with the screw out, some handles refuse to budge. Here is how to fix it.
Mineral Buildup from Hard Water
Symptoms: Handle will not lift, white crust at base.
Fix:
1. Soak a paper towel in white vinegar.
2. Wrap it around the handle-stem joint.
3. Wait 20 to 30 minutes (longer for severe buildup).
4. Try lifting again with slight wiggling.
Frozen or Stripped Set Screw
Symptoms: Allen key slips, screw will not turn, head is rounded.
Fix:
1. Apply penetrating oil into the screw hole.
2. Wait 10 to 15 minutes.
3. Tap the tool lightly to shock the threads.
4. Try again with firm, straight pressure.
If stripped: Use a screw extractor kit. Center punch the screw stub, drill a small pilot hole, insert left-hand extractor and back it out.
Handle Spins but Will not Lift
Cause: Set screw is loose or missing. Hub is seized to the stem.
Solution:
1. Re-tighten the set screw to see if it bites.
2. If still spinning, apply vinegar or penetrating oil at the base.
3. Pull straight up with steady pressure. Do not twist the stem.
Warning: Twisting the stem can damage internal seals or cartridge.
Broken Decorative Cap
Do not panic. Caps are replaceable.
- Search online for universal faucet cap or index cap.
- Match diameter and finish (chrome, brass, oil-rubbed bronze).
- Brands like Delta and Moen sell exact replacements (e.g., Delta RP50806, Moen 152057).
Avoid Common Mistakes
Even small errors can lead to big problems. Steer clear of these.
Using the Wrong Allen Key
A loose fit ruins the screw head.
Fix: Always test the key before turning. It should fit snugly with no wobble.
Over-Tightening Screws
Causes cracked plastic parts or seized threads.
Rule: Tighten until snug, then give a slight quarter-turn. No more.
Prying Against the Escutcheon
Leaves dents or scratches on trim plates.
Better: Use a handle puller. This small tool grips and lifts evenly without damage.
Skipping the Drain Cover
One dropped screw can end your project.
Always: Block the drain before starting.
Post-Removal Inspection
With the handle off, inspect these key parts.
Valve Stem or Cartridge
- Check splines (ridges) for wear or flattening.
- Look for cracks, pitting, or green corrosion.
- Replace if damaged.
O-Rings and Seals
- Look for cracks, brittleness, or flattening.
- Replace degraded O-rings. They cause drips at the base.
Packing Nut
- Located at the stem base.
- If loose, tighten gently with an adjustable wrench.
- Overtightening causes stiffness.
Clean and Lubricate Before Reassembly
A little maintenance now prevents problems later.
Deep Cleaning
- Soak metal parts (not rubber) in white vinegar for 20 to 30 minutes.
- Scrub with a nylon brush to remove scale.
- Rinse and dry thoroughly.
Never soak rubber O-rings. Vinegar and oil degrade them.
Apply Silicone Faucet Grease
Lubricate these areas:
– O-rings
– Splines on the stem or cartridge
– Inside the handle hub
Avoid petroleum-based grease. It swells rubber and shortens seal life.
Reinstall the Handle Correctly
Steps:
1. Ensure the faucet is in the off position.
2. Slide the handle onto the stem, aligning splines fully.
3. Insert the screw or set it into place.
4. Tighten by hand first, then snug with a tool.
5. Press the cap back on flush.
Tip: If the cap feels loose, wrap a thin strip of plumber’s tape around the edge before snapping it on.
Test for Smooth Operation
After reassembly:
- Turn water supply back on (if shut off).
- Operate the handle several times.
- Check for smooth movement, no wobble or stiffness, and leaks at the base or under sink.
- Verify correct hot/cold direction.
If handle feels tight: Disassemble and add more silicone grease to contact points.
Prevent Future Problems
Keep your faucet working smoothly with simple upkeep.
Monthly Maintenance (Hard Water Areas)
- Wipe the handle base with a vinegar-dampened cloth.
- Removes early mineral deposits before they bond.
Annual Lubrication
- Apply silicone grease to splines and O-rings.
- Prevents seizing and ensures smooth operation.
Consider a Water Softener
- If scale builds quickly, install a point-of-entry water softener.
- Reduces limescale by removing calcium and magnesium ions.
Result: Future handle removal takes under 2 minutes instead of 30 or more.
When to Call a Plumber
Stop and call a professional if the set screw is fused and will not budge, parts crack or crumble during removal, water leaks from the valve body, or you have spent over 60 minutes without progress.
Pro insight: Plumbers use specialized tools like internal pullers and left-hand drill bits to extract damaged screws without replacing the entire cartridge.
Frequently Asked Questions About Removing Bathroom Faucet Handles
How do I remove a faucet handle with no visible screws?
The screw is likely hidden under a decorative cap on top or a set screw in a small hole on the side or back of the handle. Use a flashlight to inspect. Pry the cap gently with a flathead or insert a snug-fitting Allen key into the side hole and turn counterclockwise.
Why will my bathroom faucet handle not come off?
Most commonly, mineral buildup is bonding the handle to the stem. Soak the joint with white vinegar for 20 to 30 minutes. If the screw is frozen, use penetrating oil. A handle puller is the safest way to remove stubborn handles without damage.
Which direction do I unscrew a faucet handle?
Always turn screws counterclockwise to loosen. Reverse threads are extremely rare in residential faucets. If resistance feels abnormal, stop and check for corrosion or incorrect tool fit.
How do I loosen a stuck set screw?
Use the exact-size Allen key and push inward while turning. Apply penetrating oil and wait 10 to 15 minutes. Tap the tool lightly to shock the threads. If stripped, use a screw extractor or left-hand drill bit.
What size Allen key do I need for my faucet handle?
For most Moen and Delta models, try 3/32″ or 1/8″. Danze and Pfister often use 2.5 mm, 3 mm, or 5 mm. Some specialty brands use Torx bits (T15 or T20). Test fit before turning to avoid stripping.
How do I remove a nut under the sink to access the faucet?
Use a basin wrench to loosen the mounting nut underneath the sink. Turn counterclockwise. Secure supply lines to prevent twisting. Apply penetrating oil if corroded.
Key Takeaways for Removing Bathroom Faucet Handles
Removing a bathroom faucet handle is a straightforward DIY task when you use the right technique and tools. The most important steps are identifying your handle type and its hidden fastener, protecting the finish with tape before starting, and using exact-fit tools to avoid stripping screws. For stuck handles, white vinegar dissolves mineral buildup while penetrating oil frees frozen screws. Always lift straight up without twisting, and apply silicone grease to O-rings and splines before reassembly to ensure smooth operation and prevent future seizing. With these steps, you can complete the job in under 15 minutes and extend the life of your bathroom faucet.







