
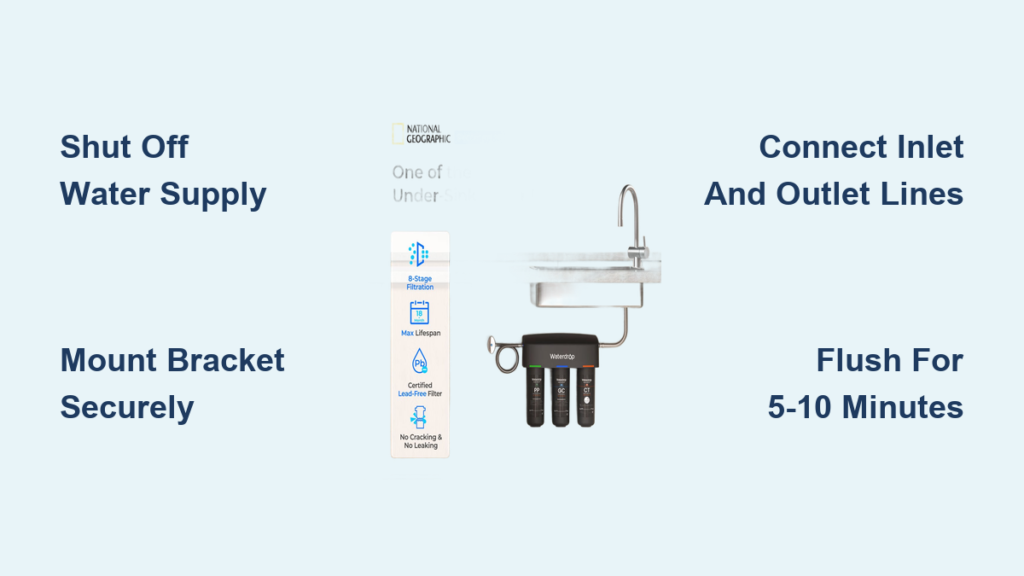
You just unboxed a Waterdrop under sink filter and you’re staring at the parts wondering if you really need that plumber. Good news: you don’t. This affordable filtration system installs in about 10 minutes using basic tools, and it removes chlorine, lead, and sediment while keeping your water pressure fully intact. No pipe cutting, no permanent changes, no stress.
This guide walks you through every step of installing your Waterdrop under sink filter. You’ll learn how to prep your workspace, mount the bracket, connect the lines, flush the system, and handle common hiccups along the way. By the end, you’ll have clean, fresh water flowing straight from your kitchen tap.
Prep Your Workspace and Shut Off the Water
Turn Off the Cold Water Supply
Locate the cold water shut-off valve under your sink. Rotate it clockwise until it stops. If you have a single-handle faucet, shut off the hot water valve too. This prevents cross-flow during installation.
Next, open the kitchen faucet and let any remaining water drain out. This releases line pressure and prevents surprise sprays when you disconnect pipes. Confirm nothing flows before moving forward.
Pro Tip: Toss a towel or small bucket under your work area to catch drips.
Unbox and Inventory All Parts
Spread every component on the floor so you can see what you’re working with. A standard kit includes:
- Filter cartridge
- Mounting bracket with adhesive guide sticker
- Two 3/8-inch push-fit water lines
- ½-inch to 3/8-inch adaptor
- Two mounting screws
- Instruction manual
If you have the 15UA model, expect a shut-off valve, T-fitting, and faucet diverter instead. Verify all parts are present before you start so you don’t have to pause mid-install.
Clear enough space under the sink to move freely. Cramped cabinets make this job harder than it needs to be.
Mount the Filter Bracket to the Cabinet Wall
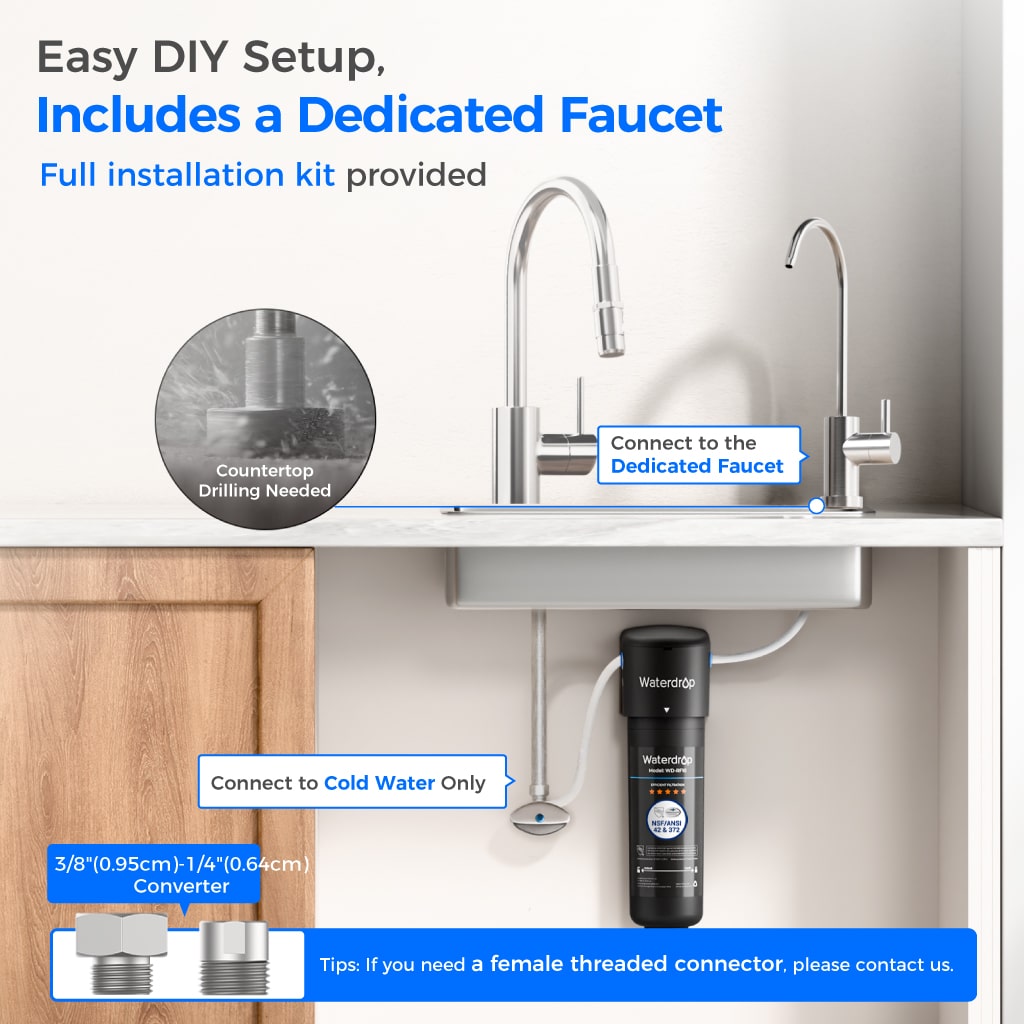
Mark and Drill Pilot Holes
Peel the adhesive sticker from the mounting bracket and stick it on the cabinet wall where you want the filter. This guide eliminates measuring guesswork. Make sure the sticker is level and leaves clearance for the cartridge to slide in later.
Drill pilot holes through the marked spots. Then drive the two included screws into the holes to secure the bracket.
Critical: Leave a small gap between the bracket and the wall. The filter cartridge needs room to lock into place.
Give the bracket a gentle tug to confirm it won’t shift under the filter’s weight.
Connect the Inlet Water Line
Attach Line to Cold Water Supply
Grab one of the 3/8-inch push-fit tubes. This is your inlet line. Push one end firmly into the cold water supply line until you hear a click. That sound confirms the line is fully seated.
If your supply line is ½-inch, use the included adaptor to convert it before connecting.
Now connect the other end of the inlet line to the filter’s inlet port (usually labeled). Push until it clicks again.
Use an adjustable wrench on threaded connections, but don’t overtighten. Cracked fittings turn a 10-minute job into a plumbing headache.
Install the Shut-Off Valve (15UA Models Only)
Models with a shut-off valve use a T-fitting that installs without cutting your existing line. Slide the T-fitting onto the cold supply line, then attach the valve. Tighten both sides with pliers, keeping the valve handle accessible for future maintenance.
Seat the Filter Cartridge in the Bracket
Slide and Lock the Cartridge
Pick up the filter cartridge and slide it into the mounted bracket from bottom up. The cartridge uses a twist-and-turn design, so no tools are needed. Push until it locks into place.
You should see the inlet and outlet ports align cleanly with your connected tubing. A loose cartridge causes pressure drops and leaks, so make sure it sits flush.
Connect the Outlet Line to the Faucet
Route the Second Tube to the Faucet
Take the second 3/8-inch tube. This is the outlet line. Push one end into the filter’s outlet port until it clicks.
Connect the other end to the faucet’s cold water inlet. This reroutes unfiltered water through the filter before it hits the tap.
If your kit includes a faucet diverter, skip this step and follow the diverter instructions in the next section.
Visual Cue: Tubing should run without kinks or sharp bends. Kinked lines choke water flow.
Install the Faucet Diverter (If Included)
Attach Diverter to Your Faucet
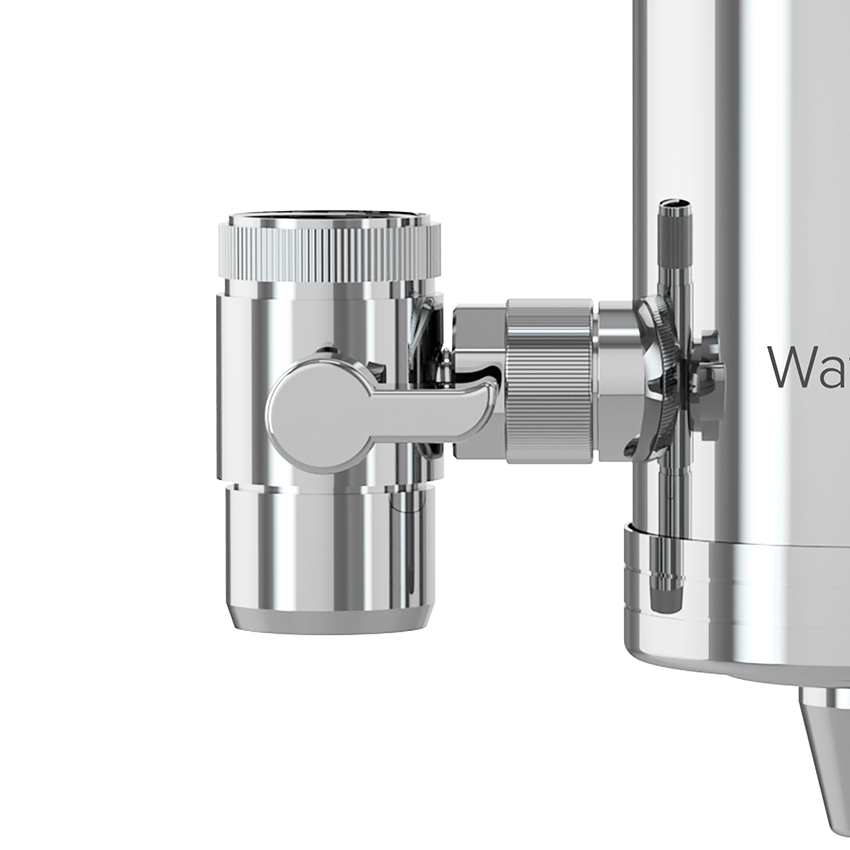
Some Waterdrop kits ship with a faucet diverter that lets you toggle between filtered and unfiltered water. Unscrew your faucet aerator by hand and screw the diverter on in its place. Hand-tighten only.
Connect the filtered water tube to the diverter’s side port. When you activate the diverter, it sends water through the filter instead of straight to the tap.
Note: Diverter setups work best with standard threaded faucets. Confirm compatibility before relying on this method.
Restore Water Supply and Inspect for Leaks
Turn the Valve On Slowly
Rotate the shut-off valve counterclockwise to restore water flow. Open it slowly to avoid a pressure surge that could damage connections.
While the system fills, inspect every joint carefully:
- Inlet and outlet push-fit connections
- Threaded fittings
- Shut-off valve (if installed)
- Faucet diverter (if used)
Look for drips, sprays, or moisture around any connection. Even a tiny leak needs attention now, not later.
Warning: An unchecked leak can warp cabinets and damage floors within days.
If you spot a drip:
- Push-fit lines: Pull the tube out and reinsert until it clicks
- Threaded parts: Tighten slightly with pliers, but stop before cracking the fitting
Flush the Filter Before First Use
Run Cold Water for 5 to 10 Minutes
Open the kitchen faucet and let cold water run for at least 5 minutes. Some models recommend up to 10 minutes.
New filters contain carbon dust from manufacturing. Flushing washes this residue away so your water looks clear and tastes clean. Stop once the water runs clear and odor-free.
Pro Tip: Save the first few gallons for washing dishes or watering plants. Don’t drink the flush water.
Once flushing is done, close the faucet. Your system is ready for daily use.
Verify the Full System Works
Run Through This Final Checklist
- ✅ Water flows freely from the faucet
- ✅ No leaks at any connection
- ✅ Filter sits securely in the bracket
- ✅ Water pressure feels normal
- ✅ Water runs clear with no visible particles
Test both filtered and unfiltered modes if you installed a diverter.
If pressure feels low:
- Check tubing for kinks
- Confirm the cartridge is fully seated
- Make sure the shut-off valve is completely open
Replace the Cartridge Every 2 to 3 Years
Twist-and-Turn Replacement in Seconds
The standard Waterdrop filter handles up to 8,000 gallons. Upgraded models handle 16,000 gallons. For a typical household, that’s roughly 2 to 3 years of use.
When it’s time for a new cartridge:
- Shut off the water supply
- Twist the old cartridge counterclockwise to release it
- Insert the new cartridge and twist clockwise to lock
No tools. No mess. Mark the install date on your calendar so you know when to swap it out.
Troubleshoot Common Installation Problems
No Water at All
- Is the shut-off valve fully open?
- Are all push-fit lines clicked into place?
- Is the filter cartridge properly locked in?
Re-seat every connection and test again.
Leaking at Connections
- Push-fit lines: Remove and reinsert until they click
- Threaded joints: Tighten gently with pliers
- Damaged tubing: Replace cracked or worn sections immediately
Low Water Pressure
- Straighten out any kinked tubing
- Flush the system again
- Replace the filter if it’s over 2 years old
Final Tips for a Smooth Install
- Label your tubes if you’re unsure which is inlet versus outlet
- Trust the adhesive guide; it saves time and prevents misalignment
- Flush thoroughly for the best taste from day one
- Check for leaks daily for the first 3 days after install
- Keep the manual handy for future cartridge replacements
Frequently Asked Questions About Waterdrop Under Sink Filter Installation
How long does it take to install a Waterdrop under sink filter?
Most DIYers finish the install in about 10 minutes. First-timers may take a bit longer, especially when flushing the system. Budget around 20 minutes total including flush.
Do I need a plumber to install the Waterdrop filter?
No. The system is designed for DIY installation. You only need a drill, adjustable wrench, and pliers. No pipe cutting required since the T-fitting connects to your existing line.
What tools do I need for installation?
You need three tools: a drill for the mounting bracket, an adjustable wrench or pliers for threaded connections, and optionally a screwdriver for fine adjustments. No specialized plumbing tools are required.
How do I flush the Waterdrop filter after installation?
Run cold water through the faucet for 5 to 10 minutes. This clears out carbon dust from manufacturing. The water is safe to use once it runs clear with no visible particles or odd taste.
How often should I replace the Waterdrop filter cartridge?
Standard filters last up to 8,000 gallons. Upgraded models handle 16,000 gallons. For an average household, replacement happens every 2 to 3 years. The twist-and-turn design makes swaps fast and tool-free.
Can I install the Waterdrop filter in a rental apartment?
Yes. The installation is fully reversible and doesn’t require permanent plumbing changes. When you move out, you can remove the system and restore the original setup without damaging the property.
Key Takeaways for Installing Your Waterdrop Under Sink Filter
Installing a Waterdrop under sink filter is a straightforward DIY project that takes about 10 minutes from start to finish. The most important steps are shutting off both hot and cold water (for single-handle faucets), securing the mounting bracket level with a small gap, pushing all lines in until they click, and flushing the system for 5 to 10 minutes before first use.
Once installed, this filter delivers clean water for up to 8,000 or 16,000 gallons depending on your model. Check connections daily for the first 3 days, then enjoy fresh filtered water straight from your tap for the next 2 to 3 years. When it’s time for a replacement cartridge, the twist-and-turn design makes the swap quick and mess-free.







