
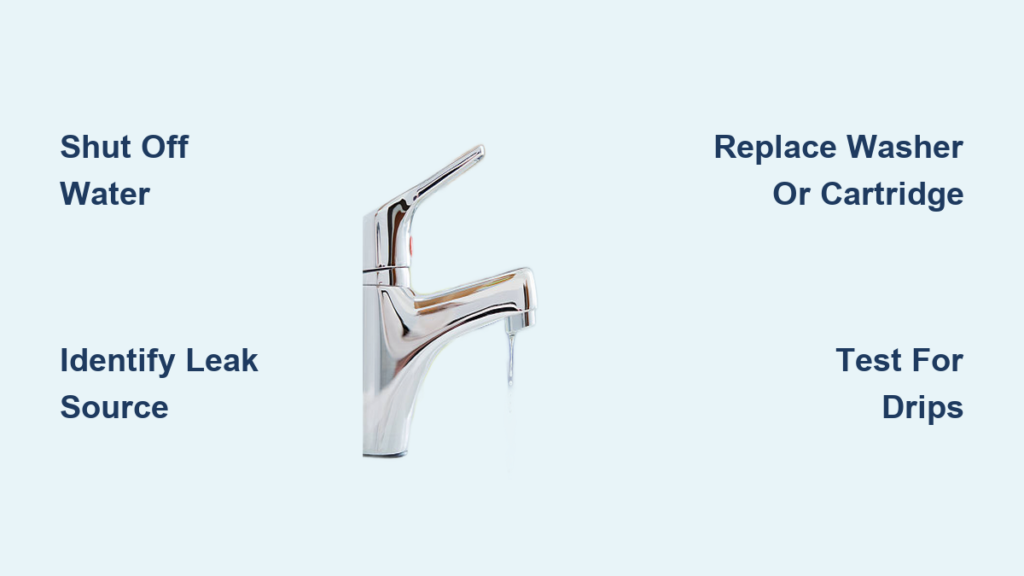
A dripping bathroom faucet isn’t just annoying, it’s a silent water waster that can cost you thousands of gallons and hundreds of dollars each year. Left unchecked, a single drip per second wastes approximately 3,000 gallons annually, driving up your utility bills and potentially causing water damage under the sink. The good news is that most dripping faucets can be fixed in under an hour with basic tools and replacement parts. This guide covers exactly how to diagnose the problem, identify your faucet type, and perform the repair yourself without calling a plumber.
Whether your faucet leaks from the spout, drips around the handle, or shows signs of water damage under the sink, you’ll find step-by-step instructions tailored to your specific faucet design. Read on to learn how to stop that drip for good and prevent future leaks.
Identify the Leak Source
Before purchasing parts or disassembling anything, you need to pinpoint exactly where the water is escaping. The location of the leak determines which components need replacement, so this step saves time and money.
Spout Dripping When Off
Water continues dripping from the spout even after you’ve turned the handle to the off position. This is the most common type of faucet leak and typically indicates worn internal components such as a failed washer, damaged cartridge, or corroded valve seat. Both single-handle and double-handle faucets can experience this issue, and it’s often caused by mineral buildup from hard water or simply years of normal wear.
Water Around the Handle Base
If you notice water pooling or seeping around the handle when the faucet is in use, the problem is usually degraded O-rings or a failing cartridge seal. This is especially common in single-handle models from brands like Moen, Delta, and Pfister. Don’t confuse this with a spout leak, as the solution is different.
Leak Under the Sink
Drips coming from beneath the sink point to loose or corroded connections rather than internal faucet components. Check the supply line connections, angle stop valves, drain pipe joints, and pop-up rod linkage. These leaks can cause cabinet damage and mold growth if ignored.
Water at Sink Rim or Drain Flange
Pooling water around the base of the faucet or near the drain indicates a failed gasket or poor seal. Re-caulking or reseating the drain flange often resolves this issue. This differs from an under-sink leak, so identify the source correctly before proceeding.
Determine Your Faucet Type
:max_bytes(150000):strip_icc()/Types-of-faucets-1824889_color_rev_02-83ac08e1289d4e01b09216cd586fa7bc.jpg)
Repair procedures vary significantly depending on your faucet’s design. Identifying the correct type ensures you order the right parts and follow the appropriate steps.
Compression Faucet (Two-Handle)
Compression faucets feature separate hot and cold handles and are commonly found in older homes built before the 1990s. Inside, a rubber washer presses against a valve seat to stop water flow. When the washer wears out or the seat becomes corroded, the faucet drips. You’ll know you have a compression faucet if you need to turn the handle extra tight to stop the water completely.
Cartridge Faucet (Single or Double Handle)
Modern single-handle faucets from manufacturers like Moen, Delta, Kohler, and Pfister use a replaceable cartridge to control water flow and temperature. When the cartridge cracks, warps, or accumulates mineral deposits, leaks develop. Cartridge faucets typically have a smooth lever handle and may show handle wobble when the cartridge wears.
Ball Faucet (Single Handle with Dome)
This older design features a rounded handle with a cap on top. Inside, a rotating ball controls water flow through internal seals and springs. Ball faucets are less common today and can be difficult to find replacement parts for.
Ceramic Disc Faucet (Single Handle)
High-end faucets often use ceramic disc technology, where two ceramic discs slide over each other to control flow. These are highly durable but can develop leaks if the discs crack or become misaligned. They typically feature a smooth, long lever handle.
Pro Tip: If multiple faucets in your home are dripping, you may have hard water that’s accelerating component wear. Soak removed parts in vinegar to dissolve mineral deposits before reinstalling.
Gather Tools and Parts
Having the right tools and replacement parts ready before starting prevents delays and frustration during the repair.
Essential Tools
• Adjustable wrench
• Channel-lock pliers
• Allen wrench set (1/8″, 3/32″, metric)
• Flat-head and Phillips screwdrivers
• Needle-nose pliers
• Cartridge removal tool (for Moen and similar brands)
• Seat wrench (for compression faucets)
• Deep socket wrench (if needed)
• Towel (to protect finish)
Replacement Parts You May Need
• Cartridge (model-specific)
• Rubber washers and springs
• O-rings (assorted sizes)
• Valve seat (if replaceable)
• Silicone grease (non-petroleum)
• New supply lines (if corroded)
Best Practice: Purchase a faucet repair kit with common washers and O-rings. For cartridge faucets, order the exact model replacement from the manufacturer to ensure proper fit.
Fix a Double-Handle Compression Faucet
Compression faucets are the most common type found in older bathrooms. Follow these steps to stop the drip.
Shut Off Water Supply
Locate the angle stop valves under the sink and turn both clockwise until tight. Quarter-turn valves require a 90-degree turn, while gate valves need multiple full rotations. If the valves won’t budge, stop and call a plumber rather than forcing them, as breaking a shut-off valve can cause flooding.
Confirm Which Side Is Leaking
Turn the water supply back on briefly to observe whether the hot or cold side is dripping. Once identified, turn the water off again before proceeding with disassembly.
Remove the Handle
Pop off the decorative cap on the handle using a flat-head screwdriver. Use an Allen wrench to loosen the set-screw, then lift the handle straight off. Place a cloth over the drain to prevent small parts from falling in.
Disassemble the Faucet
Wrap a cloth around the bonnet nut to protect the finish, then use channel locks to loosen it counterclockwise. Unscrew by hand and remove. Pull out the brass stem using pliers.
Replace Washer and Seat
Remove the screw holding the rubber washer and spring. Replace both with new parts, ensuring the new spring is installed first, then the washer with the beveled side facing inward. Check the valve seat for pitting or corrosion. If damaged, use a seat wrench to remove and replace it, or resurface it with a valve seat grinding tool.
Pro Tip: Replace washers on both sides even if only one is currently leaking. The other side will likely fail soon, so addressing both prevents a repeat repair.
Reassemble the Faucet
Insert the stem back in the same orientation as before. Hand-tighten the bonnet nut, then snug it with pliers without overtightening. Reattach the handle, tighten the set-screw, and replace the decorative cap.
Test the Repair
Turn the water supply back on slowly. Open and close the faucet several times. Check for no drip at the spout, smooth operation, and no leaks around the handle.
Fix a Single-Handle Cartridge Faucet
Most modern bathrooms feature cartridge faucets, with Moen models being especially common.
Identify the Correct Cartridge
Locate the model number on the faucet base or packaging. Visit the manufacturer website to order the exact replacement cartridge and O-rings. For Moen faucets, call 1-800-BUY-MOEN if you cannot locate the model number.
Shut Off Water and Drain Lines
Turn off both hot and cold angle stops under the sink. Open the faucet to release pressure and drain residual water.
Remove the Handle
Pop off the decorative cap if present. Use a 3/32″ Allen wrench to loosen the set-screw. Lift the handle off carefully.
Remove Dome Cap and Retainer Nut
Unscrew the dome cap by hand in a counterclockwise direction. If stuck, use an adjustable wrench with a towel to prevent scratching. Remove the retainer nut next.
Extract the Old Cartridge
Some models have a retaining screw on top that requires removal with a Phillips screwdriver. Pull the cartridge straight up, catching any spring that may be at the base. Inspect the old cartridge for cracks, warping, mineral buildup, or worn seals.
Install the New Cartridge
Apply a thin layer of silicone grease to O-rings and moving parts. Insert the new cartridge in exact alignment as the old one, matching tabs, slots, or alignment marks. For Moen faucets, the raised tab faces inward toward the spout. Reattach the retaining screw if applicable.
Reassemble the Faucet
Replace the retainer nut and hand-tighten clockwise. Reinstall the dome cap. Slide the handle back on, tighten the set-screw until snug, and replace the decorative cap.
Restore Water and Test
Ensure the handle is in the off position. Turn the water supply back on. Run water for one to two minutes to flush any debris. Turn off and check for drips at the spout or handle.
Fix Under-Sink Leaks
If water pools under the sink, the issue lies in the connections rather than the faucet mechanism.
Shut Off Water and Dry Components
Turn off both angle stops. Thoroughly dry the shut-off valves, supply lines, faucet connections, drain pipes, and pop-up rod with towels.
Test Cold Side First
Turn on the cold angle stop and watch for leaks at the angle stop connection, supply line, and faucet connection. Tighten loose nuts or replace damaged components.
Test Hot Side
Repeat the same inspection on the hot water side.
Check Drain and Pop-Up Rod
Run water and inspect under the sink for leaks at the pop-up rod connection, drain pipe joints, and sink rim. Tighten the rod nut behind the drain pipe if needed. Use a mirror to see behind the pipe.
Fix Common Drain Issues
For a leaky pop-up rod, tighten the nut by hand. For a cracked drain pipe, apply epoxy putty as a temporary fix or replace the pipe entirely. For a loose drain flange, remove it and reseat with an extra quarter-turn to properly compress the washer.
Still leaking? Contact manufacturer support or a licensed plumber for assistance.
Prevent Future Leaks
A one-time fix isn’t enough if you want to keep your faucet drip-free for years.
Lubricate Moving Parts
Apply silicone grease (never petroleum-based) to cartridge stems, O-rings, and valve seats during reassembly. This reduces friction, extends part life, and ensures smooth operation.
Avoid Overtightening
Forcing handles or nuts can crack ceramic discs, strip threads, and warp metal components. Tighten snugly by hand, then add only a quarter-turn with a tool if necessary.
Inspect Annually
Even without a leak, check for handle wobble, reduced water pressure, or mineral buildup each year. Early detection prevents larger problems.
Replace Supply Lines Every 5-7 Years
Braided stainless steel supply lines degrade over time. Upgrade to ANSI-certified, lead-free lines to prevent leaks and contamination.
Clean Cartridges in Hard Water
In areas with high mineral content, remove and soak cartridges in white vinegar for 30 minutes annually to dissolve scale deposits.
Install a Water Softener
If you experience frequent limescale buildup, consider a point-of-use or whole-house water softener to protect all fixtures.
When to Call a Plumber
DIY repairs work for most leaks, but some situations require professional help.
Call a Plumber If
• Leak persists after correct part replacement
• Faucet body is cracked or threading is stripped
• Angle stops are frozen or leaking (risk of flooding)
• Main water valve is inaccessible
• Faucet is antique, custom, or discontinued
• Multiple leaks suggest systemic plumbing issues
Recommended: Use a licensed plumber or services like Roto-Rooter for guaranteed, fast repairs.
When to Replace the Entire Faucet
Sometimes repair isn’t worth the effort.
Replace If
• Valve body is cracked
• Spout leaks at the base (sign of internal corrosion)
• Finish is peeling or severely pitted
• Parts are obsolete or unavailable
• Multiple repairs have failed
• Aesthetics or function are compromised
Cost Note: A $15 repair is cheaper than a $100+ replacement. Repair first unless structural damage exists.
Key Takeaways for Fixing Your Dripping Faucet
Fixing a dripping bathroom faucet is a straightforward DIY project that saves thousands of gallons of water and reduces your utility bills. The most important steps are identifying the leak source and faucet type before purchasing replacement parts. For compression faucets, replace the washer and inspect the valve seat. For cartridge faucets, order the exact model replacement and ensure proper alignment during installation. Always turn off the water supply before starting any repair, and test thoroughly before considering the job complete.
With the right tools, parts, and this guide, you can stop the drip in under an hour. If the leak persists after a proper repair or if you encounter frozen valves, contact a licensed plumber to avoid water damage.
Frequently Asked Questions About Fixing a Dripping Bathroom Faucet
How long does it take to fix a dripping bathroom faucet?
Most repairs take 30 to 60 minutes for homeowners with basic DIY experience. Compression faucet repairs are typically faster, while cartridge replacements may take longer due to the precision required for alignment.
Can I fix a dripping faucet without turning off the water?
Never attempt a repair without shutting off the water supply first. This prevents flooding and gives you a dry working environment. Locate the angle stop valves under the sink before starting.
Why does my faucet still drip after replacing the washer?
If the drip continues after washer replacement, the valve seat may be corroded or pitted. Use a seat wrench to inspect and replace the valve seat, or resurface it with a grinding tool. A worn cartridge can also cause persistent drips.
How much does it cost to fix a dripping faucet yourself?
DIY repairs cost between $5 and $20 in parts, depending on the faucet type. Replacement cartridges range from $10 to $30, while washer and O-ring kits are typically under $10. Professional plumbers charge $150 or more for the same repair.
What causes a faucet to drip in the first place?
The most common causes are worn washers, degraded O-rings, faulty cartridges, corroded valve seats, and mineral buildup from hard water. Normal wear and tear eventually breaks down the seals that prevent water flow.
Should I repair or replace my dripping faucet?
Repair is usually the better choice for most drips. A $15 stem or cartridge replacement is far cheaper than a full faucet that costs $100 or more. Only replace the entire faucet if the body is cracked, parts are unavailable, or the finish is severely damaged.







