
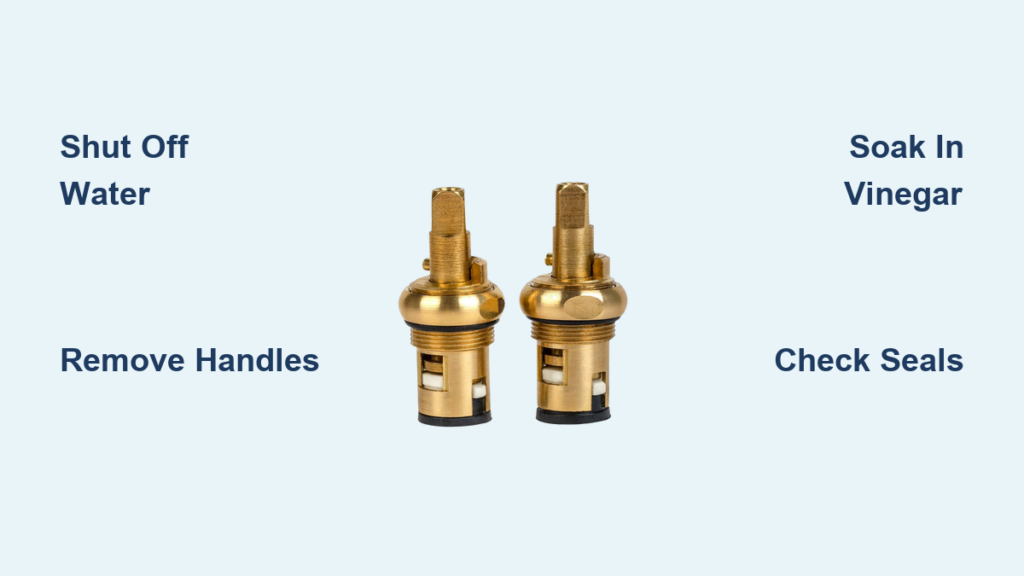
Is your faucet dripping, spraying unpredictably, or resisting when you turn the handle? These are classic signs that mineral buildup or sediment is clogging the faucet cartridge—the internal component that controls water flow and temperature. Over time, especially in hard water areas, limescale and debris accumulate inside the cartridge, degrading performance. The good news: you don’t need to replace it right away. Cleaning the faucet cartridge often restores smooth operation and stops leaks. This guide walks you through every step, from shutting off water to reassembly, with pro tips, troubleshooting fixes, and preventive care.
You’ll save money, avoid unnecessary part replacements, and gain confidence in basic plumbing maintenance. Whether it’s a kitchen, bathroom, or tub faucet, this process works across most models. Let’s get started.
Shut Off Water Supply Before Cleaning Faucet Cartridge
Before touching any tools, cut off the water supply. This prevents flooding and keeps your workspace dry throughout the cleaning process.
Turn Off Under-Sink Valves
Locate the hot and cold shut-off valves under the sink. Rotate both clockwise until tight. Most sinks have individual valves, but older homes may lack them.
No Valves? Shut Off Main Line
If no valves exist beneath the sink, go to your main water supply, usually in the basement or utility room, and turn the main shutoff clockwise. Never skip this step.
Drain Remaining Water
Open both hot and cold taps above the sink. Let water run until it stops. This relieves pressure and drains leftover water from the lines. Close the taps once flow ceases.
Pro Tip: Place a towel in the sink basin to muffle noise when water sputters out during pressure release.
Prepare Work Area for Faucet Cartridge Cleaning
A clean, organized setup prevents lost parts and damage to your faucet or countertops.
Block the Drain
Use a sink stopper, rag, or rubber plug to seal the drain. Screws, nuts, and even small cartridges can slip down and vanish if the drain is open.
Protect Surfaces
Lay a soft cloth or towel over the countertop behind the faucet. This cushions tools and protects finishes from scratches during the disassembly process.
Gather Essential Tools
Have everything ready before starting. You will need an adjustable wrench, flathead and Phillips screwdrivers, an Allen wrench, a soft toothbrush, white vinegar, a plastic bowl, and towels.
Expert Note: Keep small containers nearby to store screws and parts. Label them “hot” and “cold” to avoid mix-ups during reassembly.
Remove Faucet Handles to Access Cartridge

Access begins with handle removal. Most cartridges hide beneath the handle assembly.
Pry Off Decorative Caps
Look for small caps on top of the handles labeled “H” and “C.” Use a flathead screwdriver or your fingernail to gently pry them off. Set them aside in a safe place.
Unscrew Handle Screws
Under each cap is a screw. Use the correct screwdriver or Allen wrench to remove it. Some models use set screws on the side, which require a hex key to loosen.
Lift Handles Off
Pull the handle straight up. If it sticks, wiggle gently. Never force it. Remove any escutcheon plate or trim ring covering the cartridge housing.
Visual Cue: If the handle resists, check for hidden set screws or mineral bonding. A vinegar-soaked rag wrapped around the base for 10 minutes can help dissolve buildup.
Extract the Faucet Cartridge for Cleaning
Now expose and remove the cartridge so you can clean it thoroughly.
Loosen Retaining Nut
Use an open-ended or adjustable wrench to turn the cartridge retaining nut counterclockwise. It is located just below the handle mounting area.
Caution: Avoid scratching chrome surfaces. Wrap the wrench jaws with tape if needed to protect the finish.
Pull Out the Cartridge
Grasp the cartridge stem and pull straight out. It should slide free with moderate pressure. Some resistance is normal due to mineral deposits.
Stuck Cartridge? Try These Fixes
If the cartridge won’t budge, soak the area with white vinegar for 1 to 2 hours to break down limescale. Gently twist back and forth to loosen mineral bonds. Use a plastic cartridge puller tool, often included in repair kits, to grip and extract without damage.
Never use pliers directly on the cartridge stem. Metal jaws can crush plastic stems or damage sealing surfaces.
Mark Orientation Before Removal
Note which side connects to hot water. Use tape or a marker to label the cartridge. Reinstalling it backward causes temperature confusion and mixed-up water flow.
Flush Water Lines Before Cleaning Cartridge
Debris may still be trapped in supply lines. Flushing prevents recontamination after you reinstall the cleaned cartridge.
Set Up for Safe Flushing
Place an upside-down plastic bowl over the faucet opening. This directs spray into the sink and protects cabinets from water damage.
Briefly Turn On Water
Ask a helper to open the hot water valve for 3 to 4 seconds. Watch for debris to flush out. Repeat with the cold water line.
Critical Safety Step: Always keep the bowl in place. Sudden bursts can spray water into walls or electrical outlets if unprotected.
Shut Off Again
Close both valves immediately after flushing. Proceed to the cartridge cleaning step.
Clean the Faucet Cartridge Step by Step
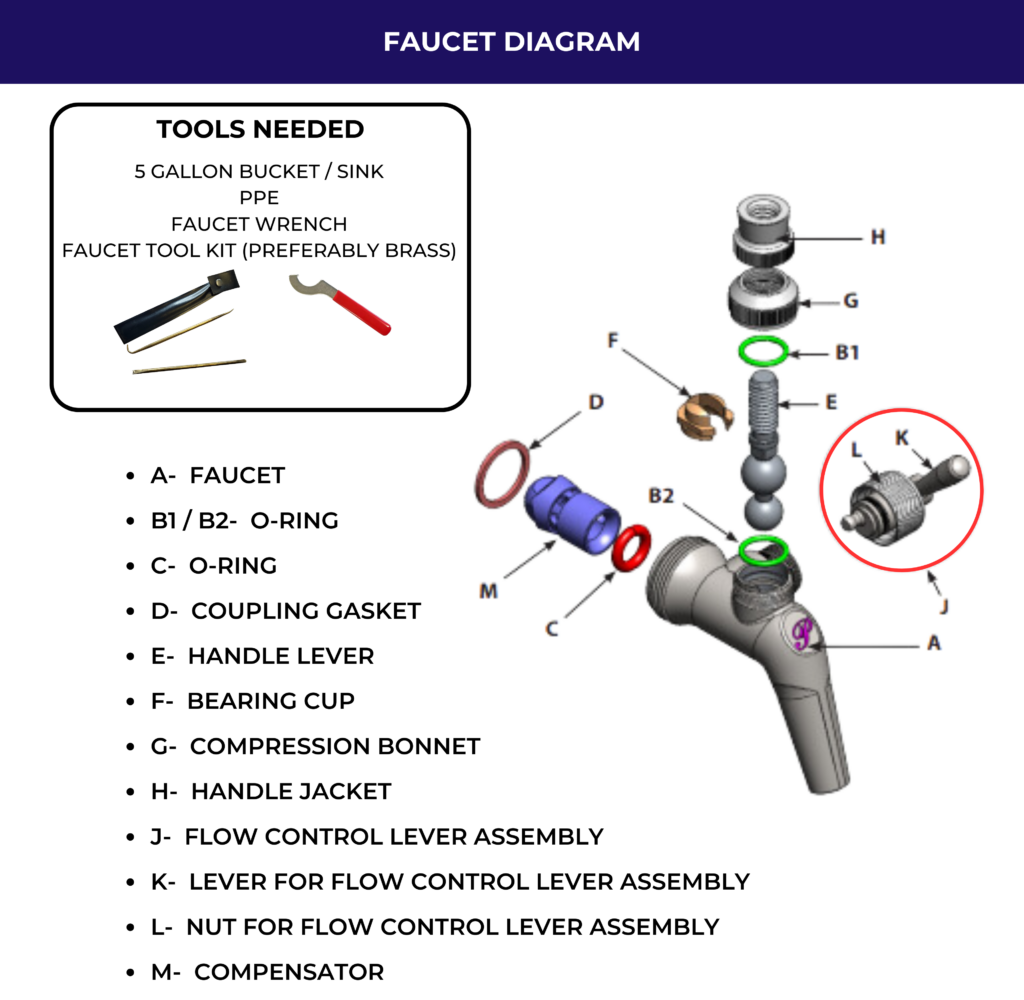
Two effective methods work best: vinegar soak for scale and manual flush for sediment.
Soak in Vinegar Solution
Mix equal parts white vinegar and warm water in a bowl. Submerge the cartridge for 10 to 60 minutes. For heavy buildup, extend the soak to 2 hours. You can also wrap a vinegar-soaked rag around the stem and leave it overnight for stubborn deposits.
Scrub with Toothbrush
After soaking, use a soft-bristled toothbrush to clean ports and orifices, stem grooves, and sealing edges. Avoid abrasive pads or harsh chemicals that damage rubber seals and plastic components.
Flush to Remove Debris
Hold the cartridge under running water. Move the stem back and forth to open and close internal valves. Flush until water runs clear with no particles visible.
Pro Tip: Reattach the handle temporarily to make stem movement easier during flushing.
Inspect Seals and Washers
Check O-rings and washers for cracks, warping, or grit. Clean them gently. Replace any damaged seals, as spare kits are inexpensive and widely available.
Reinstall the Faucet Cartridge Properly
Proper installation ensures leak-free operation and restored performance.
Insert Cartridge Correctly
Slide the cleaned cartridge back into the faucet body. Match the hot side to the hot inlet. Refer to your earlier markings to ensure correct orientation.
Warning: Forcing the cartridge means something is misaligned. Remove and inspect for debris or incorrect orientation before proceeding.
Secure Retaining Nut
Hand-tighten the nut first. Then use the wrench to snug it, stopping at firm resistance. Overtightening can crack the cartridge or deform seals.
Reattach Handles
Slide handles back onto the stems. Align them so they point toward the spout when the faucet is off.
Fasten Screws and Caps
Insert screws and tighten securely. Press decorative caps back into place.
Expert Note: If handles feel stiff after reassembly, slightly loosen the retaining nut. It may be compressing the cartridge too much.
Restore Water and Test Your Work
Final step: bring water back and verify that cleaning the faucet cartridge solved the problem.
Slowly Open Shut-Off Valves
Turn both hot and cold valves counterclockwise slowly. Rushing can cause water hammer, a loud pipe-rattling noise that damages pipes.
Turn On Faucet Gradually
Open both handles. Let water run for 30 seconds to flush any remaining particles from the system.
Check for Issues
Look for leaks around the base or handles, smooth handle movement, consistent flow and spray pattern, and correct hot and cold mixing.
Success Signal: A strong, steady stream with no drips or sputtering indicates successful cleaning.
Fix Common Problems After Cleaning Faucet Cartridge
Even after cleaning, issues may persist. Here is how to fix them fast.
Handles Work in Reverse
Why Hot Comes Out Cold Side
This happens when cartridges were reinstalled on the wrong side during reassembly. The hot and cold connections got swapped accidentally.
Swap Cartridges to Fix
Remove both cartridges. Switch their positions, moving the hot-side cartridge to the cold side and vice versa. Reinstall and test.
Prevention: Always label cartridges before removal to avoid this confusion.
Faucet Leaks After Cleaning
Possible Causes
The leak may stem from an overtightened nut crushing internal seals, damaged O-rings or washers, residual debris preventing a full seal, or a misaligned cartridge.
Fix Step by Step
First, shut off water and drain lines. Second, remove the cartridge and inspect all seals for damage. Third, replace worn washers or O-rings using OEM or compatible spares. Fourth, clean the housing thoroughly. Fifth, reinstall with proper alignment and hand-tightened nut only.
Critical: Never exceed moderate torque on the retaining nut.
Prevent Future Buildup in Faucet Cartridge
Keep your faucet running like new with simple maintenance habits.
Clean Every 3-6 Months
Routine maintenance prevents major clogs. In hard water areas, clean every 1 to 3 months to stay ahead of mineral deposits.
Use Vinegar Regularly
Wipe exterior faucet parts with vinegar weekly. Pour diluted vinegar into aerators monthly to prevent clogging and scale buildup.
Install a Water Softener
If limescale returns quickly, a whole-house water softener eliminates calcium and magnesium ions that cause stubborn buildup.
Flush Lines After Plumbing Work
Any time pipes are disturbed, flush supply lines before reassembling fixtures to remove debris.
Pro Tip: Keep a spare cartridge on hand. If cleaning fails, replacement takes minutes and costs less than a service call.
When to Replace Faucet Cartridge vs Clean
Cleaning helps in most cases, but not all situations warrant it.
Clean If
Flow is reduced, handle is stiff, minor dripping occurs, or visible scale appears on the cartridge. These are all signs that cleaning will likely restore function.
Replace If
The cartridge is cracked or warped, O-rings are permanently damaged, cleaning does not restore function, or you have cleaned it multiple times recently without lasting results.
Cost-Saving Insight: A $15 cartridge replacement beats a $200 faucet upgrade in most cases.
Frequently Asked Questions About Cleaning Faucet Cartridge
How long does it take to clean a faucet cartridge?
The process takes 30 to 60 minutes total, including disassembly, soaking, cleaning, and reassembly. Vinegar soaking for stubborn buildup may add 1 to 2 hours.
Can I clean any type of faucet cartridge?
Yes, the cleaning method works for most cartridge types, including ceramic disc, ball-type, and compression cartridges. Always check your manufacturer’s guide for specific removal instructions.
What happens if I don’t clean my faucet cartridge?
Mineral buildup worsens over time, causing reduced water flow, leaks, stiff handles, and eventually requiring replacement. Regular cleaning extends the faucet’s lifespan significantly.
Is vinegar safe for all faucet cartridges?
White vinegar is safe for most cartridges. Avoid using harsh chemicals, abrasive cleaners, or steel wool, as these damage rubber seals and plastic components.
Why does my faucet still leak after cleaning the cartridge?
Leaks after cleaning usually mean the retaining nut is overtightened, O-rings are damaged, or debris is still preventing a proper seal. Disassemble and inspect all seals for damage.
Key Takeaways for Cleaning Faucet Cartridge
Cleaning a faucet cartridge is a quick, low-cost fix that solves many common plumbing issues. With basic tools, white vinegar, and about 30 minutes, you can restore full function to a sluggish or leaking tap. The key steps are careful disassembly, gentle cleaning with vinegar and a soft toothbrush, and precise reinstallation with correct orientation. Avoid overtightening the retaining nut, always mark cartridge orientation before removal, and flush supply lines before reassembly. For ongoing performance, stick to a quarterly cleaning schedule, especially if your water is hard. Now that you know how to clean a faucet cartridge, you are ready to tackle it confidently on any faucet in your home.







