
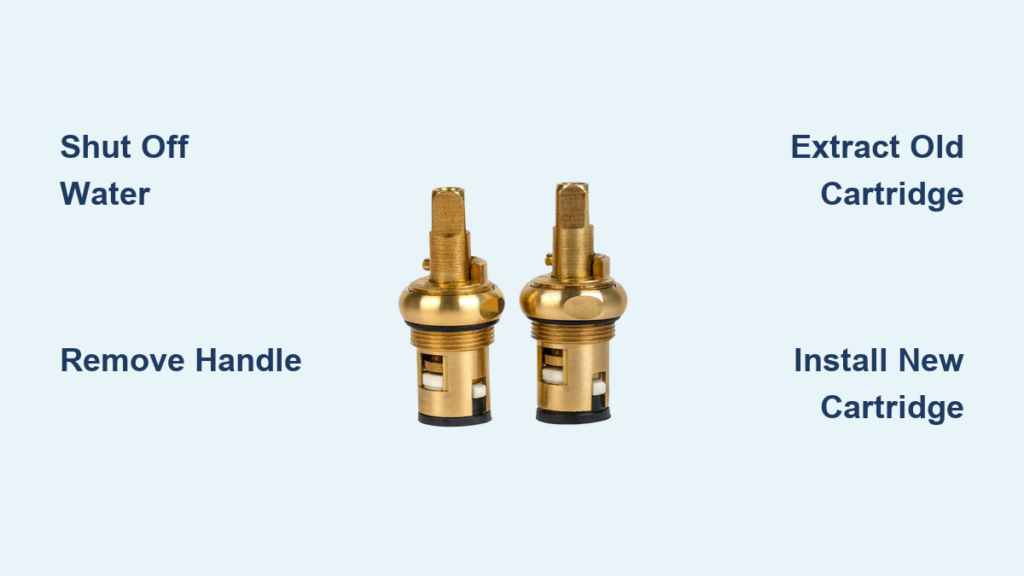
A dripping faucet isn’t just annoying, it’s a hidden water waster that can lose up to 20 gallons per day. For most single-handle or two-handle faucets, the culprit is a worn-out faucet cartridge, the internal valve that controls water flow and temperature. The good news? Replacing it is a DIY-friendly plumbing fix that takes under an hour and costs as little as $10. This guide walks you through every step to replace a faucet cartridge correctly, without calling a plumber.
You’ll learn how to identify failure signs, choose the right replacement, and reassemble your faucet to work like new. Each section includes specific steps, tool requirements, and troubleshooting tips for common issues.
Shut Off Water Supply Before Replacing the Cartridge
Before touching any tools, you must stop the water flow to prevent leaks and flooding. This critical step protects your floors and walls from water damage during the repair.
Turn Off Under-Sink Valves
Locate the two shutoff valves beneath your sink, one for hot and one for cold water. Turn both clockwise until they are snug. If these valves are stiff or leak when turned, shut off the main water supply to your house instead.
Release Remaining Pressure
Open the faucet handles fully to release trapped water and air. Let the water run until the flow stops completely. This prevents sudden spurts when you start disassembling the faucet components.
Protect Your Work Area
Plug the drain with a cloth or stopper to avoid dropping small screws or clips into the pipes. Place a towel in the basin to cushion tools and parts during the repair process.
Remove the Faucet Handle to Access the Cartridge
With the water supply secured, you can now access the internal components. The handle removal method varies by faucet type, so identify your model before proceeding.
Pry Off the Decorative Cap
Use a flat-head screwdriver or utility knife to gently lift the cap on top of the handle. The cap may be marked with “H” and “C” or color-coded red for hot and blue for cold water. Work carefully to avoid scratching the finish.
Unscrew the Handle Set Screw
Once the cap is removed, you’ll see a screw securing the handle. Use a Phillips screwdriver or Allen wrench, depending on your faucet brand, to remove it. Moen and Delta faucets commonly use Allen keys for this step. Keep the screw in a safe place for reassembly.
Lift the Handle Off
Pull the handle straight up to remove it. If the handle sticks, apply penetrating oil like WD-40 around the base and wait 10 to 15 minutes before gently wiggling and pulling. Never force it, as you could damage the stem.
Extract the Old Faucet Cartridge

With the handle removed, you can now access and remove the faulty cartridge. This is the core step in learning how to replace a faucet cartridge effectively.
Remove the Bonnet Nut
Use an adjustable wrench to turn the bonnet nut counterclockwise. Grip the flat sides of the nut to avoid rounding it off. Some faucets have an escutcheon plate that must be removed first.
Pull Out the Retaining Clip
Single-handle faucets like Moen models have a small brass or plastic retaining clip on the side of the cartridge. Use needle-nose pliers to pull it straight out. Delta models may skip this step and use snap-in cartridges instead.
Extract the Cartridge
Grasp the cartridge stem with pliers and pull straight up. Do not twist the cartridge, as twisting can damage the valve seat inside the body. If resistance occurs, wiggle gently side to side while pulling upward.
Clean the Valve Body Before Installing the New Cartridge

A clean housing ensures a proper seal with the new cartridge. Skipping this step often leads to early failure and repeated leaks.
Inspect the Inner Chamber
Look inside the faucet body for cracks, corrosion, debris, or old rubber seals. Any damage to the valve body may require full faucet replacement instead of just a cartridge swap.
Remove Mineral Buildup
Soak the area with white vinegar for 10 to 15 minutes to dissolve limescale. Use a soft brush or cloth to scrub away deposits, then rinse thoroughly with water. Never install a new cartridge into a dirty valve body.
Find the Correct Replacement Cartridge
Using the correct part is critical for a successful repair. The wrong cartridge won’t seat properly and may cause ongoing leaks.
Bring the Old Cartridge to the Store
Take the removed cartridge to a hardware store like Home Depot or Ace Hardware for physical matching. Most staff can identify Moen, Delta, or Kohler models and find the correct replacement.
Check the Model Number
Look for a model or series number on the faucet base, original packaging, or product manual. Use online part finders on manufacturer websites like moen.com or deltafaucet.com for exact matches.
Common Cartridge Types by Brand
Brands like Moen use specific models such as 1225 for Posi-Temp faucets, 1200 for older single-handle models, and 1224b for standard replacements. Delta commonly uses the RP46072 ceramic disc cartridge. Always choose original manufacturer parts over generic alternatives for better fit and warranty coverage.
Install the New Cartridge Properly
Proper installation prevents leaks and ensures smooth handle operation. Take your time with this step to avoid problems later.
Lubricate the O-Rings
Apply a thin layer of plumber’s grease to all rubber seals and moving parts on the new cartridge. This ensures smooth operation and extends the life of the seals.
Align the Cartridge Correctly
Match the tabs, wings, or keyway on the new cartridge with the orientation of the old one. For mixer faucets, ensure the red side aligns with the hot water inlet and the blue side with cold. Some models require a 180-degree flip for full temperature range.
Insert and Secure
Push the cartridge fully into the valve body until it seats flush with no gaps or tilting. Reinstall the retaining clip using pliers, ensuring it snaps securely into place. Tighten the bonnet nut clockwise, snug but not over-tightened.
Reassemble Your Faucet
Now put everything back together in reverse order of disassembly.
Reattach the Handle
Slide the handle onto the cartridge stem and push it down fully. Insert the set screw and tighten with the appropriate tool. Don’t over-tighten, just enough to prevent wobbling.
Replace the Decorative Cap
Snap the cap back into place. It should fit flush against the handle. Test that the handle moves smoothly through its full range of motion.
Test for Leaks and Proper Function
Turn the water back on and verify that everything works correctly before finishing the job.
Restore Water Supply
Slowly open the shutoff valves under the sink. Sudden pressure can damage seals. Open the faucet to let air escape from the lines.
Check for Leaks
Run both hot and cold water and check for consistent flow, smooth temperature mixing, and no dripping. Wait 5 to 10 minutes and inspect beneath the sink for any moisture.
If leaking occurs, tighten the bonnet nut slightly. If the leak persists, recheck the cartridge alignment or O-ring condition.
Troubleshoot Common Post-Replacement Issues
Even with careful installation, problems can occur. Here’s how to address the most frequent issues.
Dripping Spout
This usually indicates a misaligned cartridge or damaged valve seat. Remove the cartridge and check its orientation. If the leak continues, the valve seat may need replacement.
No Hot Water
The cartridge was likely installed backward. Remove it, rotate it 180 degrees, and reinstall. This is a common mistake when learning how to replace a faucet cartridge.
Low Water Flow
The cartridge may not be fully seated, or debris in the lines is blocking flow. Disassemble, clean the valve body, and reinsert the cartridge. Also check and clean the aerator.
Stiff Handle
Dry O-rings or mineral buildup causes resistance. Disassemble, clean all components, and apply fresh plumber’s grease to the O-rings.
When to Call a Professional Plumber
Some situations require expert help rather than continued DIY effort.
Cracked Valve Body
A cracked housing cannot be fixed with a cartridge replacement. This requires a full faucet replacement. Attempting repairs on a cracked body wastes time and money.
Seized Cartridge
If the old cartridge won’t budge despite penetrating oil and careful effort, forcing it may destroy the faucet. Professional plumbers have specialized extraction tools for this situation.
Non-Functional Shutoff Valves
If valves leak when turned or won’t close properly, replace them first. Don’t risk a flood by proceeding with the repair.
Antique or Custom Faucets
These may have unavailable parts. A professional can source compatible components or recommend a retrofit solution.
Frequently Asked Questions About Replacing Faucet Cartridges
How long does a faucet cartridge typically last?
Most faucet cartridges last 15 to 20 years under normal conditions. However, lifespan is significantly reduced in hard water areas or with heavy daily use.
Can I replace just one cartridge in a two-handle faucet?
Yes, you can replace a single cartridge. However, if one has failed, the other is likely showing similar wear. Replacing both cartridges at once prevents future repairs.
What causes a faucet cartridge to fail?
Primary causes include mineral buildup from hard water, wear and tear from daily use, corrosion of internal components, and improper installation or over-tightening.
Is it worth replacing a cartridge on an old faucet?
Only replace the cartridge if the faucet body is in good condition. For faucets over 15 years old with visible rust, cracks, or severe mineral buildup, full replacement is more cost-effective.
Can I use a universal cartridge instead of brand-specific ones?
Some universal cartridges exist, but they often don’t fit properly or seal correctly. Brand-specific models ensure proper fit and performance. Only use universal cartridges as a last resort after verifying compatibility.
Key Takeaways for Successfully Replacing Your Faucet Cartridge
Replacing a faucet cartridge is one of the most cost-effective DIY plumbing repairs you can tackle. With basic tools, a matched replacement part, and careful attention to alignment, you can stop leaks, restore smooth handle operation, and extend your faucet’s life by years.
Always shut off the water supply before starting, use OEM parts for the best fit and warranty, and test thoroughly after reassembly. Keep the old cartridge and its packaging for future repairs and warranty claims.
For faucets over 15 years old with multiple issues, consider upgrading to a modern water-efficient model. Newer faucets use 1.5 gallons per minute or less, saving you money on utility bills while offering better warranties and improved aesthetics.







