You open the cabinet under your bathroom sink and brace yourself. Bottles tumble forward, expired products hide in the back, and you can’t find the cotton swabs without emptying half the shelf. If this sounds familiar, you’re not alone. Under bathroom sink storage ideas can transform this chaotic space into a functional, calm, and accessible hub.
The good news? You don’t need a renovation or a big budget. With smart decluttering, clever organizers, and a few DIY tricks, you can reclaim every inch, even around pipes. This guide walks you through proven strategies that work in real bathrooms.
Clear Everything Out First
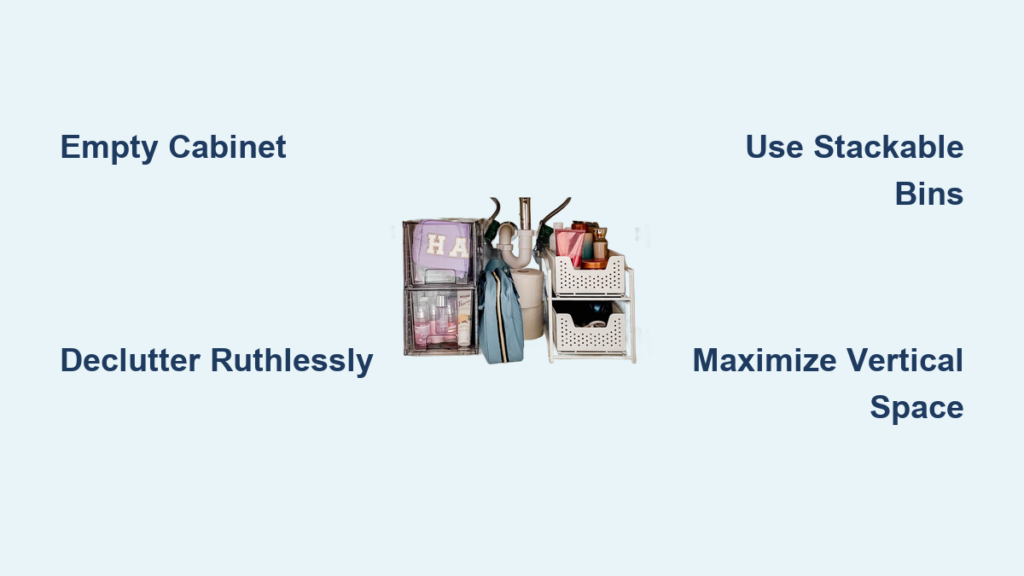
Before buying bins or installing shelves, start with a blank slate. Remove every item from the cabinet. This step is non-negotiable. Only when the space is completely empty can you assess what you own, clean hidden grime, and plan effectively.
Lay items on the floor or countertop so you can see everything at once. This visual audit prevents duplicates and helps you make honest decisions about what stays and what goes.
Why Emptying Works
An empty cabinet eliminates the habit of pushing clutter to the back. It forces you to confront what you actually use. You’ll likely find expired medications, dried-up cleaners, and forgotten travel-sized toiletries. Removing just 3 to 5 unused items instantly creates breathing room. Think of this as a reset button for your bathroom storage.
Declutter Ruthlessly
Now that everything is out, sort with purpose. Keep only what you use regularly or need for emergencies. Toss or recycle:
- Empty bottles and containers
- Expired products (check dates on medications, skincare, and cleaners)
- Duplicates you don’t need
Be honest: if you haven’t used it in six months, do you really need it? This step is the foundation of long-term organization. Without it, even the best storage system will fail.
Group by Function, Not Type
Instead of tossing all shampoos together, group items by how you use them. Functional categories make retrieval faster and reduce clutter. Try these groupings:
- Hair care: shampoo, conditioner, brushes, styling tools
- Cleaning supplies: disinfectant sprays, wipes, sponges
- Extras and backups: spare razors, unopened toothpaste, backup towels
This method keeps related items together, so you’re not searching through multiple bins for a single routine.
Use Stackable Bins Wisely

Stackable bins are your best ally for vertical organization. Clear plastic bins let you see contents at a glance, avoiding the “what’s in here?” dilemma. Look for 12-quart bins at Walmart or Dollar Tree. They cost $4–$5 and fit most under-sink spaces.
Best Bin Options
- 12-quart clear bins: ideal for bulky items like extra toilet paper or large bottles
- Ice containers: great for small items like travel bottles or cotton pads
- Plastic shoeboxes with dividers: perfect for organizing tools, nail clippers, or grooming accessories
Place heavier items on the bottom shelf and lighter ones above. Stack no more than two high to avoid tipping.
Maximize Vertical Space

Most under-sink cabinets waste vertical space. Fix that with risers, rods, and tiered solutions.
Install Metal Risers
Dollar Tree sells metal risers for $1–$2 each. These simple grids elevate items, creating a second layer of storage. Use them to:
- Lift cleaning supplies above pipes
- Create space for tall bottles underneath
- Zip-tie multiple risers together for custom shelf heights
They’re lightweight, adjustable, and strong enough to hold standard bathroom products.
Add Tension Rods
A tension rod installed horizontally turns dead air into usable space. Hang spray bottles by their necks or drape sponges over the rod. Position it to avoid pipes, and choose a rust-resistant model for moisture-prone areas.
Try Over-the-Sink Organizers
For daily-use items, consider an over-the-sink organizer. These sit on the counter or hang over the cabinet edge, keeping toothbrushes, soap, and hand towels within reach without using interior space.
Unlock Door Storage Potential
The inside of the cabinet door is prime real estate, often ignored. Use it wisely.
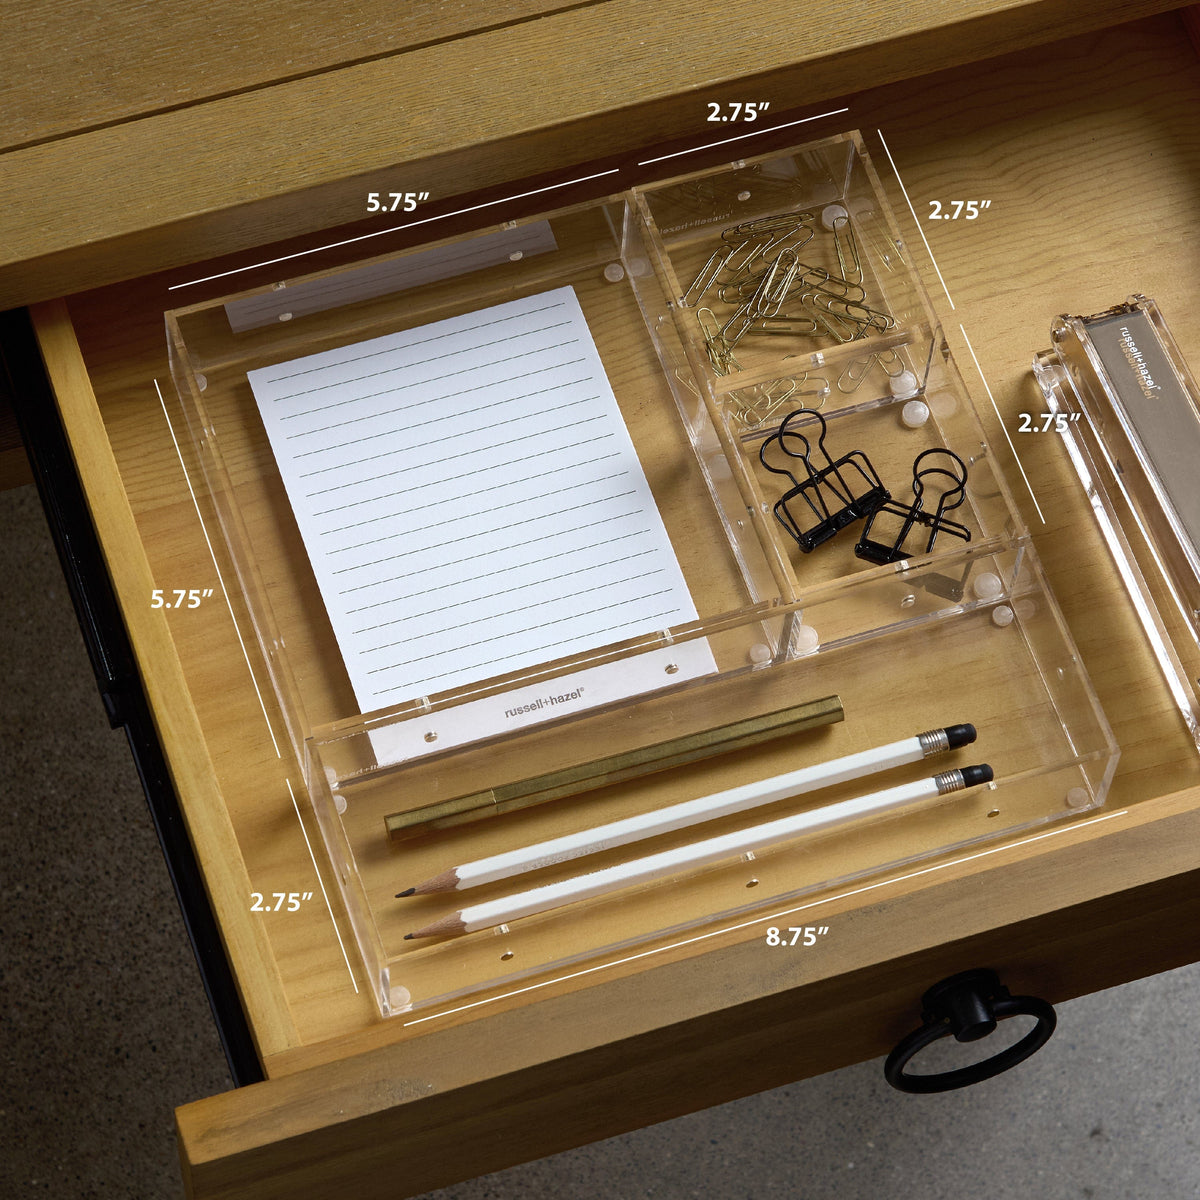
Attach Lucite Drawers
Dollar Tree Lucite drawers stick to the door with removable adhesive tape. No drilling, no damage. Use one side for:
- Combs, brushes, hair ties
- Razors, blades, tweezers
The clear design lets you see contents instantly, and the drawers slide out smoothly.
Mount Magnetic Strips
Glue a magnetic strip to the door to hold metal tools. It works perfectly for:
- Tweezers
- Scissors
- Nail clippers
- Bobby pins
No more losing small items in the back of the cabinet. Just glance and grab.
Hang Hooks Under the Cabinet
Adhesive or screw-in hooks on the underside of the cabinet provide instant hanging spots. Use them for:
- Cleaning brushes
- Dusters
- Small hand towels
This keeps tools off shelves and allows airflow, reducing mildew risk.
Try DIY Storage Hacks
You don’t need expensive organizers. Simple household items can create smart solutions.
Build a Cake Pan Lazy Susan
For less than $5, make a spinning organizer that fits around pipes. You’ll need:
- Two Dollar Tree cake pans ($1.25 each)
- A handful of BBs or small beads
How to assemble:
1. Place BBs in a circle on the bottom pan
2. Set the second pan on top
3. Press down gently so the top pan spins freely
Use it for cotton balls, wipes, or frequently used toiletries. It’s compact, rotates easily, and works in tight spaces.
Repurpose Mason Jars and Crates
- Mason jars: store cotton swabs, rubber bands, or small screws. Label the lid for quick ID.
- Wooden crates: sand and seal for a rustic bin. Use it for rolled towels or large bottles.
Both add charm and function without costing much.
Improve Accessibility

If you can’t reach items in the back, they might as well not exist.
Install Pull-Out Shelves
A slide-out shelf brings deep-storage items forward. No more crawling under the sink. You can buy kits or build one with drawer slides and a wood base. Ideal for cleaning supplies you use weekly.
Use Lazy Susans for Rotation
Even without a DIY version, a store-bought Lazy Susan helps. Place it on the floor of the cabinet and load it with bottles. A quick spin brings anything to the front.
Choose Clear Containers
Opaque bins hide what’s inside. Clear ones let you see contents instantly. This reduces the need to pull everything out just to find one item.
Label Everything
Labels aren’t just for show. They’re maintenance tools. Even if you live alone, labeling prevents backsliding into clutter.
Simple Labeling Methods
- Use a label maker for a clean look
- Write on masking tape with a marker
- Use sticky notes and replace monthly
Label bins: “Hair,” “Cleaning,” “Extras.” Label jars: “Cotton Pads,” “Q-Tips.” This creates accountability and makes cleanup faster.
Stick to a Maintenance Routine
Organization doesn’t last without upkeep. Build habits to preserve your progress.
Clean Monthly
Wipe down shelves, bins, and the cabinet floor every 30 days. This prevents mold, mildew, and soap scum buildup. Use a disinfectant spray and a microfiber cloth.
Check for Leaks
Water damage ruins storage fast. Inspect pipes monthly for drips or condensation. Fix leaks early to protect both your cabinet and stored items.
Replace Worn Containers
Plastic bins crack. Adhesives fail. Replace damaged organizers promptly. A broken bin leads to spilled contents and renewed clutter.
Keep Costs Low
You can organize the entire cabinet for around $15. Here’s how:
| Item | Cost |
|---|---|
| Dollar Tree cake pans (2) | $2.50 |
| BBs for Lazy Susan | $1.00 |
| Metal risers (2) | $2.00 |
| 12-quart bins (2) | $10.00 |
| Lucite drawer | $1.50 |
| Adhesive tape | $1.00 |
Total: $18.00 (or less with sales). Skip expensive organizers. Simple solutions work better.
Overcome Common Challenges
Every under-sink cabinet has obstacles. Here’s how to beat them.
Work Around Pipes
Pipes block shelf placement. Use:
- Adjustable metal risers that fit between pipes
- Cake pan Lazy Susans that spin around obstructions
- Tension rods mounted horizontally to avoid plumbing
Flexibility beats rigid organizers.
Handle Limited Space
In small cabinets:
- Prioritize vertical storage over horizontal
- Use door-mounted solutions to free up floor space
- Store only essentials and keep backups elsewhere
Less is more.
Fix Poor Accessibility
If items vanish into the back:
- Use pull-out shelves or sliding bins
- Place daily-use items at eye level
- Store backups on higher or lower shelves
Make the system work for your routine.
Choose Aesthetic-Friendly Options
Function comes first, but style matters too.
Match Your Bathroom Vibe
- Modern: clear bins, Lucite drawers, sleek labels
- Rustic: wooden crates, mason jars, kraft paper tags
- Minimalist: neutral bins, hidden labels, monochrome containers
Pick organizers that complement your decor.
Create Visual Calm
An organized space feels larger. Use consistent bin sizes and colors. Avoid cluttering the door with too many attachments. Less visual noise equals more peace.
Mix DIY and Store-Bought
The best systems blend both approaches.
Why a Hybrid Works
- Store-bought: reliable bins, risers, and pull-out shelves
- DIY: custom Lazy Susans, repurposed jars, creative hacks
Buy what needs to be sturdy (like bins), build what can be simple (like spinners).
Avoid These Mistakes
- Overfilling bins. Leave 20% empty for flexibility.
- Storing non-bathroom items like tools or kitchen supplies
- Skipping labels, which leads to chaos in three months
Stay focused on function.
Final Tips for Lasting Success
- Start small: finish this cabinet before moving to the next.
- Group by use frequency: daily items go front and center.
- Store heavy items low: this prevents tipping and strain.
- Keep a “misc” bin: for odd items that don’t fit categories.
Remember: done is better than perfect. A slightly messy organized system beats a perfect one you never finish.
Frequently Asked Questions About Under Bathroom Sink Storage Ideas
What are the best bins for under bathroom sink storage?
Clear 12-quart bins from Walmart or Dollar Tree work best. They cost $4–$5 each, fit most cabinet spaces, and let you see contents at a glance. Plastic shoeboxes with dividers also work well for small items.
How do I organize under the sink with pipes?
Use adjustable metal risers that fit around pipe layouts. Cake pan Lazy Susans spin around obstructions. Tension rods can be positioned horizontally to avoid plumbing interference. These flexible solutions beat rigid shelving.
How can I organize under the sink on a budget?
A complete reorganization costs about $15. Dollar Tree sells cake pans ($1.25 each), metal risers ($1–$2 each), and Lucite drawers ($1–$2 each). Add 12-quart bins from Walmart ($4–$5 each) and you’re set. Skip expensive specialty organizers.
How often should I clean under the bathroom sink?
Clean the cabinet monthly to prevent mold, mildew, and soap scum buildup. Use disinfectant spray and a microfiber cloth. Also inspect pipes monthly for leaks or condensation to prevent water damage.
Can I use the cabinet door for storage?
Yes. Attach Lucite drawers with removable adhesive tape for combs and razors. Mount magnetic strips for metal tools like tweezers and nail clippers. Add hooks underneath for cleaning brushes and small towels.
What should I throw away when decluttering under the sink?
Toss empty bottles, expired products (check medications and skincare), and unused duplicates. If you haven’t used an item in six months, consider letting it go. Removing just 3–5 items creates instant space.
Key Takeaways for Under Bathroom Sink Storage Ideas
Under bathroom sink storage ideas don’t require a big budget or perfect execution. Start by emptying everything and decluttering ruthlessly. Group items by function, not type, and use clear stackable bins for visibility.
Maximize vertical space with metal risers and tension rods. Unlock hidden storage by attaching organizers to the cabinet door. Try DIY hacks like the cake pan Lazy Susan for tight spaces around pipes.
Label everything and commit to monthly maintenance. With about $15 and one afternoon, you can transform frustration into function. Your sink cabinet doesn’t have to be a black hole. Make it work for you, one smart bin at a time.